With Windows 10, Microsoft introduced a new browser called Microsoft Edge, and Internet Explorer becomes an optional component that you can uninstall it from Control Panel. In this tutorial we’ll show you how to disable / uninstall Internet Explorer in Windows 10. After uninstalling, you can reinstall Internet Explorer again using the similar steps.
How to Disable or Uninstall Internet Explorer in Windows 10?
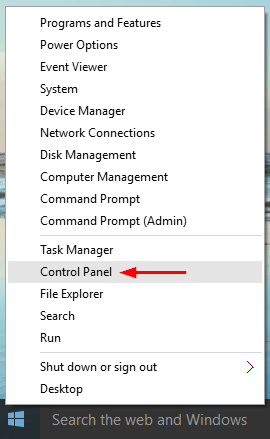
- Open the Control Panel in Windows 10. This can be done by pressing Windows Key + X and selecting Control Panel from the menu.
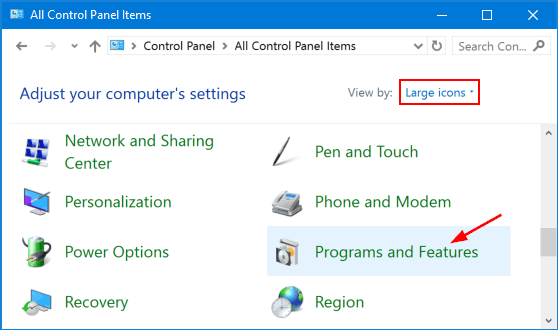
- Once Control Panel is launched, set the View by option to Large icons. Click Programs and Features.
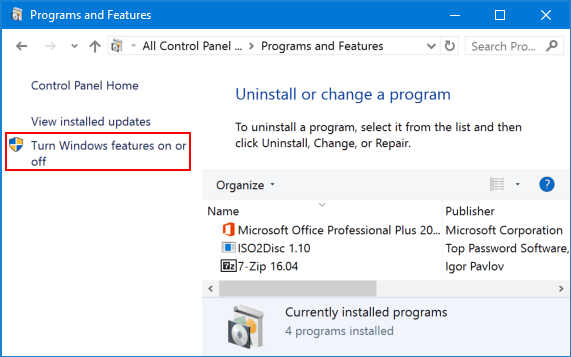
- On the left side, click the link called Turn Windows features on or off.
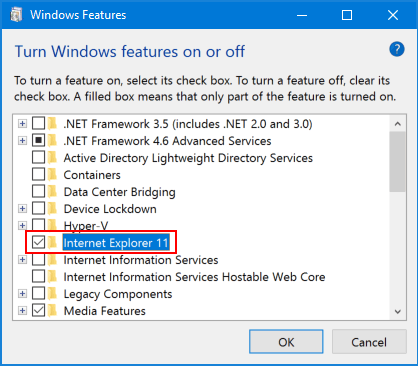
- In the Windows Features window, uncheck the Internet Explorer 11 option and click OK. (If you want to install Internet Explorer later, just check that option again).
- You will get a confirmation dialog that says: “Turning off Internet Explorer might affect other Windows features and programs installed on your computer, including default settings“. Click Yes.

- When the uninstallation is done, you’ll be prompted to restart the PC.
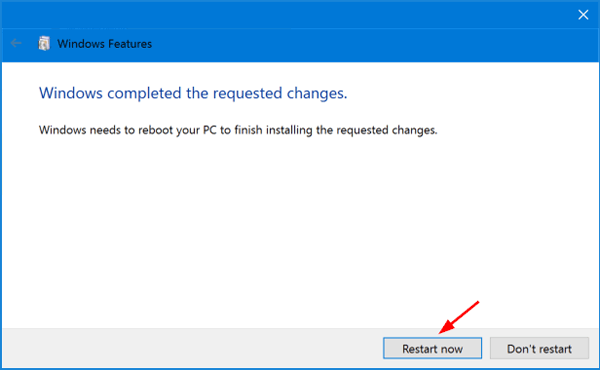
After rebooting, you should be unable to open Internet Explorer in Windows 10.