Archive for December, 2018

EFS: Add Encrypt / Decrypt to Right-Click Context Menu in Windows 10

December 11th, 2018 by Admin

In order to encrypt a file with EFS, you have to go through the file’s advanced properties and check the “Encrypt contents to secure data” option. In this tutorial we’ll show you a tip to add Encrypt / Decrypt to right-click context menu in Windows 10, which will simplify the process of EFS encryption and decryption.

How to Add Encrypt / Decrypt to Right-Click Context Menu in Windows 10

  1. Open Registry Editor, and navigate to the below path:
    HKEY_CURRENT_USER\Software\Microsoft\Windows\CurrentVersion\Explorer\Advanced

    Right-click on the Advanced key in the left pane and select New -> DWORD (32-bit) Value.

  2. Name it as EncryptionContextMenu, and then double-click it to modify its value data.

  3. Set its value data to 1 and click OK.

  4. Close Registry Editor and restart your PC. You can encrypt any file by selecting Encrypt option from context menu, or right-click EFS encrypted file and select Decrypt to decrypt it.

If you want to remove the Encrypt & Decrypt item from your right-click context menu, just delete the EncryptionContextMenu entry from Windows Registry and you’re done.

3 Ways to Disable EFS (Encrypting File System) in Windows 10 / 8 / 7

December 7th, 2018 by Admin

EFS (Encrypting File System) is a feature built into the NTFS file system in Windows that lets you encrypt folders or files on the fly. Though it’s free, many users would like to use third-party alternatives like TrueCrypt, Lock My Folders. In this tutorial we’ll show you 3 ways to disable EFS in Windows 10 / 8 / 7.

Method 1: Disable EFS via Local Group Policy Editor

  1. Open the Local Group Policy Editor and navigate to:
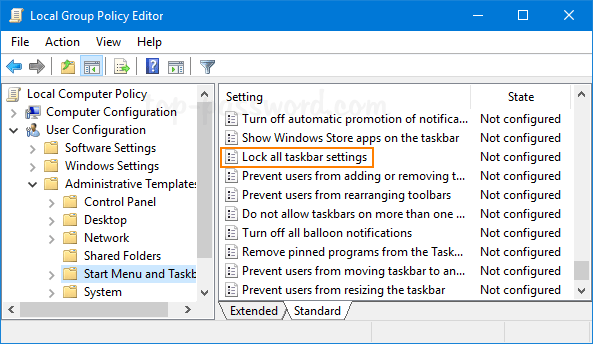
    Computer Configuration\Administrative Templates\System\Filesystem\NTFS.

    In the right pane, double-click on the “Do not allow encryption on all NTFS volumes” policy to edit it.

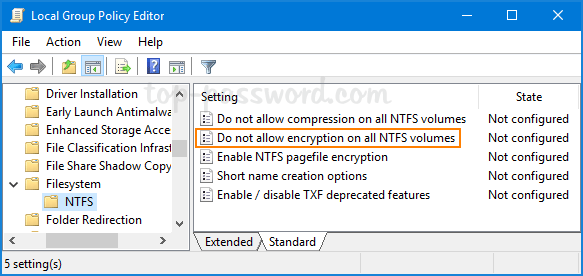
  2. Select Enabled and click OK.

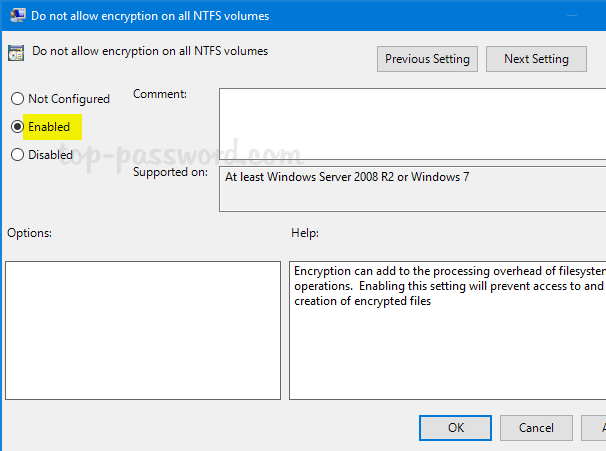
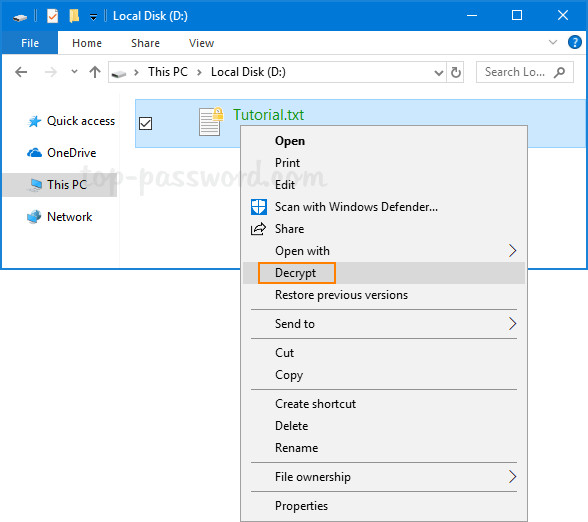
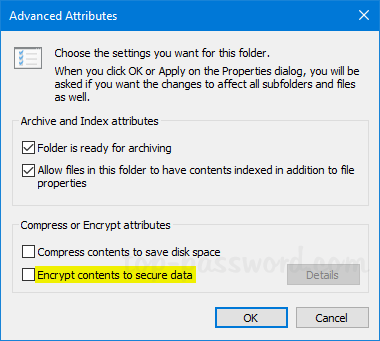
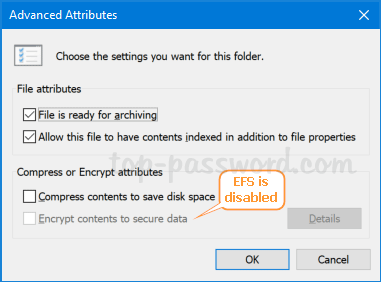
  3. Reboot your computer for the policy to take effect. The option “encrypt contents to secure data” should be greyed out and you’re unable to encrypt or decrypt folders/files with EFS.

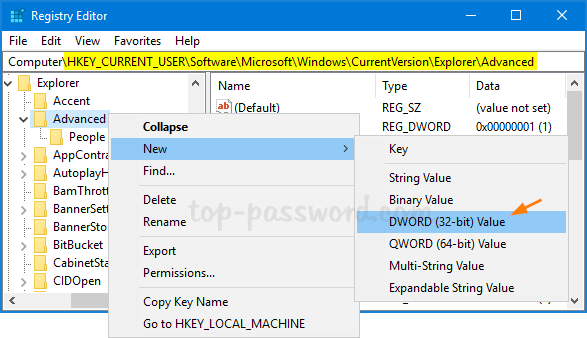
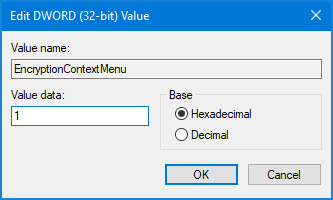
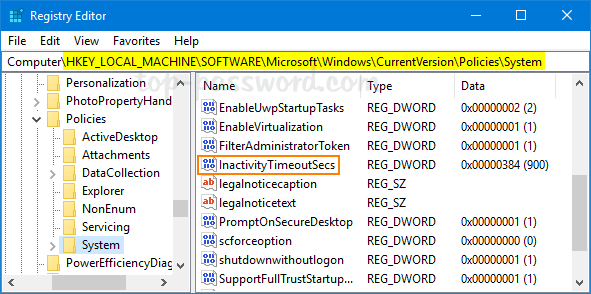
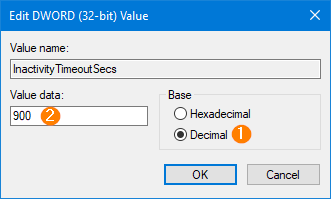
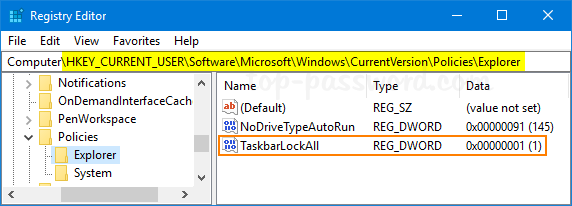
You can also use Registry Editor to enable the “Do not allow encryption on all NTFS volumes” policy. Just navigate to the registry key: HKEY_LOCAL_MACHINE\SYSTEM\CurrentControlSet\Policies, create a 32-bit DWORD NtfsDisableEncryption and set its value to 1.

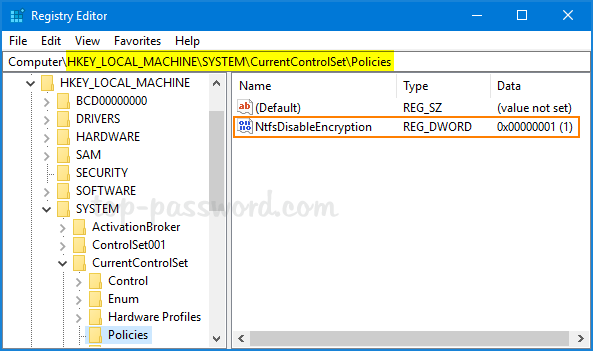
If you want to enable EFS encryption again, just set NtfsDisableEncryption to 0 and reboot your computer.

Method 2: Disable EFS via Command Prompt

Open the elevated Command Prompt, and run the following command to disable EFS:
fsutil behavior set disableencryption 1

If you ever want to turn on EFS again, execute this command:
fsutil behavior set disableencryption 0

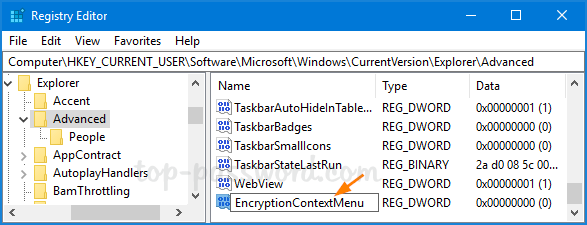
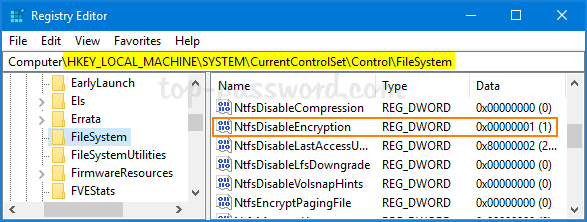
This task could also be done using a registry tweak. Just open Registry Editor and navigate to: HKEY_LOCAL_MACHINE\SYSTEM\CurrentControlSet\Control\FileSystem. Look for the 32-bit DWORD NtfsDisableEncryption and modify its value to 1.

Method 3: Disable EFS via Local Security Policy

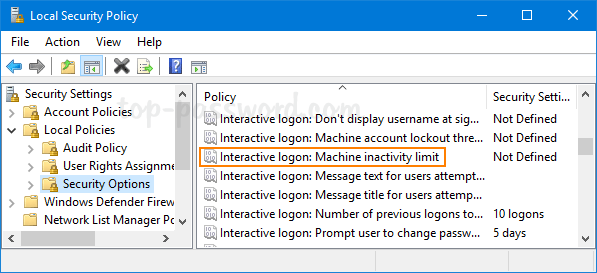
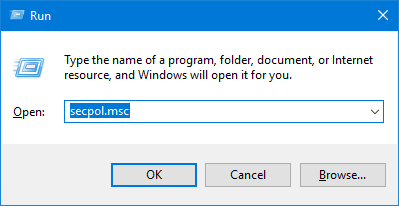
  1. Use the Windows key + R to open the Run command. Type secpol.msc and hit Enter to open the Local Security Policy.

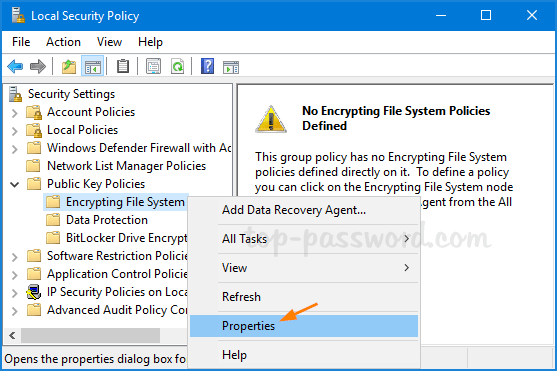
  2. Navigate to: Security Settings -> Public Key Policies -> Encrypting File System. Right-click on “Encrypting File System” and select Properties.

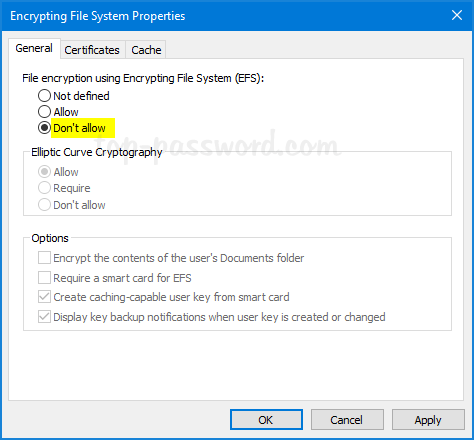
  3. Under the General tab, choose to not allow “File encryption Using Encrypting File System (EFS)”. Click OK and reboot your system.

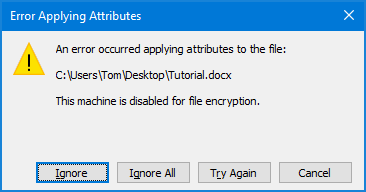
  4. When you try to encrypt a folder/file, you’ll get the error message “This machine is disabled for file encryption“.

Revert the above change and you can get EFS encryption back to work.

Auto Lock Windows 10 PC for All Users After Inactivity

December 6th, 2018 by Admin

If you routinely forget to lock the screen when you walk away from your computer, it’s recommended to set Windows 10 to automatically lock itself after a specific period of inactivity. This can prevent prying eyes from peeking your work. Here are 2 simple ways to configure inactivity time to automatically lock your PC for all user accounts in Windows 10.

Method 1: Auto Lock Windows 10 PC After Inactivity Using GPO

  1. Use the Windows key + R keyboard combination to open the Run command. Type secpol.msc and hit Enter.

  2. When the Local Security Policy is opened, expand Local Policies -> Security Options. Double-click on the “Interactive logon: Machine inactivity limit” policy in the right pane.

  3. Now you can set desired inactivity time limit, which can range from 0 to 599940 seconds. If Machine will be locked after is set to zero, the policy is turned off and your PC will never lock after any inactivity.

  4. Save your changes and reboot. Your computer will lock automatically when it has been idle for the specified inactivity limit, and you’ll need to enter your password to unlock it.

Method 2: Auto Lock Windows 10 PC After Inactivity Using Registry Editor

  1. Open the Registry Editor. Copy and paste the following path in the address bar, and press Enter.
    HKEY_LOCAL_MACHINE\SOFTWARE\Microsoft\Windows\CurrentVersion\Policies\System
  2. In the right pane, look for the 32-bit DWORD InactivityTimeoutSecs and double-click it to modify. If it doesn’t exist, you have to create it.

  3. In the popup dialog, select Decimal and enter the amount of idle time before Windows 10 locks the screen. For instance, if you want Windows to auto lock after 15 minutes of inactivity, set the value to 900.

  4. Close Registry Editor and restart your computer.

How to Stop EFS from Encrypting All New Files on Windows 10 Desktop

December 4th, 2018 by Admin

Any new files made on the desktop were being automatically encrypted? Unable to disable EFS for the desktop folder? Recently I also ran into this issue and every time I create a new file and save it to my desktop, a gold padlock icon appears on it. When I tried to turn off EFS, and it gave the error message “The specified file could not be decrypted“. Eventually I found 2 methods to stop EFS from encrypting all new files on the desktop in Windows 10.

Method 1: Using the File Ownership Context Menu

Open File Explorer and browse to your user profile folder C:\Users\user_name. You should see gold padlock icon over the desktop item. Just right-click it and select File ownership -> Personal.

That will turn off EFS encryption for your desktop immediately. Now, any new files dropped or created in the desktop should not encrypt automatically.

Method 2: Disable EFS Using Another Admin Account

Another solution is to log in to Windows with another administrative account. Right-click on the Desktop folder and select Properties. Go to the General tab and click Advanced. Untick that option “Encrypt contents to secure data” and click OK.

That’s it!

How to Disable or Lock All Taskbar Settings in Windows 10

December 3rd, 2018 by Admin

After customizing the taskbar in Windows 10, you can lock all the taskbar settings to prevent others from resizing, arranging, moving its location, using small/large taskbar buttons and so on. Here’re 2 simple ways to disable or lock all taskbar settings in Windows 10.

Method 1: Disable or Lock All Taskbar Settings via Group Policy

  1. Open the Local Group Policy Editor and browse to: User Configuration -> Administrative Templates -> Start Menu and Taskbar, then double-click the “Lock all taskbar settings” policy in the right side.

  2. Change the setting from Not Configured to Enabled. Click OK and then restart your computer.

  3. When you right-click Windows 10 taskbar, you’re unable to select the “Taskbar settings” option any longer. If you open the Settings app and navigate to Personalization -> Taskbar, all your taskbar settings are also greyed out.

Method 2: Disable or Lock All Taskbar Settings via Registry Editor

  1. Open the Registry Editor and navigate to the following key:
    HKEY_CURRENT_USER\Software\Microsoft\Windows\CurrentVersion\Policies\Explorer
  2. In the right hand side, look for a 32-bit DWORD named TaskbarLockAll and change its value data to 1 to disable all the taskbar settings. If you don’t see TaskbarLockAll, you have to create it manually.

  3. You will need to restart Windows for the changes to take effect.

Note that you’re still able to pin or unpin items in the taskbar after locking all taskbar settings in Windows 10. That’s all there is to it.