WordPad has been part of Windows for over decades, but it hasn’t been updated in any real way at all. Starting with Windows 10 build 18963, WordPad has become an optional feature and you can uninstall it with ease. In this tutorial we’ll show you 2 ways to uninstall or install WordPad in Windows 10.
Method 1: Uninstall or Install WordPad Using Settings App
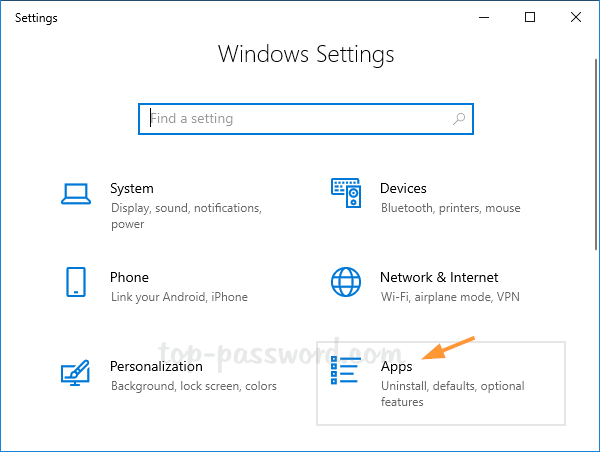
- Open the Settings app and click on the Apps category.
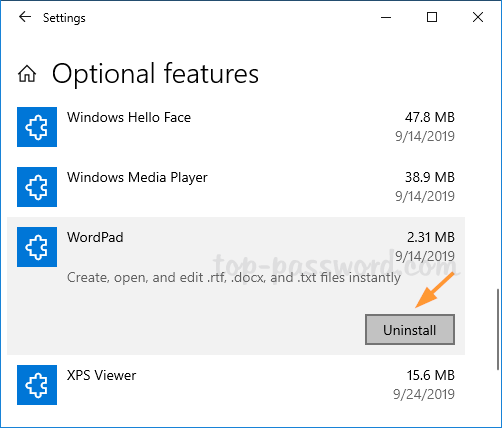
- On the Apps & features page, click on the Optional features link in the right pane.

- When the Optional features page appears, select the WordPad entry in the list and click on Uninstall.
After restarting Windows 10, you’ll find WordPad has gone.
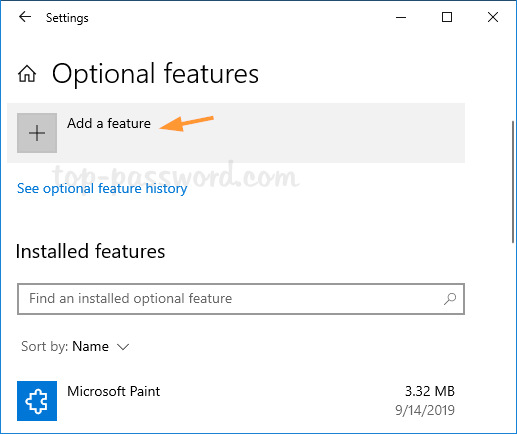
- Whenever you need to install WordPad, open the Optional features page again. Click on the Add a feature button.
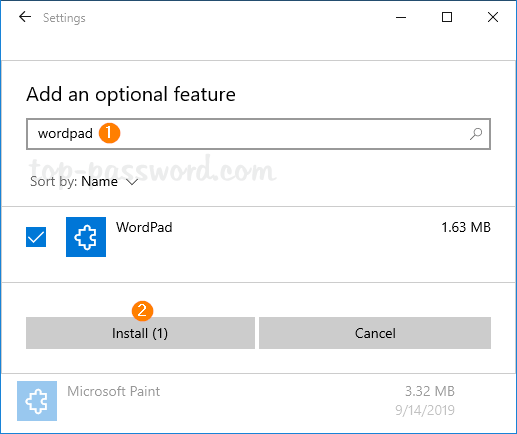
- Type WordPad and check the WordPad app, click on Install.
Once that is done, you can use WordPad again.
Method 2: Uninstall or Install WordPad Using Command Prompt
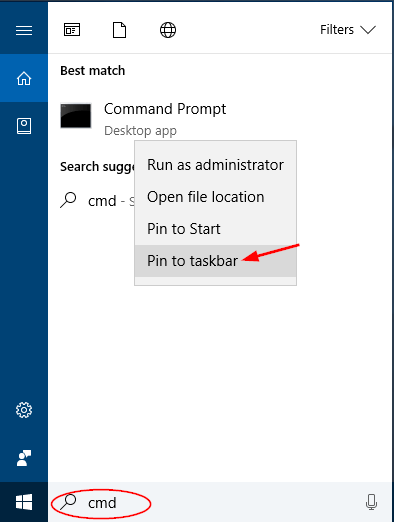
- Open the Command Prompt as administrator.
- At the Command Prompt, type the following command to uninstall WordPad:
dism /Online /Remove-Capability /CapabilityName:Microsoft.Windows.WordPad~~~~0.0.1.0Or run this command to install WordPad:
dism /Online /Add-Capability /CapabilityName:Microsoft.Windows.WordPad~~~~0.0.1.0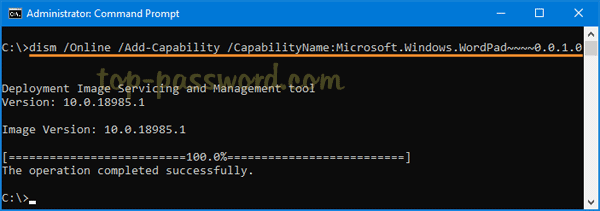
That’s all!