Posts Tagged ‘windows 10 dynamic lock’

How to Enable or Disable Dynamic Lock in Windows 10

June 4th, 2018 by Admin

Dynamic Lock greyed out? Since Windows 10 Creators Update you can set up Dynamic Lock to automatically lock down your PC when you’re away. Here we’ll show you 3 ways to enable or disable Dynamic Lock in Windows 10.

Method 1: Enable or Disable Dynamic Lock Using Settings App

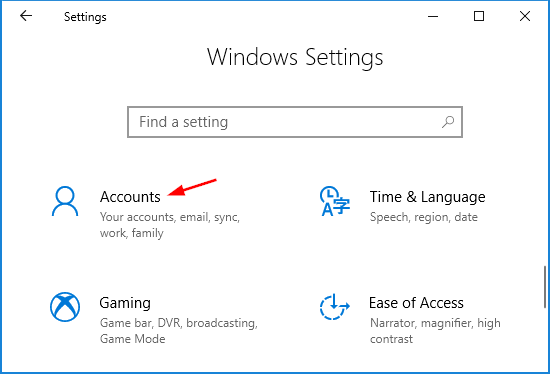
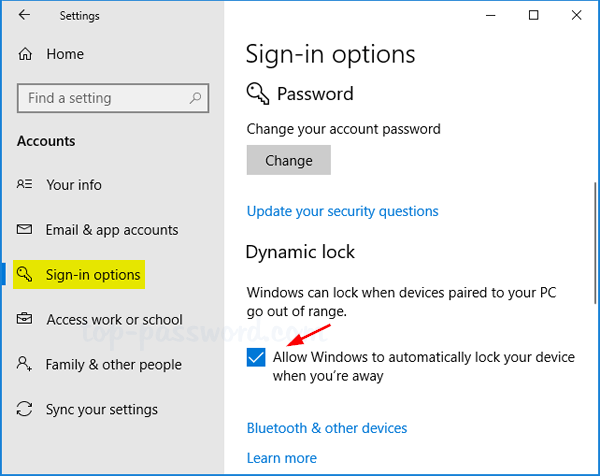
  1. Press Win+I keyboard shortcut to open the Settings app, and then go to Accounts -> Sign-in options.
  2. Scroll down to the Dynamic lock section on the right, uncheck the “Allow Windows to automatically lock your device when you’re away” option to disable Dynamic Lock for your current user, or check it to turn it on.

  3. Close the Settings app.

Method 2: Enable or Disable Dynamic Lock Using Registry Editor

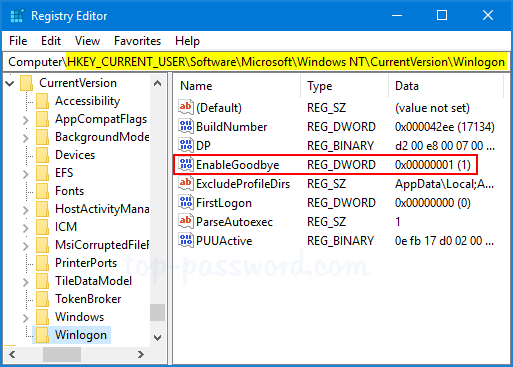
  1. Open the Registry Editor and navigate to the following path:

    HKEY_CURRENT_USER\Software\Microsoft\Windows NT\CurrentVersion\Winlogon

  2. Double-click on the EnableGoodbye entry on the right, and set its value data as per your requirement. 0 = Disable, 1 = Enable

  3. Close Registry Editor and reboot your computer.

Method 3: Enable or Disable Dynamic Lock Using Group Policy

  1. Press Win+R keyboard shortcut to open the Run command, then type gpedit.msc and press Enter.

  2. In the Local Group Policy Editor window, browse to the following path on the left:

    Computer Configuration –> Administrative Template –> System –> Logon

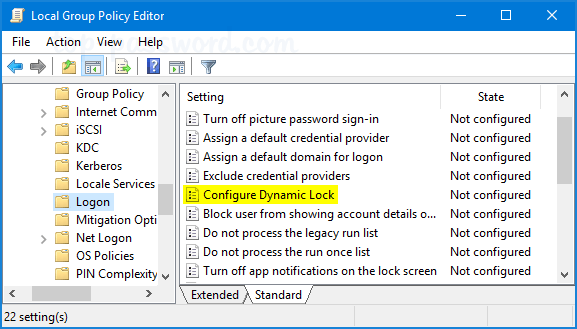
    Then double-click the “Configure Dynamic Lock” policy on the right.

  3. Select the Disabled option to will disable the Dynamic Lock feature for all user accounts in Windows 10.

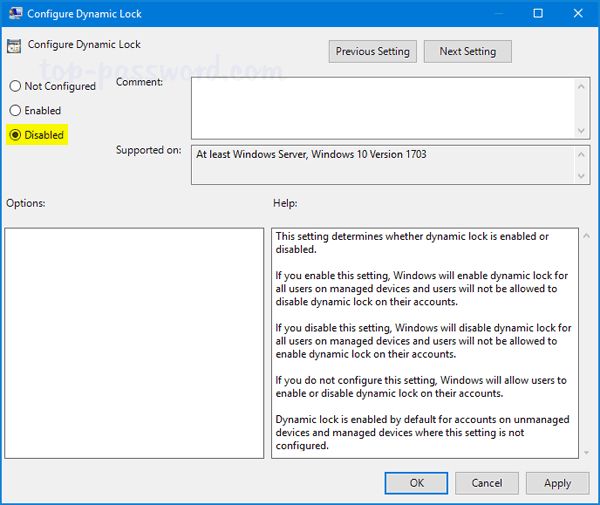
    If you want to enable that feature, then choose the Enabled option instead.

  4. Click Apply and then OK. Reboot to have the group policy take effect immediately.

How to Set Up Dynamic Lock on Windows 10 PC

June 1st, 2018 by Admin

Forget to lock your PC when you walk away? There are the chances that your roommate or co-worker may snoop on your computer without your knowledge. Don’t worry! Starting with the Creators Update, Windows 10 adds a security feature called Dynamic Lock, which can automatically lock your PC after 30 seconds when your Bluetooth phone goes out of range. In this tutorial we’ll walk you through the steps to set up Dynamic Lock on Windows 10 PC.

How to Set Up Dynamic Lock on Windows 10 PC?

  1. Press the Windows key + I shortcut to open the Settings app, and then click on Accounts.

  2. Select the Sign-in options tab in the left panel. Scroll down to the Dynamic lock section, check the “Allow Windows to automatically lock your device when you’re away” option and then click the “Bluetooth & other devices” link.

    If you don’t see the “Bluetooth & other devices” link at all, you can alternatively go to Settings -> Devices -> Bluetooth & other devices.

  3. Click the Bluetooth switch to set it to On, and then click the “Add Bluetooth or other device” button.

  4. When you see the Add A Device dialog, select Bluetooth.

  5. Choose your Bluetooth phone from the list that appears.

  6. You’ll see a PIN for pairing your phone with Windows 10 PC. Click Connect on your PC and tap on Pair button on your phone.

  7. After the pairing process is complete, click Done.

Now, walk with your phone away from your computer, Windows 10 will lock itself automatically after 30 seconds. However, when you come back to your PC, the Dynamic Lock feature won’t automatically unlock Windows 10 and you have to sign in with password.