Backing up Active Directory is essential to maintain an Active Directory database. A system state backup is particularly important for disaster recovery purpose in case of a accidental corruption or deletion of Active Directory objects. Since Windows Server 2008, you won’t find the well-known ntbackup.exe, the native backup tool in previous Windows versions. Instead, you use Windows Server Backup, the new native backup solution, which is available as an installation option in all versions of Server 2008.
Tips: If you forgot domain administrator password in Active Directory and can’t log on the domain controller, you can reset/unlock any domain user account passwords easily with Reset Windows Password utility.
In this tutorial we’re going to demonstrate the steps of backing up Windows Server 2008 Active Directory. To get started, you need to install Windows Server Backup from the Server Manager, so you can then use it to perform a system state backup.
Part 1: Install Windows Server Backup
- Go to Start menu, and then select Administrative Tools, click on Server Manger.
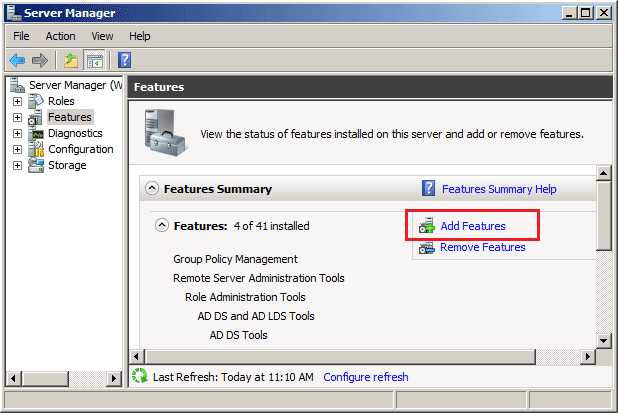
- Under Server Manager window, click on the Add Features link from the features summary section.
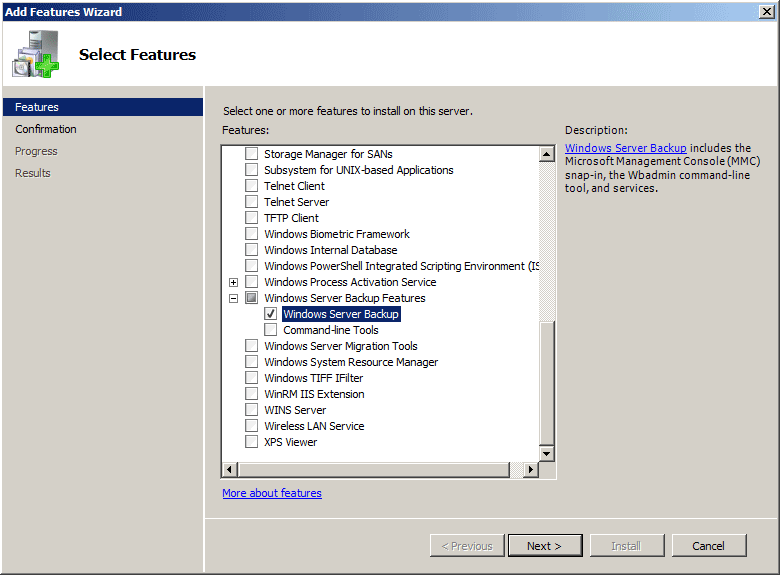
- Select the Windows Server Backup Features, and then click on Next. The Command-line Tools allows you to perform a DC backup and recovery from the command line.
- Click on Install to complete the installation.
Part 2: Backup Windows Server 2008 Active Directory
Now that we have Windows Server Backup installed lets perform our first backup of Active Directory in Windows Server 2008.
- Go to Start menu, and then select Administrative Tools, click on Windows Server Backup.
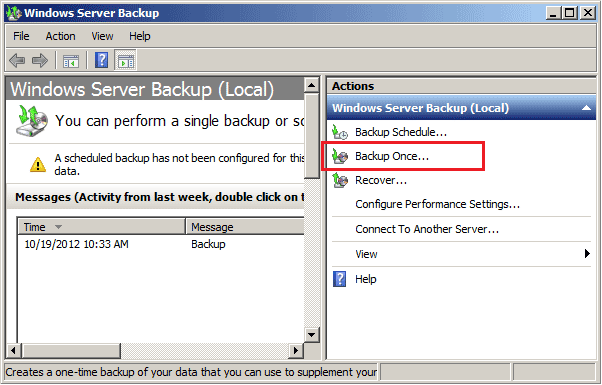
- Select the Backup Once option to perform an immediate backup as illustrated in the screen below.
- It will bring up the Backup Once Wizard, select Different Options and then click Next.

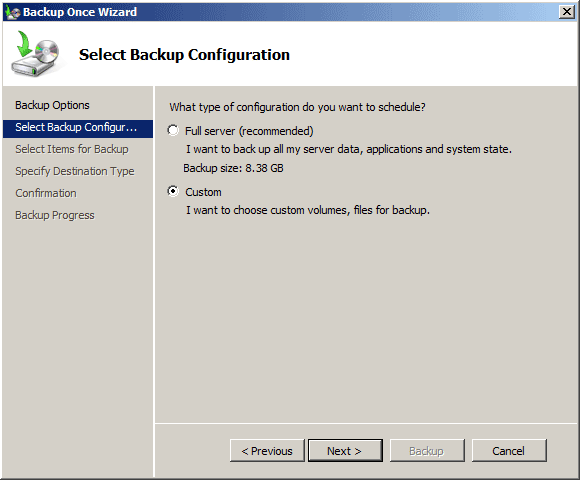
- If you want to perform a full backup of your server, click on the Full server option. Now we’re going to perform a system state backup, so we choose the Custom option.
- In the next window, you can customize the items you want to backup.
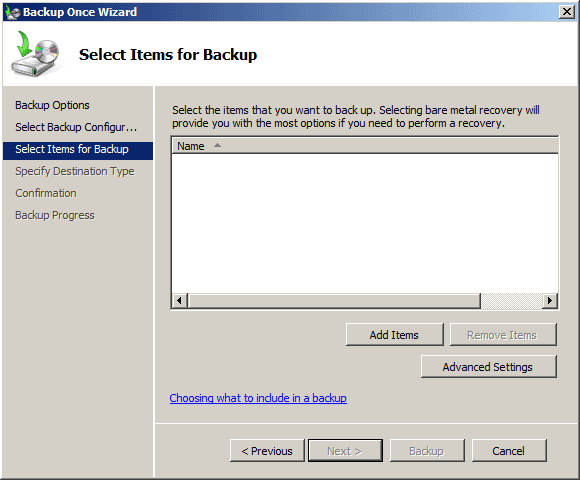
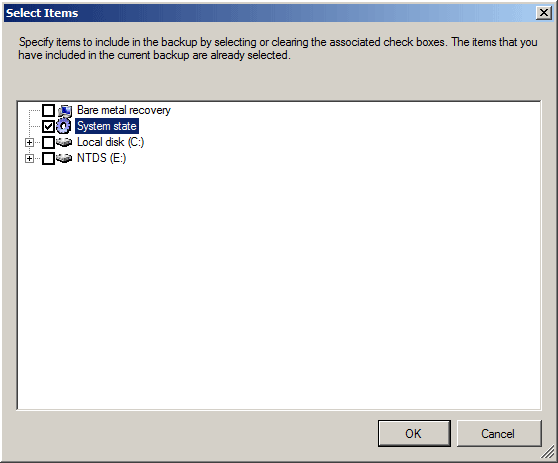
- Click on Add Items button, check the System state option from the list. You can also choose to backup the entire NTFS volume on your computer.
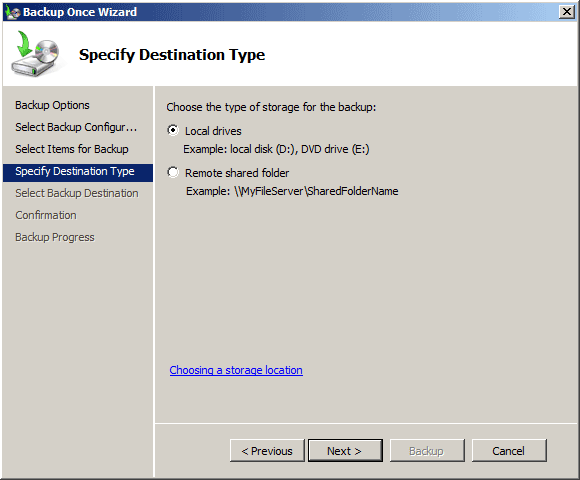
- Specify the destination type for your backup. A system-state backup can’t be performed directly to a network share so we have to choose the Local drives.
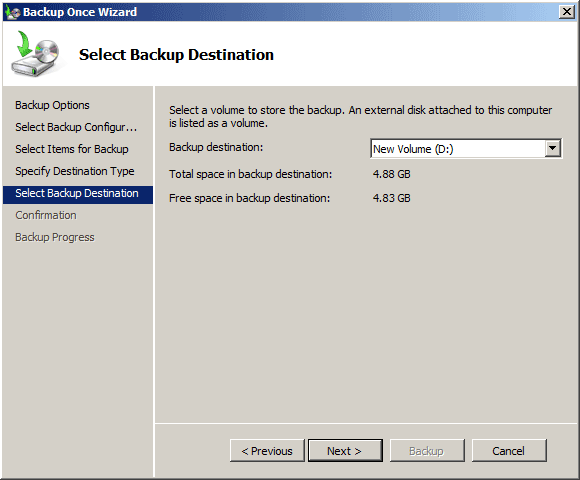
- Next select a volume to store the backup. Windows Server Backup requires you to provide a separate target volume for the backup data. In single-volume server, you may need to shrink the existing partition to create a volume dedicated solely to backup data.
- In the next window, confirm the options you have selected and then click on Backup.

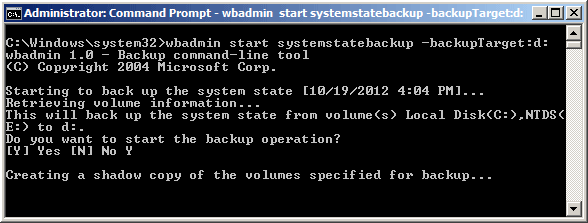
If you want to script the backup process, or if you are backing up a server on a Server Core installation, you can use the WBADMIN.EXE command-line program. WBADMIN provides a complete set of options that perform essentially the same functions as the MMC snap-in, including performing a system state backup.
