By default, Cortana is available on the lock screen in Windows 10, so you can chat with Cortana without first unlocking your computer. If you want to improve the security level, it’s better to turn off Cortana as needed. In this tutorial we’ll show you 3 ways to enable or disable Cortana on Windows 10 lock screen.
Method 1: Enable or Disable Cortana on Lock Screen from Settings App
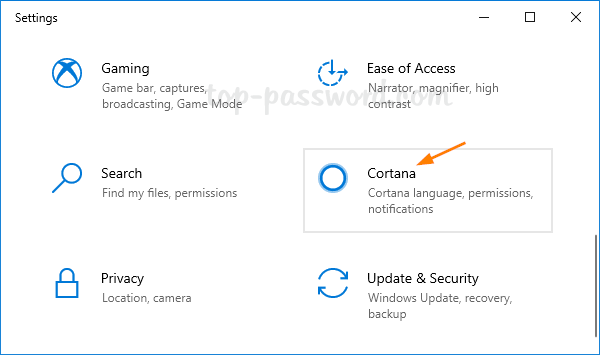
- Press the Windows key + I on your keyboard to open the Settings app, then click on Cortana.
- Select the Talk to Cortana tab, and turn on or off the “Use Cortana even when my device is locked” option.
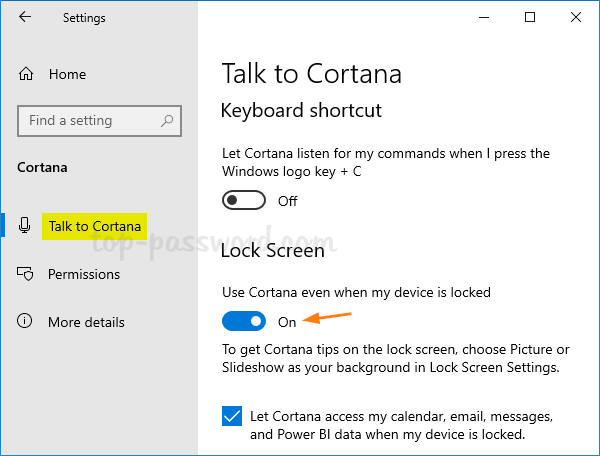
- If you allow Cortana to access your personal information, you can check the box for “Let Cortana access my calendar, email, messages, and Power BI data when my device is locked“.
Method 2: Enable or Disable Cortana on Lock Screen Using Registry Editor
- Open Registry Editor and navigate to the following location:
HKEY_CURRENT_USER\Software\Microsoft\Speech_OneCore\Preferences - Double-click on the VoiceActivationEnableAboveLockscreen entry in the right pane, and set its value data to 1 or 0. 1: enable Cortana on lock screen; 0: disable Cortana on lock screen.

- Close Registry Editor and you’re done.
Method 3: Enable or Disable Cortana on Lock Screen Using Group Policy
- Open Local Group Policy Editor and navigate to:
Computer Configuration -> Administrative Templates -> Windows Components -> Search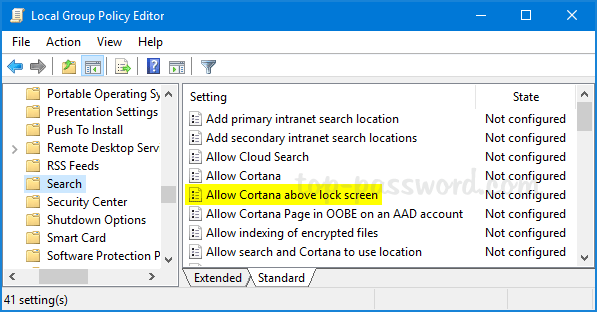
Next, double-click on “Allow Cortana above lock screen” policy to edit it.
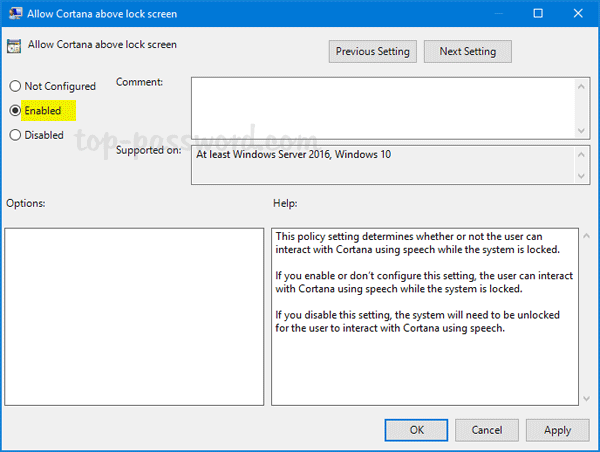
- Select Enabled to put Cortana on the lock screen for all Windows accounts. If you don’t like Cortana on the lock screen, choose Disabled to get rid of it.
- Close Local Group Policy Editor and reboot your computer for the changes to take effect.