Have you messed up your network adapter settings on a laptop? Unable to solve network connection problems? Since Windows 10 Anniversary Update, it offers a simple way to reset all your network settings to default, so you can set up everything about your network from scratch.
In this tutorial we’ll show you 2 easy ways to reset or reinstall Ethernet(wired) and wireless network adapters in Windows 10. After going through the steps below, your computer will reset all your network settings and forget saved Wi-Fi passwords. All your network connections need to be reconfigured.
Method 1: Reset or Reinstall Network Adapter from the Settings App
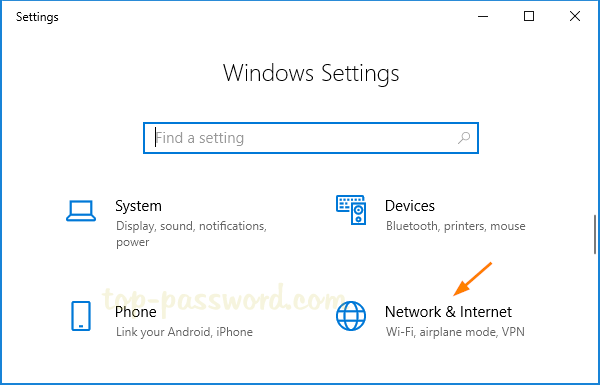
- Press the Windows key + I together on your keyboard to open the Settings app. Click on Network & Internet.
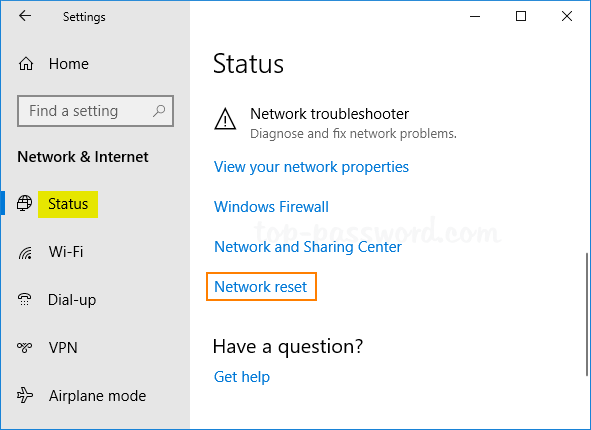
- Choose the Status tab on the left. Scroll down on the right until you see the “Network reset” option, and then click it.
- The next window will explain what will happen if you reset your network settings. Click the “Reset now” button when you’re ready.

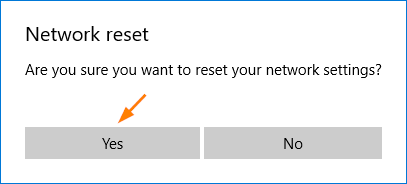
- When the popup window asks you for confirmation, click Yes.
- Windows 10 will inform you that your PC will automatically shut down in 5 minutes. Close the notification and make sure you save anything you’re working on.
Method 2: Reset or Reinstall Network Adapter Using Command Prompt
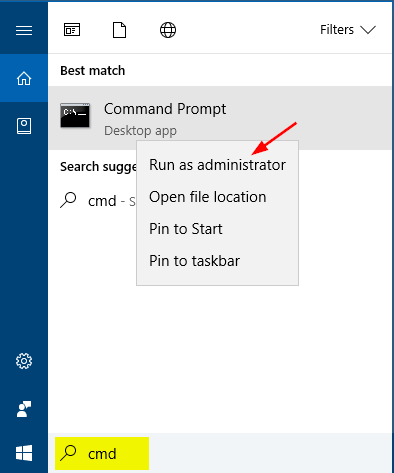
- Click the Start button. Type cmd and right-click Command Prompt from the search result, then select Run as administrator.
- Execute the following command:
netcfg -d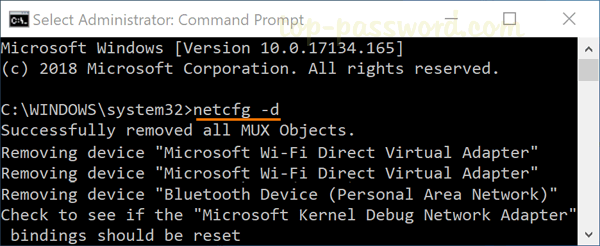
- This will reset your network settings and reinstall all the network adapters. When it’s done, reboot your computer.