Is it possible to make the screen of one laptop appear on another laptop? How do you mirror desktop PC to laptop wirelessly? Windows 10 includes a useful feature that lets you turn your Windows 10 PC into a wireless display, so you can mirror another PC’s display with ease. In this tutorial we’ll walk you through the steps to project your screen to another Windows 10 computer through Wi-Fi.
Before getting started, make sure you have two Windows 10 computers that support Miracast, and they are connected to the same Wi-Fi network.
Part 1: Set Up The Receiver Computer
On the computer you want to use as a wireless monitor (which we’ll call it “receiver computer”), press the Windows key + I together to open the Settings app, navigate to System -> Project to This PC. By default the Projecting To This PC feature is turned off. You can turn it on by selecting “Available everywhere“.
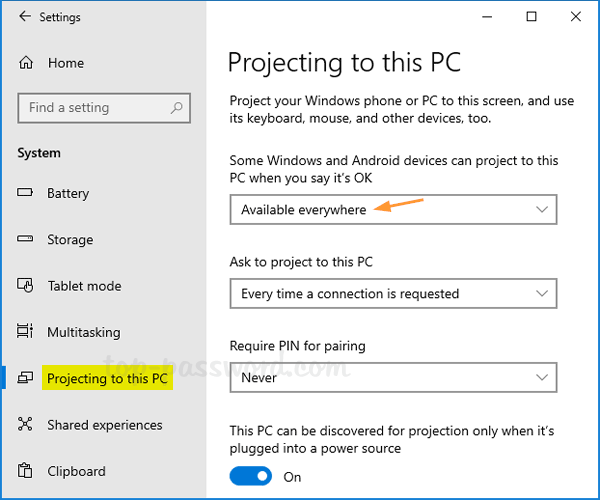
If your PC needs to run on battery power only, just turn off the last option labelled “This PC can be discovered for projection only when it is plugged into a power source“. Now, your main computer can cast screen on this computer.
Part 2: Project Your Screen
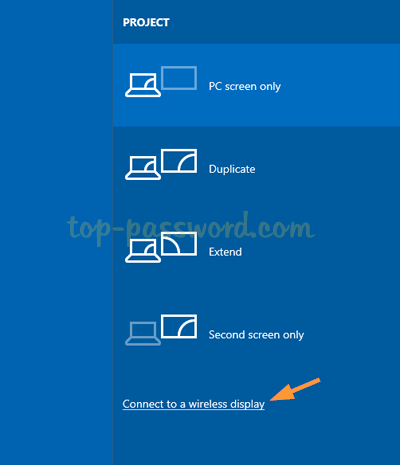
On the main computer – the one you’re projecting the screen from, press the Windows key + P together. The Project menu will appear as a flyout to the right of your screen. Just click the “Connect to a wireless display” link.
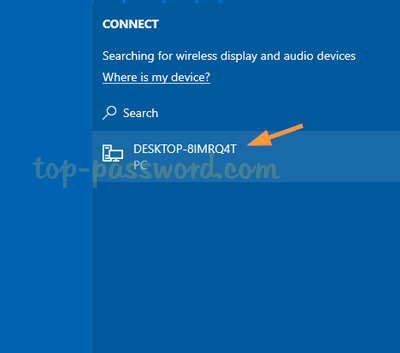
It will take a while to scan around for wireless monitors. Once your receiver computer is found, just click it.
Now, a Connect permission prompt will display on your receiver computer. Go back to the receiver computer and click Yes to allow the connection.
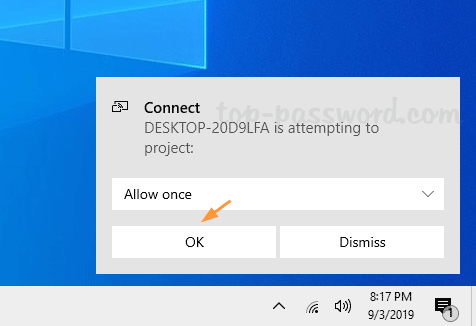
Now, your receiver computer will merely mirror what’s on your main PC’s screen, and you can you can control it with your mouse and keyboard.