iCloud Photo Library is an awesome feature for Apple users to store photos and videos in cloud, sync and share across all devices including iPhone, Mac or Windows PC. This tutorial will walk you through how to turn on iCloud Photo Library on your Windows 10 PC.
How to Enable iCloud Photo Library on Windows 10 PC
- To get started, you need to download Cloud for Windows from Apple, and then install it on your Windows-based computer.
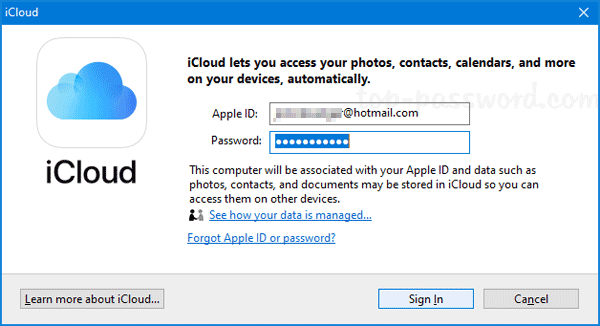
- After installing, open the iCloud application and sign in with your Apple ID and password. If you’re prompted to decide whether to share usage information with Apple, click Don’t send.
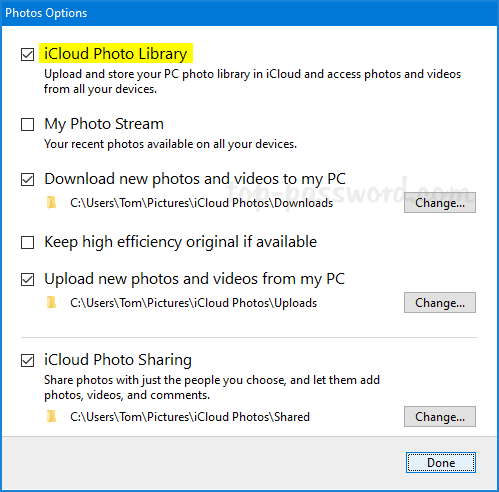
- Click the Options button next to Photos.

- Check the box labeled iCloud Photo Library to upload and store your PC photo library in iCloud, and click OK.
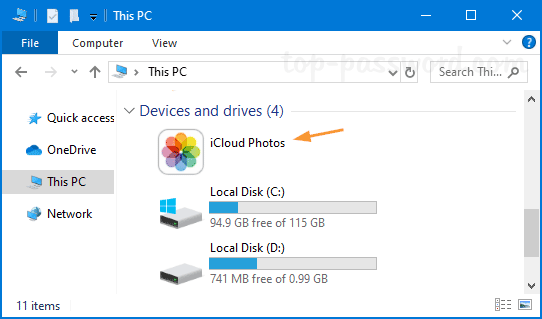
- Finally click Apply to save your changes. After turning on iCloud Photo Library, iCloud Photos should automatically show up in File Explorer.
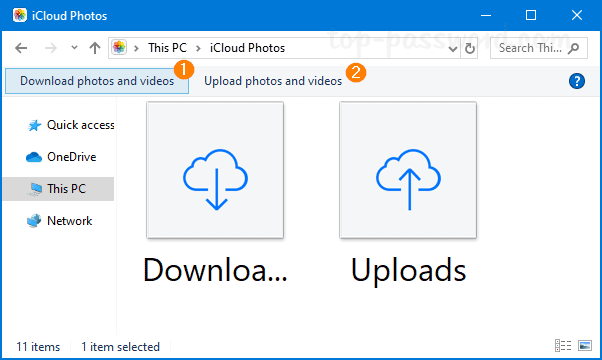
- Just open the iCloud Photos folder and you can click “Download photos and videos” in the file explorer navigation bar to download photos from iCloud to your Windows computer, or click “Upload photos and videos” to upload your photos to iCloud.
If you would like to view the iCloud photos on your iPhone, open the Settings and tap the Apple ID banner at the top of the screen, then navigate to iCloud -> Photos and tap the iCloud Photo Library toggle to On.