How can I join a Windows 10 Pro computer to a domain? Before getting started, you need to change the DNS settings or add a new entry to the Windows Hosts file so your PC can communication with domain controller. Afterwards, you can add Windows 10 to Active Directory domain using any of the following methods. Note that only Windows 10 Pro, Enterprise or Education edition can join a domain.
Method 1: Add Windows 10 to Domain from System Properties
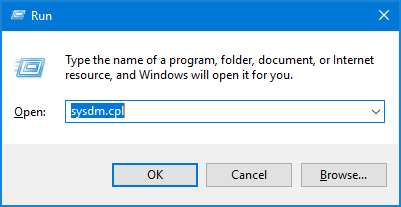
- Press the Windows key + R to open the Run command box. Type sysdm.cpl and hit Enter to launch System Properties.
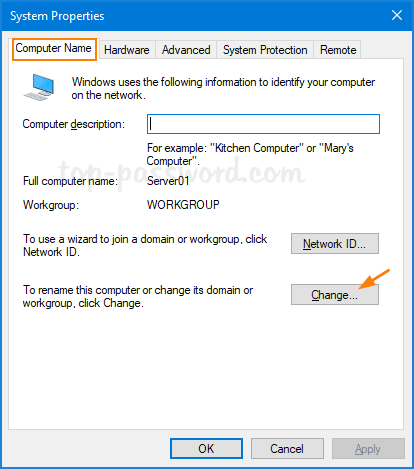
- Under the Computer Name tab, click on the Change… button.
- Select Domain, type the domain name of the AD server you want to join and click OK.

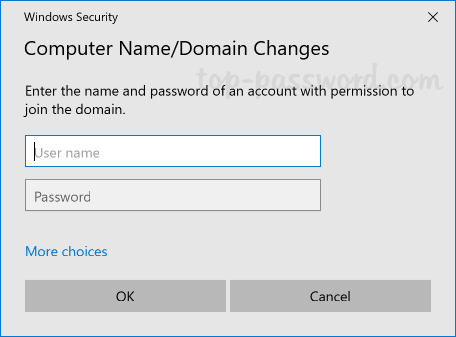
- Type the credentials of a domain user and click OK.
- Finally restart your computer and you can then sign in to Windows 10 with your domain account.
Method 2: Add Windows 10 to Domain from Settings App
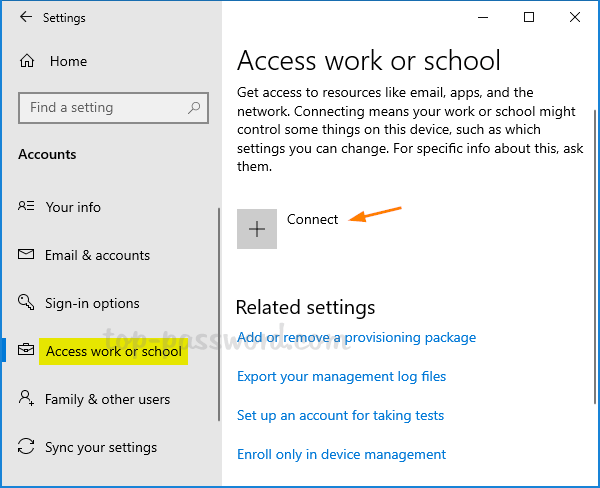
- Press the Windows key + I to open the Settings app. Navigate to Accounts -> Access work or school, and then click Connect on the right side.
- In the popup window, click on the “Join this device to a local Active Directory domain” option.

- Type the Active Directory domain name and click Next.

- Enter the user name and password for your domain account, and click OK.

- Select your Account type to continue. You’ll need to restart to complete the process of joining Windows 10 to Active Directory domain.
Method 3: Add Windows 10 to Domain Using PowerShell
- Open PowerShell with administrator rights and type the following command:
Add-Computer -DomainName "Domain Name" -Credential "Domain Username"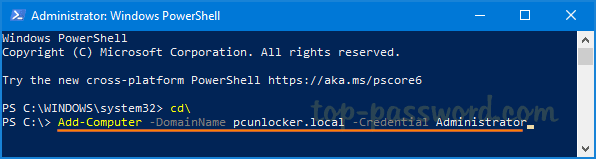
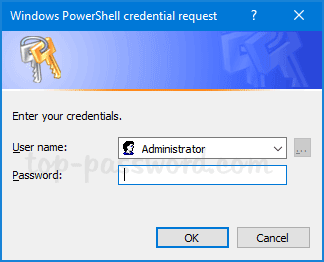
- Once pressing Enter, you will be prompted to enter your domain user password.
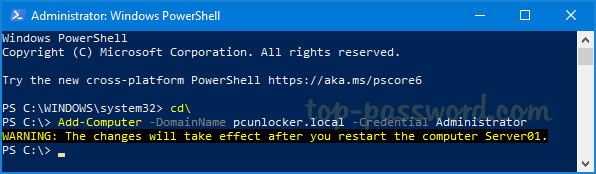
- A warning will be displayed in yellow like the one below. You need to reboot to finish the task.
That’s it!