Archive for June, 2020

Easy Ways to Access Private Character Editor in Windows 10

June 12th, 2020 by Admin

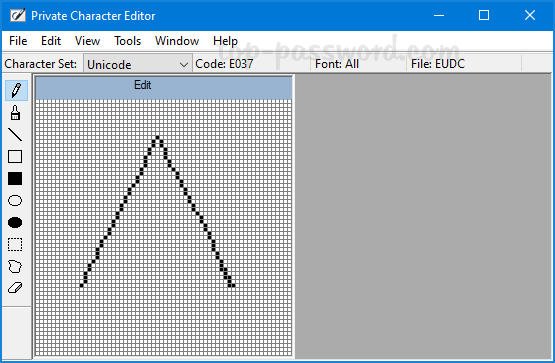
Private Character Editor is a hidden tool included with all versions of Windows. It allows you to create your own characters, symbols or fonts and use them in your document. In this tutorial we’ll show you different ways to access Private Character Editor in Windows 10.

Method 1: Open Private Character Editor via Run Command

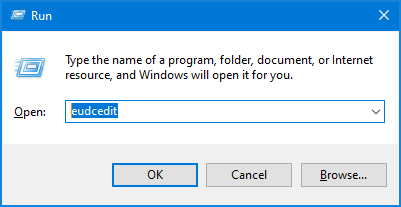
Press Windows + R keys to launch the Run dialog, and then type eudcedit. Once pressing Enter, Private Character Editor will open up.

Method 2: Open Private Character Editor via Cortana Search

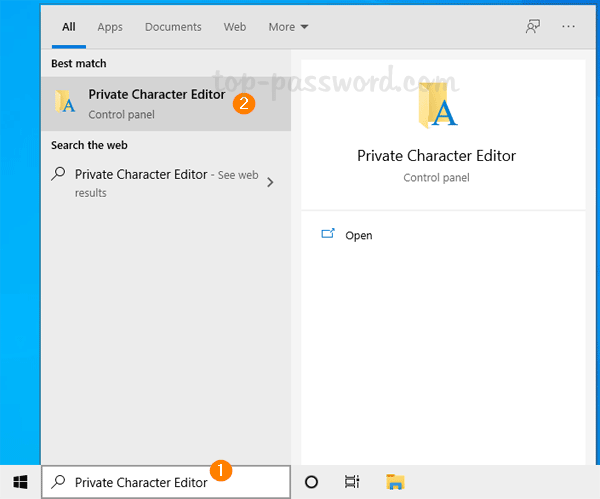
Enter “private” into the Cortana search box on the taskbar, and then click on the Private Character Editor shortcut to start the program.

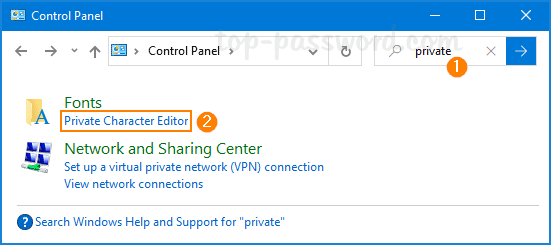
Method 3: Open Private Character Editor via Control Panel

Open Control Panel and type “private” in the Search box in the upper right corner, then you can click on the Private Character Editor shortcut in the list of results.

Method 4: Open Private Character Editor via Settings App

Press Windows + I keys to launch the Settings app, and then click inside the Search box and type “private“.

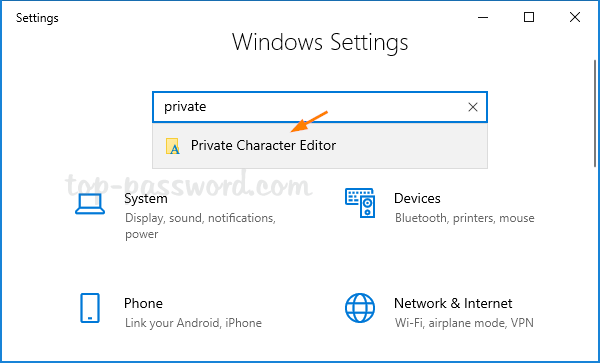
You can access Private Character Editor from the listed result.

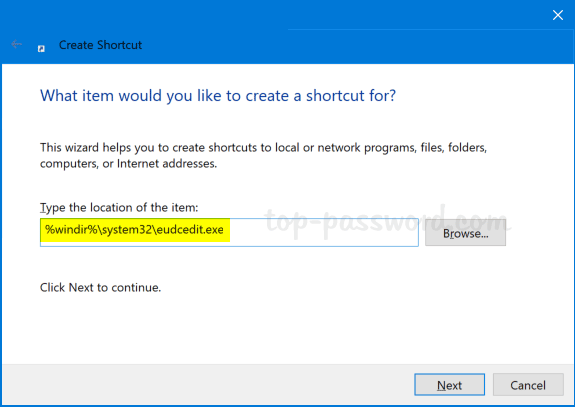
Method 5: Create a Desktop Shortcut for Private Character Editor

Right-click any blank area on the desktop and choose New -> Shortcut. In the Create Shortcut wizard, type the follow location and click Next.
%windir%\system32\eudcedit.exe

Name the shortcut “Private Character Editor” and you’re good to go.

2 Ways to Change Registry Editor Font in Windows 10

June 10th, 2020 by Admin

How can I change the default font style or size for the Registry Editor app itself? Starting with Windows 10 build 14986, Registry Editor allows you to change font size or customize font face. In this tutorial we’ll show you 2 easy methods to change Registry Editor font for all user accounts in Windows 10.

Method 1: Change Font via Registry Editor Menu

  1. Press the Windows Key + R shortcut on your keyboard. Type regedit and hit Enter. When the Registry Editor window opens, select the View menu and click Font.

  2. In the Font dialog box, you can pick up your preferable font face, style and size.

  3. Once you are done, click OK and the font changes should be visible now.

Method 2: Change Font via Registry Tweak

  1. Open Registry Editor and navigate to the following key:
    HKEY_LOCAL_MACHINE\SOFTWARE\Microsoft\Windows\CurrentVersion\RegEdit

    Next, double-click on the DWORD FontFace in the right pane.

  2. Type the name of your preferable font in the Value data box and click OK.

    Tip: open File Explorer and browse to the C:\Windows\Font folder, you can find the name of any font installed on your current system.

  3. Close Registry Editor and relaunch it to see the changes.

How to Prevent Windows Update from Installing Microsoft Edge Chromium

June 9th, 2020 by Admin

The classic Edge browser will soon be replaced by the newest Chromium-based Edge via Windows Update. If you’re comfortable using the classic version or you don’t like Microsoft Edge Chromium, you can disable automatic delivery. Here are 2 simple methods to prevent Windows 10 Update from automatically installing Microsoft Edge Chromium.

Method 1: Block Microsoft Edge Chromium Update via Registry Tweak

  1. Open Registry Editor and navigate to HKEY_LOCAL_MACHINE\SOFTWARE\Microsoft. Right-click on the Microsoft key in the left pane and create a subkey named EdgeUpdate.

  2. Select the newly created key EdgeUpdate. On the right side, right-click the blank area and choose New -> DWORD (32-bit) Value.

  3. Name the DWORD DoNotUpdateToEdgeWithChromium and change its value data to 1.

  4. Now, Windows Update shouldn’t download and install the Chromium-based Microsoft Edge automatically on your computer.

Method 2: Block Microsoft Edge Chromium Update via Group Policy

Microsoft has released the Microsoft Edge Blocker Toolkit, which can import the new Group Policy settings to prevent the new Microsoft Edge browser from installing through Windows Update.

  1. Before getting started, download the Blocker Toolkit from Microsoft. Run the executable file and extract to any folder on your system.

  2. The extracted files contain a Group Policy Administrative Template (.ADMX and .ADML). You need to copy the EdgeChromium_Blocker.adml file to C:\Windows\PolicyDefinitions and the EdgeChromium_Blocker.admx file to C:\Windows\PolicyDefinitions\en-us.

  3. Next, open Local Group Policy Editor and browse to the following location, you can find the new policy named “Microsoft Edge (Chromium-based) Blockers“.
    Computer Configuration -> Administrative Templates -> Windows Components -> Windows Update

    In the right side, double-click the policy “Do not allow delivery of Microsoft (Chromium-based) through Automatic Updates” to edit it.

  4. Select Enabled and click Apply.

    This will block Windows 10 from automatically installing Chromium-based Microsoft Edge via Windows Update.

That’s it!

How to Export Saved Logins from Firefox Lockwise

June 8th, 2020 by Admin

How can I move saved logins and passwords in Firefox to new computer? Like other browsers, Firefox will soon allow you to export saved logins from its built-in Lockwise password manager. This feature is already implemented in Firefox Nightly. Here we’ll walk you through the steps to export saved passwords from Firefox Nightly to a CSV text file on Windows 10.

How to Export Saved Logins from Firefox Lockwise

  1. Open Firefox and click the three-line menu icon in the upper right corner, and then select “Logins and Passwords” from the pop-up menu.

  2. The Firefox Lockwise page will open in a new tab. Click the three dots icon to open the Lockwise menu and choose “Export Logins“.

  3. You’ll get a warning saying your passwords will be saved in plain text and readable to anyone who has access to the exported file. Click on the Export button to continue.

  4. Enter your Windows password to confirm your ownership of the system. Click OK.

  5. Select a target location for saving the exported logins, and click on Save.

  6. You’re done. Open the exported CSV file in a text editor or Microsoft Excel and you can view the plain-text passwords, website URLs and other information.

If you’re using an old version of Firefox which doesn’t support exporting logins, just download Password Recovery Bundle and you can extract saved credentials from Firefox as well as many other popular web browsers with ease.

How to Turn off Search Suggestions in Microsoft Edge

June 3rd, 2020 by Admin

When you start typing in the address bar of Microsoft Edge, it will instantly display search and website suggestions based on each letter you type.

If you think those search predictions are not useful, here’s how you can disable or turn off search and site suggestions as you type in Microsoft Edge.

How to Disable Search Suggestions in Microsoft Edge

  1. Open Microsoft Edge and click on the three horizontal dots (…) on the upper right corner of the browser, then select Settings from the drop-down menu.

  2. Click on the Privacy & security tab. On the right, scroll down until you find “Show search and site suggestions as I type” and turn the slider off. You’re done!

    If you’re running the new Microsoft Edge based on Chromium, select the Privacy and services tab. On the right, scroll down to the bottom, click on Address bar under the Services category.

    On the next page, turn off the “Show me search and site suggestions using my typed characters” switch.

That’s it!