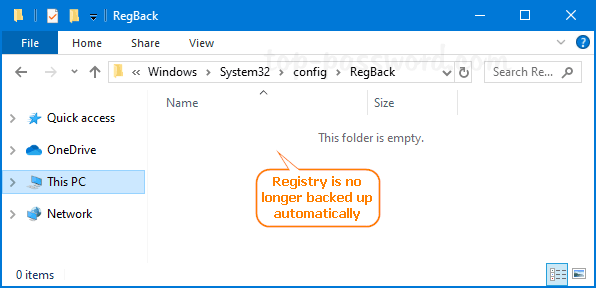
Starting with the April 2018 Update (version 1803), Windows 10 stopped backing up the registry automatically to the RegBack folder, and Microsoft encourages users to use a system restore point in the event of registry corruption. Navigating to the Windows\System32\config\RegBack folder and you’ll find that it’s empty.
This change is by design, and is intended to help reduce the overall disk footprint size of Windows. For those who still want to restore the functionality of creating registry backup automatically, here is a registry tweak to turn on automatic registry backup in Windows 10.
How to Turn on Automatic Registry Backup in Windows 10
- Press the Windows key + R to open the Run dialog, type regedit and hit Enter to launch Registry Editor.

- Browse to this key:
HKEY_LOCAL_MACHINE\SYSTEM\CurrentControlSet\Control\Session Manager\Configuration Manager. On the right pane, right-click on blank space and select New -> DWORD (32-bit) Value.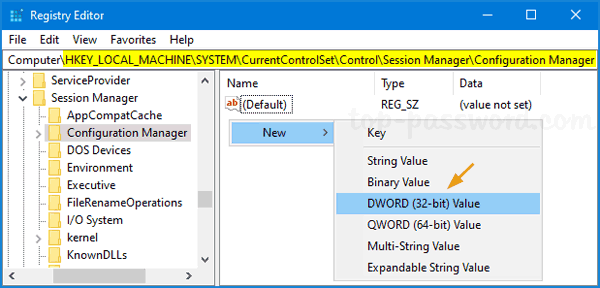
- Name the new DWORD EnablePeriodicBackup. Next, double-click it and set the value to 1.
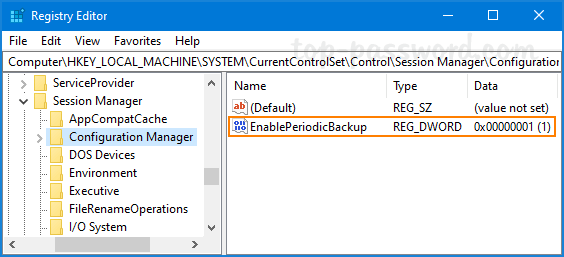
- After a reboot, Windows 10 will automatically backup the registry to the RegBack folder, and create a RegIdleBackup task to manage subsequent backups.
- If you need to create backups of the registry manually, just open Task Scheduler and navigate to Microsoft\Windows\Registry. Right-click on the RegIdleBackup task and select Run.
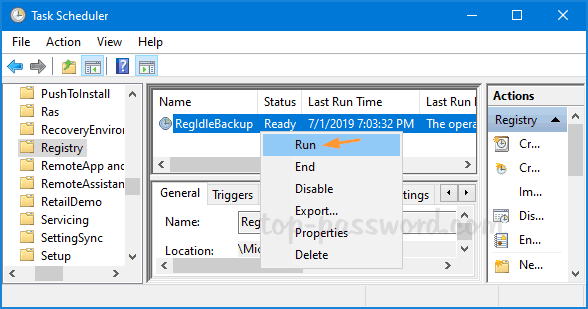
It will immediately save your registry to the Windows\System32\config\RegBack folder.
That’s how you can easily turn on automatic registry backup in Windows 10. When your registry gets damaged and corrupted, you can restore the registry backup to the folder Windows\System32\Config with a Live CD.