Posts Tagged ‘virtual hard drive’

How to Install Windows 8 on a Virtual Hard Drive for Dual Booting

October 8th, 2012 by Admin

In my previous blog post, Dual-boot Windows 7 and Windows 8, I showed you how to configure your Windows 7/Vista system to dual-boot Windows 8 from a new partition on your existing Windows 7 hard disk. Here I’ll show you how to install Windows 8 on a virtual hard drive (VHD) for dual booting. No need to shrink your existing partition or repartition your hard drive.

How to Install Windows 8 on A Virtual Hard Drive for Dual Booting?

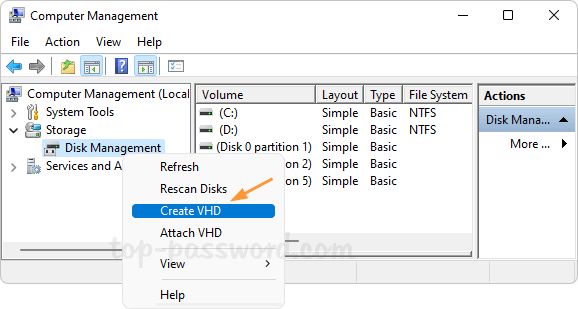
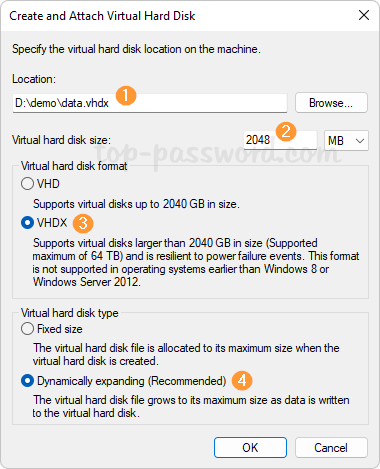
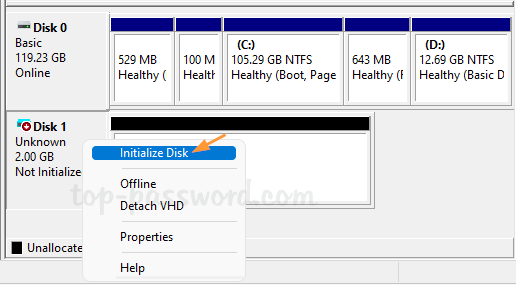
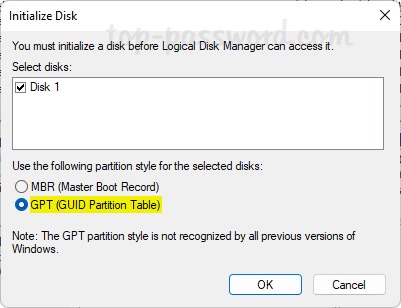
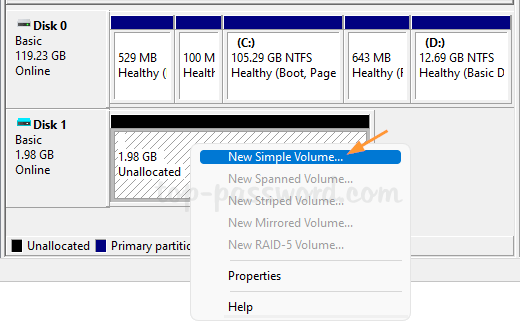
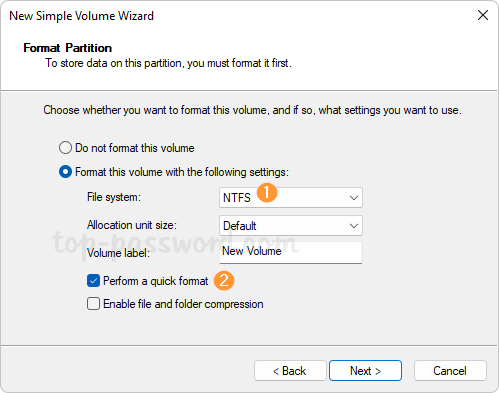
The first step is to create a virtual hard drive on your Windows 7 system. Microsoft recommends a minimum of 20 GB for Windows 8 64-bit. I suggest setting the VHD disk size to at least 30 GB so you have disk space for apps. If you don’t know how to create one, please refer to this step-by-step guide: How to Create a Virtual Hard Drive (VHD) in Windows 8/7.

Next, reboot your computer and boot up with a Windows 8 DVD or USB flash drive. After a few minutes, you’ll see the Windows Setup screen. Specify your language settings before clicking Next.

You’ll see the Windows Setup screen shown as follow. Click the Install Now button.

When you see the next Windows Setup screen, you will immediately press Shift +F10 to open the Command Prompt.

The virtual hard drive that you created earlier needs to be attached so you can select the VHD as the install destination. Once the command prompt is open, run the following:
diskpart
select vdisk file=c:\VHDs\Windows8RP.vhd
attach vdisk

Replace c:\VHDs\Windows8RP.vhd with the full path to the VHD file you created. The drive letter may be different from what you see in Windows 7. You can use the dir command to confirm the VHD file path.

Once you are done, you can type exit to leave the Diskpart environment and then click the Close button the close the Administrator Command Prompt window. When you return to the Windows Setup screen, you select the Custom option.

Windows Setup will prompt you to choose the location to which you want to install Windows 8 and you can now select your VHD. Keep in mind that when you select the VHD, you’ll see a warning message that says that Windows cannot be installed to this disk. Just ignore it as the procedure does indeed function correctly.

As soon as you click Next, the installation will begin. When the installation is complete, Windows Setup will reboot your system and you will then see the new Windows 8 style dual boot screen. Done!

How to Create a Virtual Hard Drive (VHD) in Windows 11/10/8/7

October 8th, 2012 by Admin

Have you ever wished you had an extra hard drive or partition to setup a dual-boot or multi-boot operating system? You can shrink your existing partition to create a new partition but it always carries some risk of data loss. Beginning with Windows 7, you can create a virtual hard drive (VHD) which acts as a separate hard drive in your computer.

The virtual hard drive (VHD) is stored as a .vhd or .vhdx file on your physical disk. By mounting a virtual hard drive, you can easily copy files to and from the virtual disk. Additionally, Windows 11/10/8/7 can be configured to boot from a VHD. In this tutorial we’ll go through the steps of creating a virtual hard drive (VHD) in Windows 11/10/8/7.

How to Create a Virtual Hard Drive (VHD) in Windows 11/10/8/7?

  1. Press the Windows + R key combination to bring up a Run box, type compmgmt.msc and hit Enter.

  2. The Computer Management dialog opens, click Disk Management in the left pane of the window and wait until you see all currently installed disks in the right pane.
  3. Right-click Disk Management and then select Create VHD.

  4. Click Browse to choose the location where you want your VHD stored, and give it a descriptive name. Choose the size you want it to be, and select dynamic or a fixed. If you want the disk to expand in size as you add files to it, then pick Dynamically expanding. Check Fixed size if you want a specific size and for it to stay that way. Click OK.

  5. You will see the virtual hard drive listed as unallocated space in Disk Management. Right click on the virtual hard drive (Disk 1) and select Initialize Disk.

  6. Press OK in the Initialize Disk box.

  7. Now it is time to create a volume by right-clicking the unallocated space and select New Simple Volume.

  8. The New Simple Volume Wizard starts up and just press Next until the wizard is complete.

  9. Now the new virtual disk is ready to be used, just like any other disk. You can see the virtual hard drive on your computer.

    Windows will automatically dismount the virtual hard drive after a restart. You can also manually dismount the drive by right-clicking it in File Explorer and selecting Eject.

  10. Whenever you need to mount a vhd/vhdx file as a virtual hard disk, just right-click it in File Explorer and choose Mount.