When an app crashes or freezes, the built-in Windows Reliability Monitor tool will automatically create a problem report for the event and send it to Microsoft for analysis. In this tutorial we’ll show you how to view or clear problem reports in Windows 10.
How to View or Clear Problem Reports in Windows 10
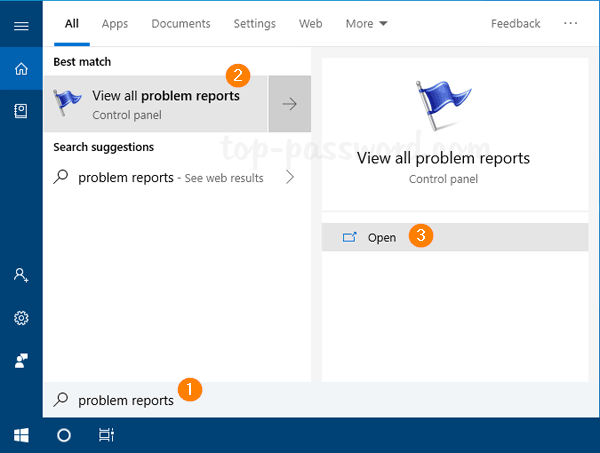
- To start, click the Cortana Search box in the taskbar (or press WIN + S) and type “problem reports“, then select the “View all problem reports” entry to open it.
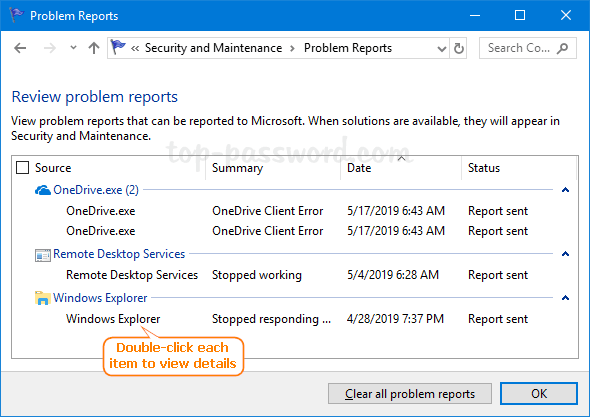
- Now you can review all the problem reports. Scroll down through the list and locate the particular application crash you are looking for, then double-click it to view the problem details.
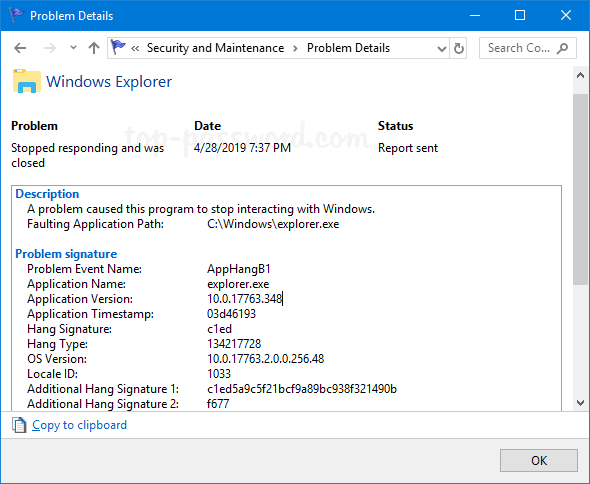
- When the Problem Details window opens, you can see the diagnostic data collected from an application and Windows at the time an application crashes, hangs, or stops working. Using this data, Microsoft can find bugs based upon the similarities in multiple crash reports for the same program.
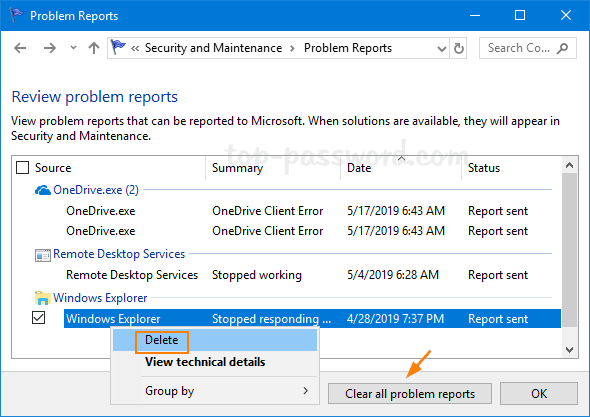
- In order to delete a particular problem report, just right-click it and select Delete from the context menu. When you need to delete all problem reports, simply click on the “Clear all problem reports” button at the bottom and you’re done.
That’s it!