Hot to lock the BitLocker encrypted drive without restarting system? By default, Windows will automatically unlock your BitLocker drive when you sign in to your account. If you’ve turned off auto-lock for BitLocker drive, you have to manually unlock it when your computer starts up. In this tutorial we’ll show you how to manually lock or unlock BitLocker encrypted drive in Windows 10 / 8 / 7.
Part 1: Manually Lock a BitLocker Drive
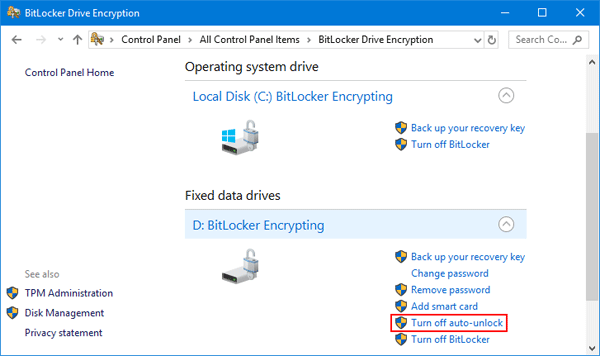
Before you can manually lock a BitLocker drive, make sure you’ve set up a BitLocker password for your hard drive and turn off the auto-lock feature. When your system is shut down, the drive will lock itself automatically.
If you want to manually lock a BitLocker drive, you have to do this through Command Prompt:
- Open the Command Prompt as administrator.
- Type the following command and hit Enter. Note: substitute d: in the command below with the drive letter of BitLocker drive you want to lock.
manage-bde -lock d: -forcedismount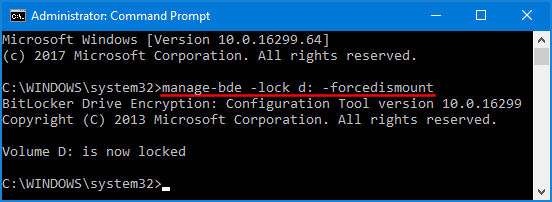
- Close Command Prompt. Your BitLocker drive is now locked and you’re unable to access it without providing your BitLocker password.
Part 2: Manually Unlock a BitLocker Drive
Unlocking a BitLocker drive is much easier than locking it. Follow these steps:
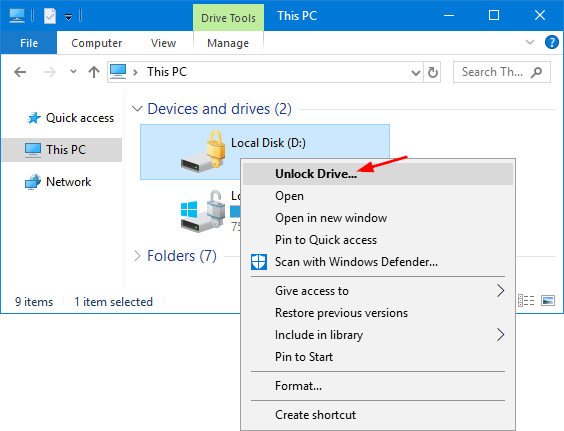
- Open Windows Explorer and right-click on the BitLocker encrypted drive, and then choose Unlock Drive from the context menu.
- You’ll get a popup in the upper right corner that asking for BitLocker password. Enter your password and click Unlock.
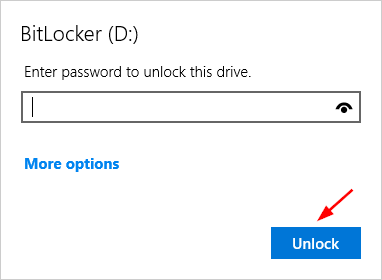
- The drive is now unlocked and you can access the files on it.
Of course, you can also unlock a BitLocker drive from an elevated Command Prompt. Just type this command and press Enter.
manage-bde -unlock d: -password
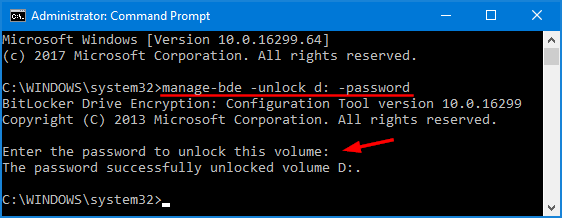
When prompted, type the BitLocker password for this drive and hit Enter. It will unlock your drive immediately.