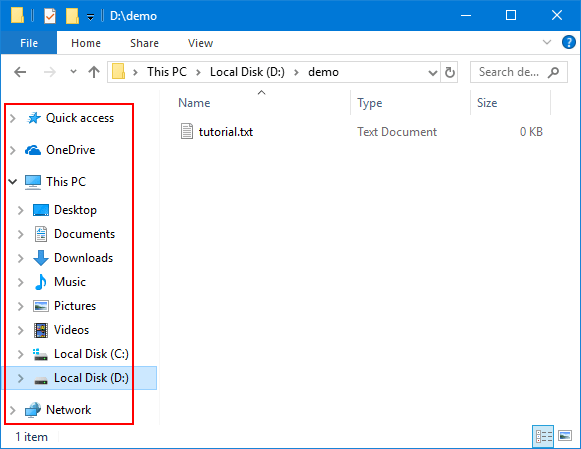
Navigation pane missing from File Explorer in Windows 10? By default, Windows Explorer will display the navigation pane in the left-hand column, which gives you quick access to the most frequently used items like This PC, Network, Quick access and so on. If you don’t like the navigation pane, it’s very easy to get rid of it. In this tutorial we’ll show you 2 ways to hide / show navigation pane in Windows Explorer (or File Explorer).
Method 1: Hide / Show Navigation Pane in Windows Explorer Using Ribbon
- Press the Windows key + E hotkey to open Windows Explorer.
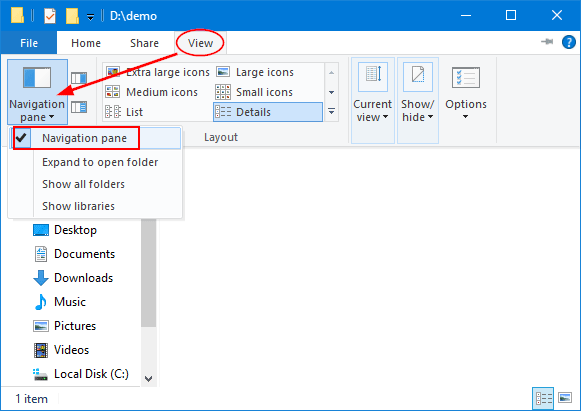
- Click the View tab, and then click the Navigation pane button in the ribbon. In the drop-down menu, you can click to check or uncheck the “Navigation pane” option. When it’s unchecked, the navigation pane will disappear from Windows Explorer.
Method 2: Hide / Show Navigation Pane in Windows Explorer with Registry Tweak
- Download one of the following registry files and save it on your desktop.
- Next, right-click on the .reg file and select Merge. If prompted by UAC, click on Yes.
- Click on Yes to confirm that you want to add the registry keys.

- Close all Explorer windows that are currently open, and re-launch Windows Explorer. You’ll see that the navigation pane is shown or hidden in File Explorer as you expected.