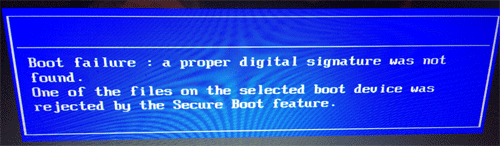
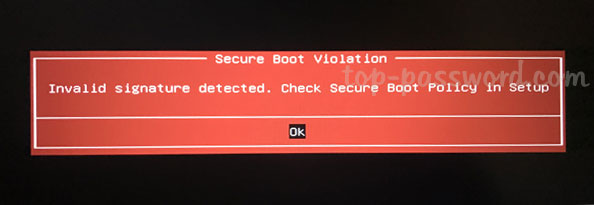
When your computer boots from a Live CD or a installation disk, you may get a red square in the center of a black screen, with the following error message:
“Secure Boot Violation. Invalid signature detected. Check Secure Boot Policy in Setup”
Secure Boot is a feature included on UEFI-based computers, which ensure that only Microsoft-authorized software can be booted. If you try to boot from a trusted but “unauthorized” operating system, you’ll still receive the “Secure Boot Violation” error. To fix this issue, you have to temporarily disable Secure Boot in the UEFI BIOS firmware.
How to Fix Secure Boot Violation on UEFI-Based Computer
- When turning on your computer, quickly and repeatedly press a certain key (F2, DEL, F12, ESC, etc.) to enter into UEFI BIOS.
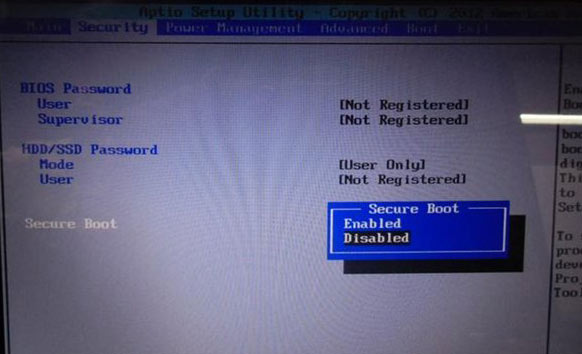
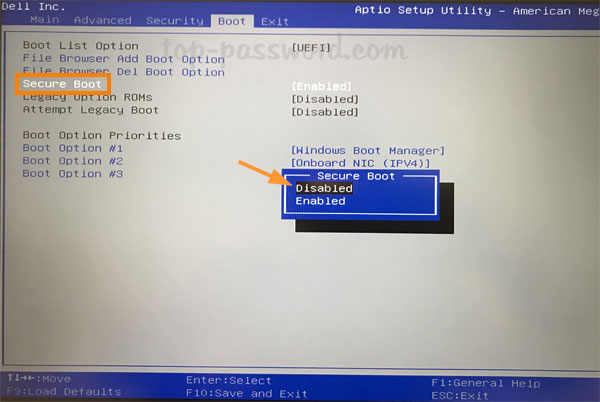
- Navigate to the Boot (or Security) tab, select the Secure Boot option and set it to disabled. If the Secure Boot option is greyed out, you may need to enable legacy / CSM support first.
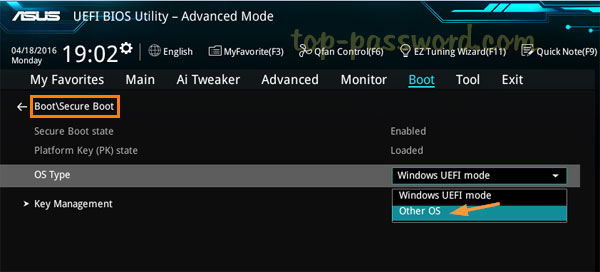
For ASUS computer’s UEFI BIOS, you have to press F7 to enter Advanced Mode. Go to Boot -> Secure Boot, change OS type from “Windows UEFI mode” to “Other OS”. Secure Boot is enabled when the OS type is set to “Windows UEFI mode” and disabled when it’s set to “Other OS”.
- Press F10 to Save the changes and reboot. Your computer should boot up as it is supposed to, without displaying the “Secure Boot Violation” error message.