VMware offers multiple types of virtual SCSI-adapters to use in your virtual machines. Based on your choice of operating system VMware will use Buslogic or LSI logic adapter by default. However, there is a Paravirtual SCSI controller that can improve performance for your virtual machines, especially in environments with high IO-loads. In this article we’ll walk you through the steps of installing Windows 8.1 on a boot disk based on PVSCSI adapter in VMware ESXi.
Part 1: Create A New Virtual Machine
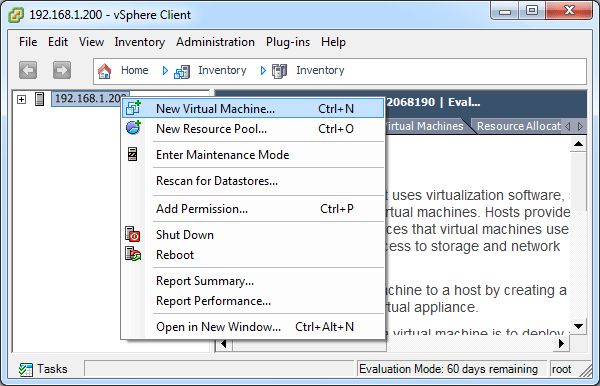
- Open up your VMware vSphere Client and log into your server. Once you’ve gained access to the vSphere Client, right-click on your server IP address and choose New Virtual Machine.
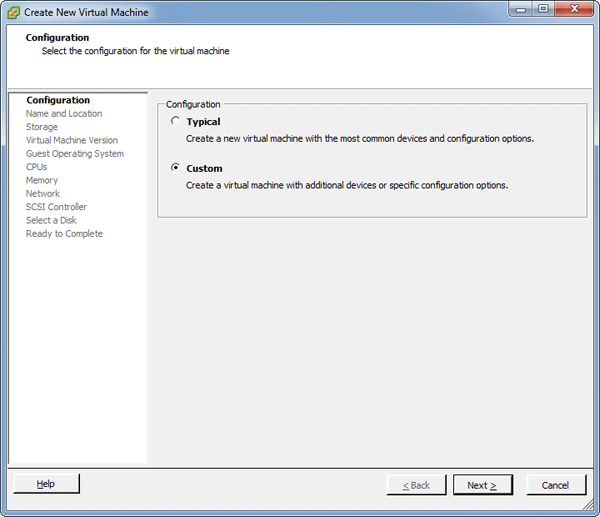
- This will launch the Create New Virtual Machine wizard as shown below. Choose Custom for the configuration as we need to specify VMware Paravirtual as the SCSI controller of this VM later.
- Specify the name of the VM instance in the “Name and Location” section. In this example, I gave Windows 8.1 as the VM name.

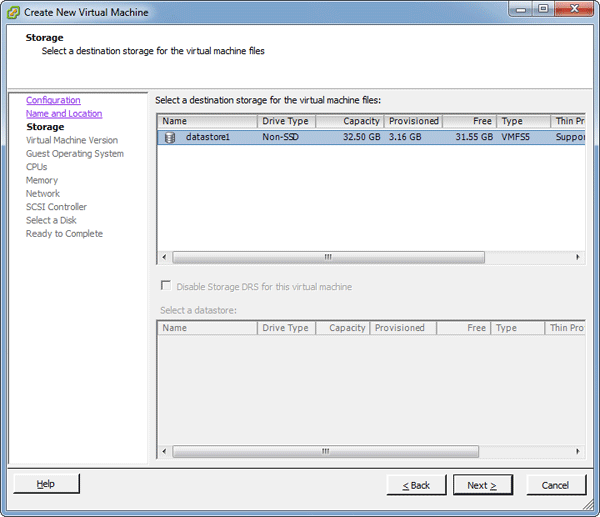
- This step prompts you to choose a datastore as the location of your virtual hard disk. In this example, there is only one datastore available with the name datastore1 in my VMware ESXi server.
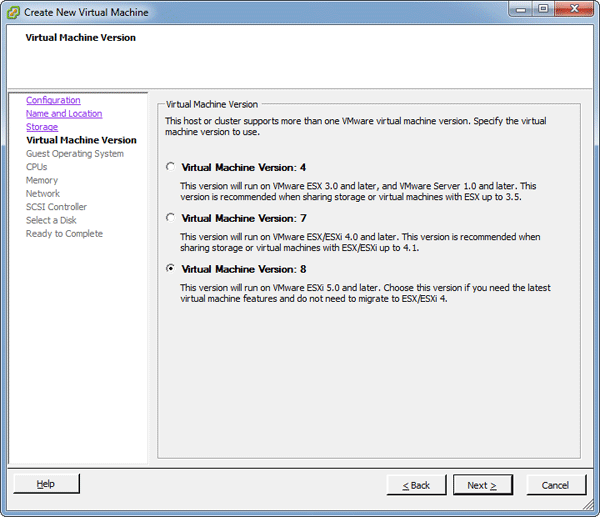
- Next vSphere client asks for the version of virtual machine to be set up. This will only be a concern if you are using this machine with an older version of VMware ESXi. I would choose the latest version 8.
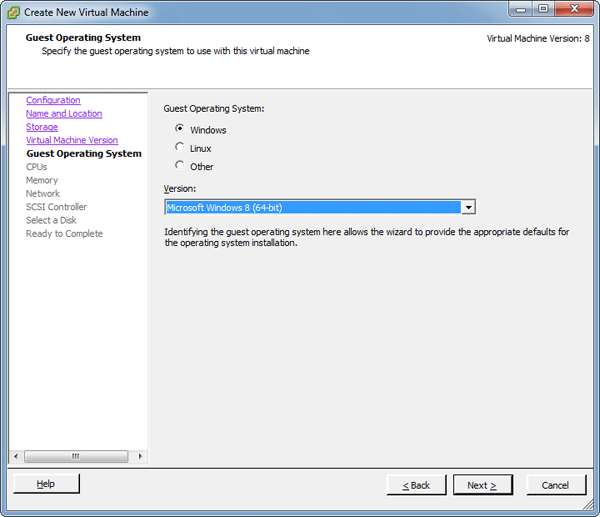
- Choose what operating system you would like to install on your virtual machine.
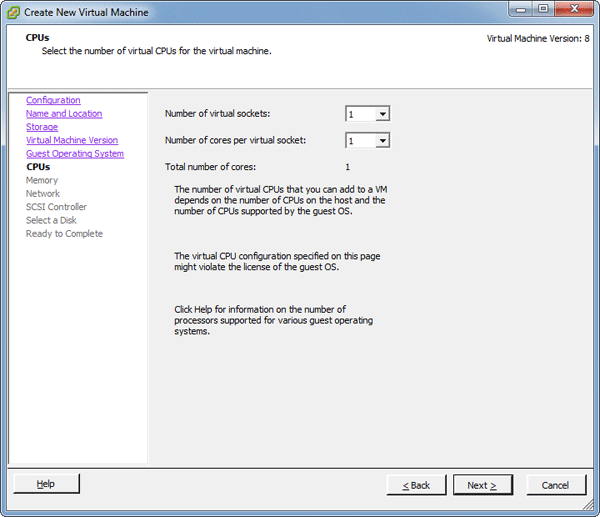
- Next you are prompted for the number of processors. The value set here is what the virtual machine will think it has. You can allocate a maximum equal to the number of physical cores you have.
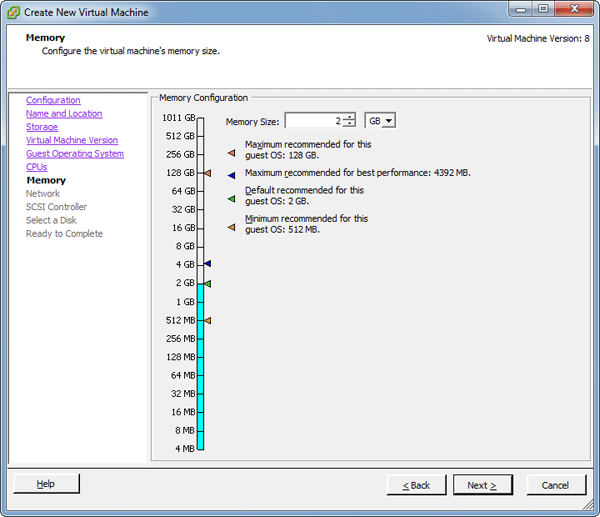
- Next you can configure the amount of RAM to be allocated to the virtual machine.
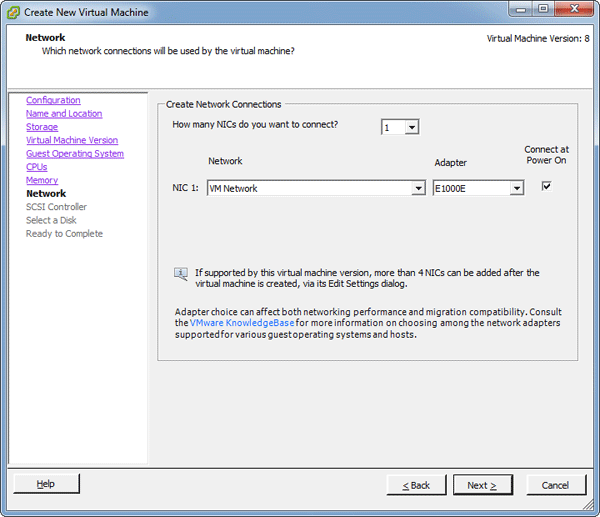
- Next you can specify if the number of NICs to be allocated to the virtual machine. Here I will leave it at the default value.
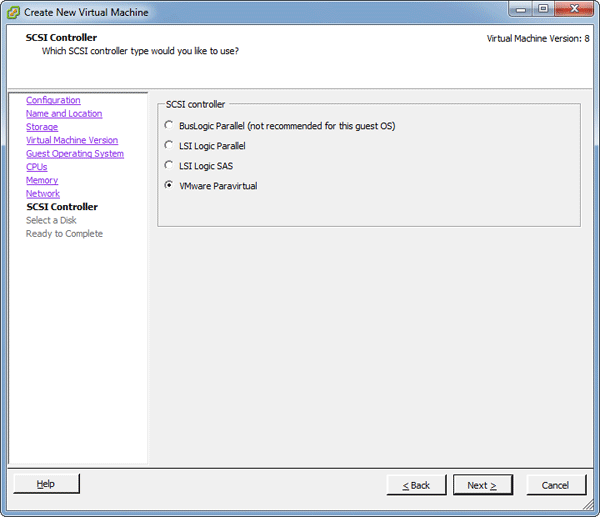
- Choose VMware Paravirtual as it is high-performance storage adapter that can result in greater throughput and lower CPU utilization.
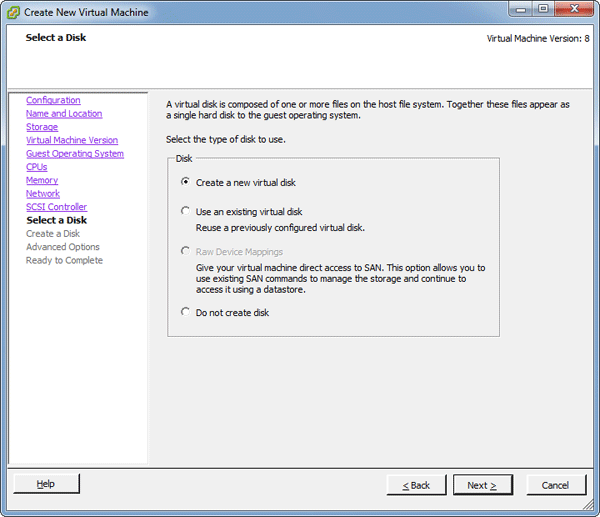
- Next comes the step of setting up a virtual hard disk. You could alternatively use an existing virtual disk that you have created before, or create a new virtual disk.
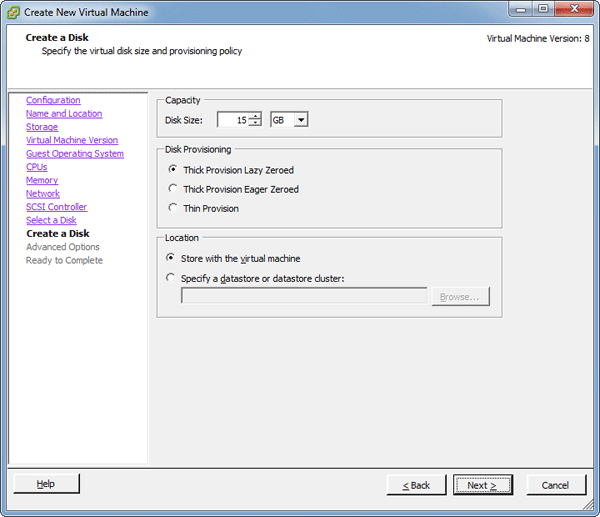
- Choose how much disk space you would like to allocated from the datastore for this particular VM. In this example, the available disk space in the datastore1 is 40 GB. I’ll allocate 15 GB for the virtual disk of this VM.
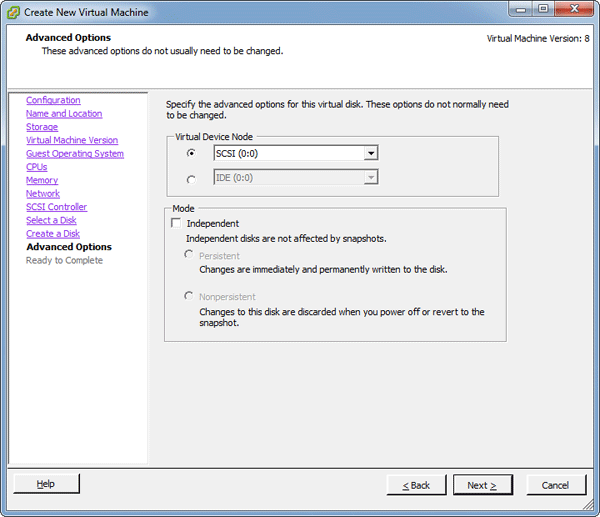
- Next I would need to specify how the virtual disk is connected. Select SCSI as virtual device node and click Next.
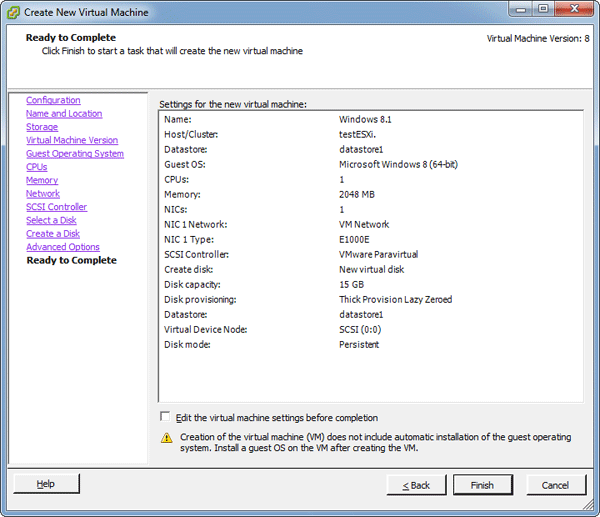
- Your virtual machine is almost done. Review your settings and then click Finish. The VMware ESXi server starts to create the virtual machine.
Part 2: Mount PVSCSI Driver to Virtual Floppy Drive
Because Windows 8.1 and Windows Server 2012 don’t provide VMware PVSCSI driver directly on the installation media, we need to mount the PVSCSI driver to the floppy drive. Follow these steps:
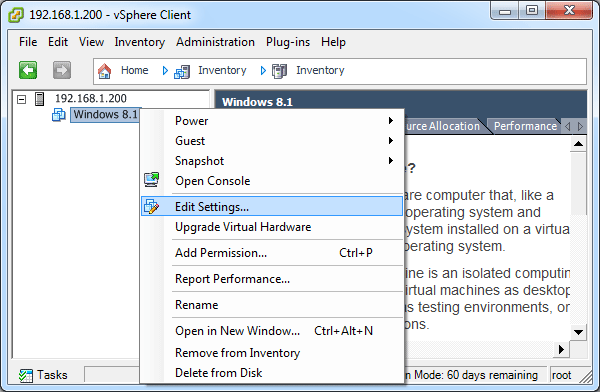
- When the virtual machine has been created, right-click on it in the inventory and click Edit Settings.
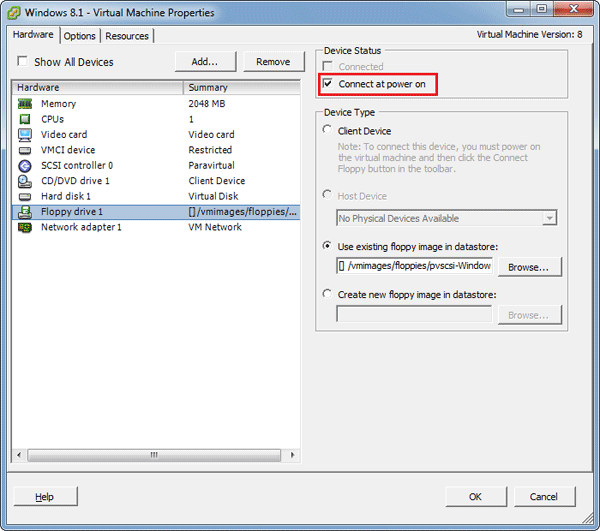
- When the Virtual Machine Properties dialog appears, click Hardware tab and select Floppy drive 1.

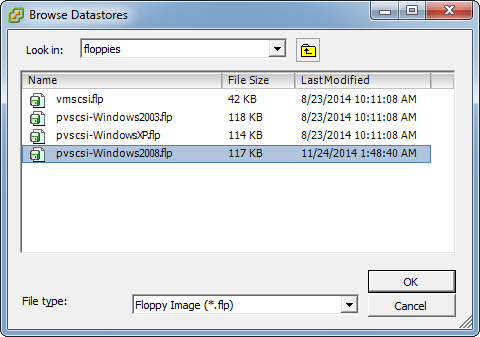
- Select “Use existing floppy image in datastore“, browse to folder vmimages > floppies and then select pvscsi-Windows2008.flp. Click OK.
- Check “Connect at power on“. Click OK to save your changes.
Part 3: Install Windows 8.1
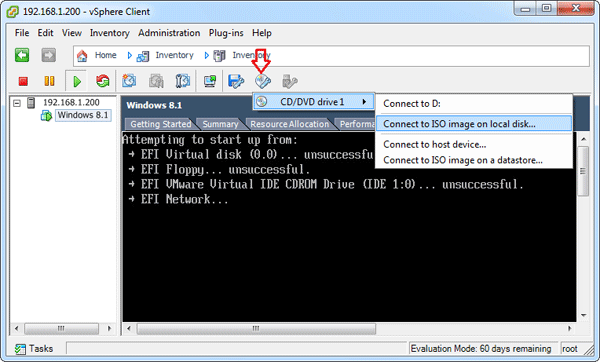
- Power on the newly-created virtual machine. On the toolbar on top of the screen, click the CD icon, mouseover CD/DVD drive 1, and then select your Windows 8.1 setup disc or Windows 8.1 ISO image.
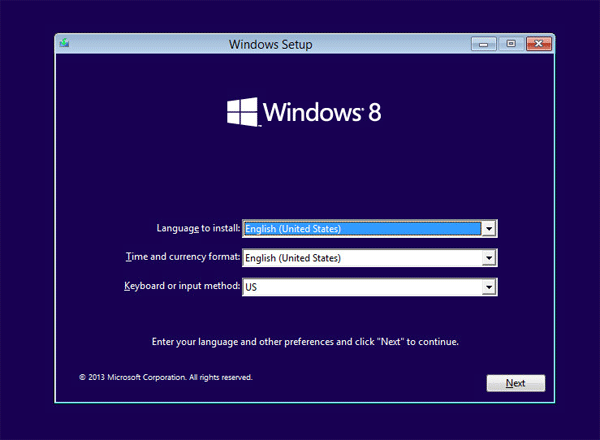
- After the VM boots from Windows 8.1 setup disc or ISO image, you’ll see the message “Press any key to boot from CD“. Press a key and you’ll get to the Windows Setup screen.
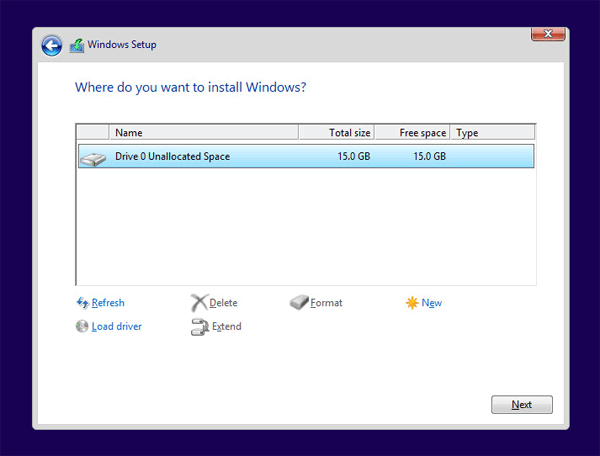
- Follow the on-screen instructions to complete the installation. However, when you come to the step which prompts you to choose a partition for Windows 8.1 installation, you’ll notice that it is unable to find any hard disks due to the lack of native driver support with VMware Paravirtual.
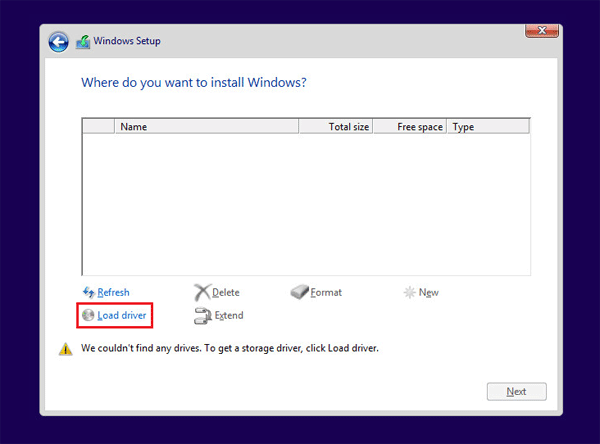
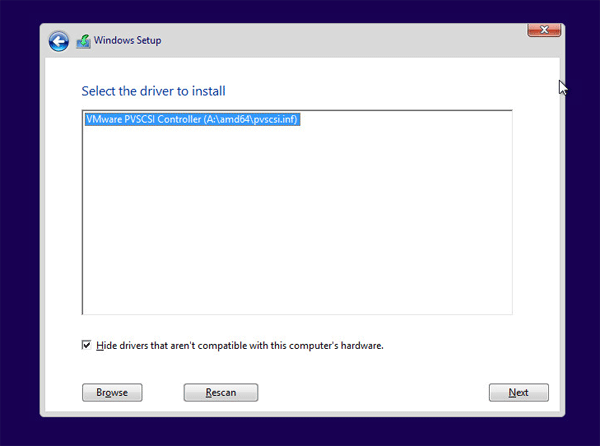
- In order to load the PVSCSI driver, click Load Driver. Browse to the Floppy Disk Drive (A:) > amd64 and click OK.
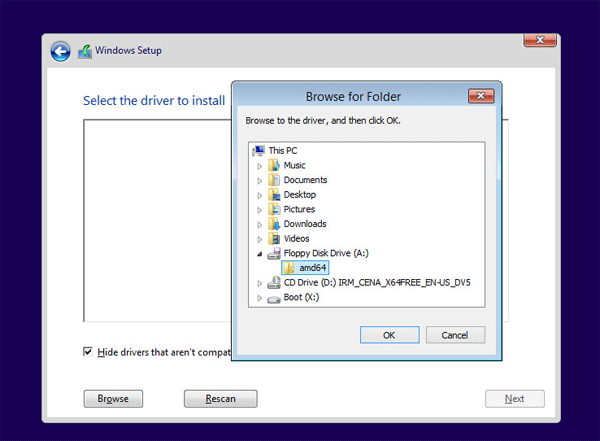
- At this point you’ll see the VMware PVSCSI controller driver is detected, click Next to load the driver.
- Now you’ll then be able to see the hard disk.
Run through the rest of the Windows Installation as you normally would.