Office Word lets you add page numbers to all the pages in your document easily. But if your document has a cover page and you want to start page numbers on page 2 or 3, the steps are a bit complicated. In this tutorial we’ll walk you through the steps to insert page number in Microsoft Word 2019 / 2016 from specific page.
How to Insert Page Number in Word 2019 / 2016 from Specific Page
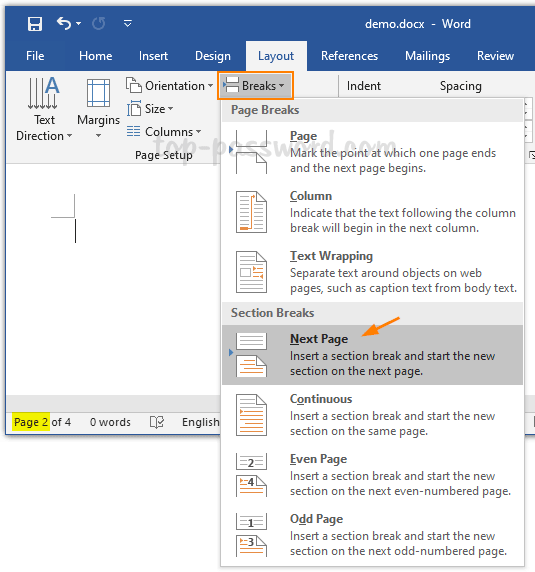
- Click the page you want to start numbering from. Go to the Layout tab on the Ribbon and click the Breaks button, then choose the “Next Page” option.
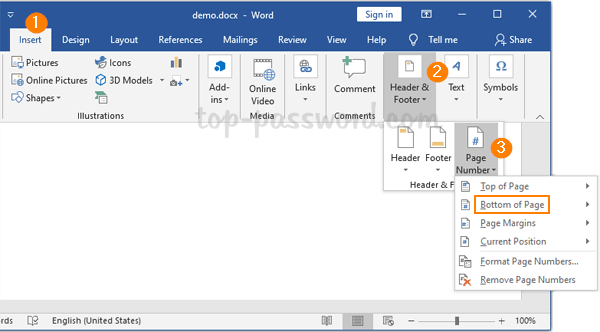
- Switch to the Insert page. Click the “Page Number” button in the “Header & Footer” section, and then choose where you’d like the page numbers to appear.
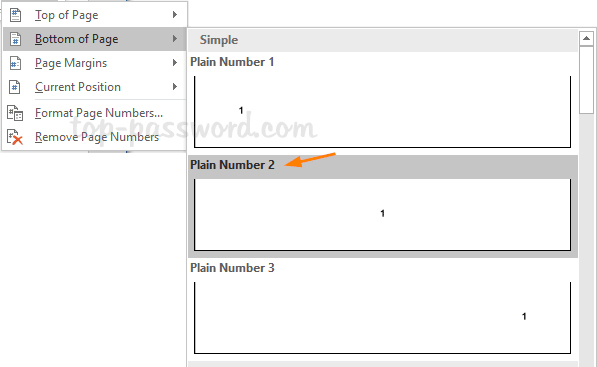
- Proceed to choose the numbering style you would like to use.
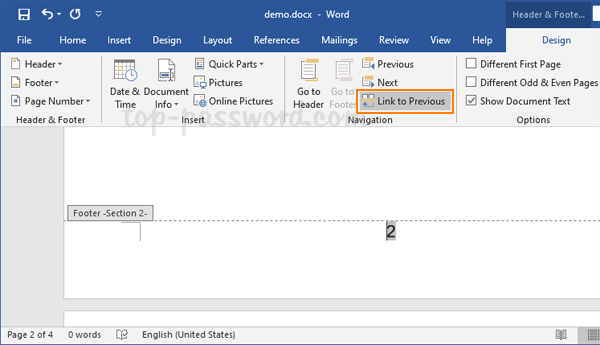
- Under the Design tab, click the “Link to Previous” button in the Navigation section and make sure it is not highlighted.
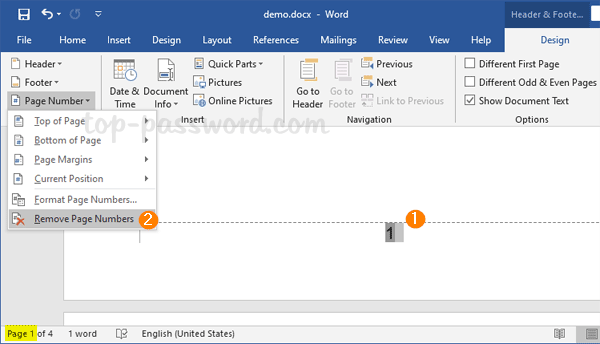
- Next, scroll to each page you don’t want numbered and delete the page number from the header or footer. To delete a page number, click the “Page Number” button in the “Header & Footer” section, and then select the “Remove Page Numbers” option.
- Finally, select the number which appears on the page you want to start numbering from, click the “Page Number” button and select “Format Page Numbers…”

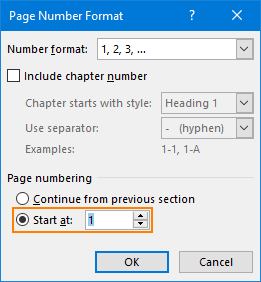
- In the Page Number Format window, choose to start page numbering at 1, and click OK.
- Click the “Close Header and Footer” button on the Ribbon and you’re done.