Microsoft Word allows you to embed fonts in a Word document, so the recipient can view and print your document on another PC that doesn’t have the font installed. In this tutorial we’ll walk you through the steps to embed your fonts in a Microsoft Word document on Windows 11 / 10.
4 Steps to Embed Fonts in a Microsoft Word Document
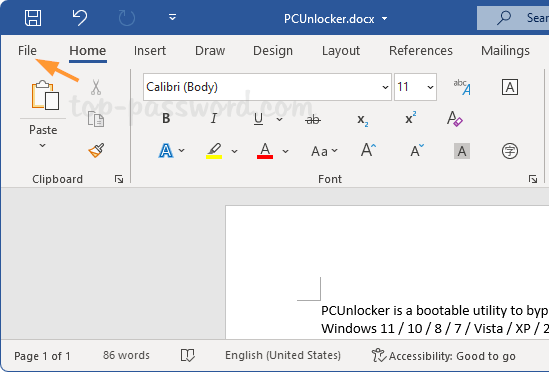
- When working with your document in Microsoft Word, click the File menu in the upper left corner.
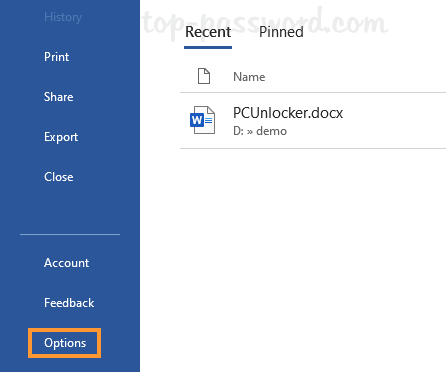
- Click Options at the bottom of the left column.
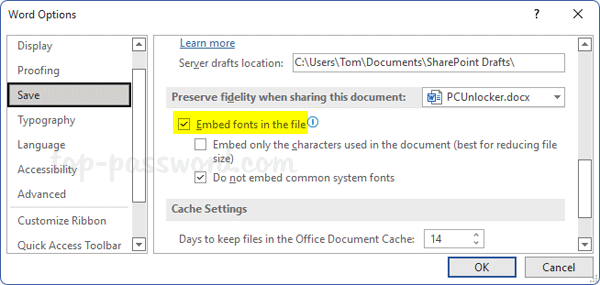
- When the Word Options dialog box opens, choose the Save tab in the left pane. Under Preserve fidelity when sharing this document, check the “Embed fonts in the file” option. Click OK.
- Save your document as normal, the fonts used in the document will be automatically embedded in the file and the file size will increase subsequently.
That’s it!