Despite touchpads have improved over the years and they support so many gestures, users still won’t like using the touchpad for gaming, and have to manually switch between the touchpad and traditional mouse. In this tutorial we’ll show you 2 ways to configure Windows 10 to automatically disable touchpad only when a USB mouse is connected.
Method 1: Automatically Disable Touchpad When Mouse is Connected Using Settings App
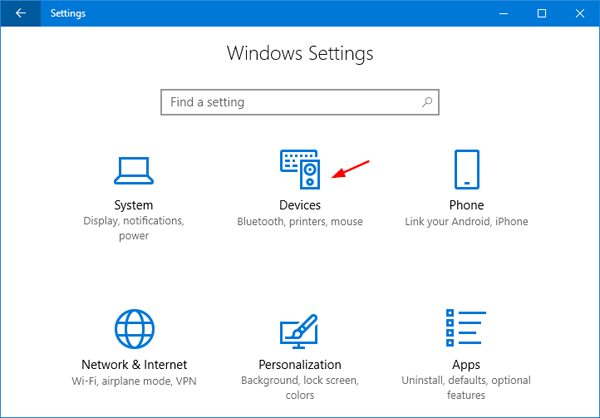
- Press the Windows key + I shortcut to open the Settings app. Click on Devices.
- Select the Touchpad tab. Simply uncheck the “Leave touchpad on when a mouse is connected” option on the right.

- Close the Settings app. Now, connecting a USB mouse to your PC will automatically disable the touchpad, while your touchpad will restore to work when the mouse is unplugged.
Method 2: Automatically Disable Precision Touchpad When Mouse is Connected Using Control Panel
If you don’t have a precision touchpad, you have to disable touchpad only when a USB mouse is connected using the Control Panel. Follow these steps:
- Open the Control Panel. Set the View by option to Large icons and then click on Mouse.
- When the Mouse settings window opens, go to the Device Settings tab, and check the “Disable internal pointing device when external USB pointing device is attached” option.
- Click Apply and then OK.