By default, most system files are protected by TrustedInstaller. Even a user logged in as administrator doesn’t have permissions to modify the system files. When you need to modify a system file, you need to change the owner of the file from TrustedInstaller to your current account. However, later on, you may want to restore the ownership back to TrustedInstaller but you’ll find TrustedInstaller is not present in the users/groups list. So here we’ll show you how to change the owner of your system files back to TrustedInstaller in Windows 10.
How to Change File Ownership Back to TrustedInstaller in Windows 10?
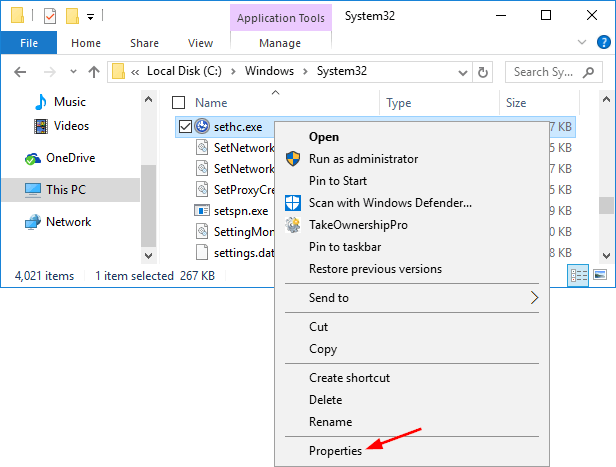
- Open Windows Explorer and locate the file (or folder) that you want to change ownership of. Right-click on the file and select Properties from the context menu.
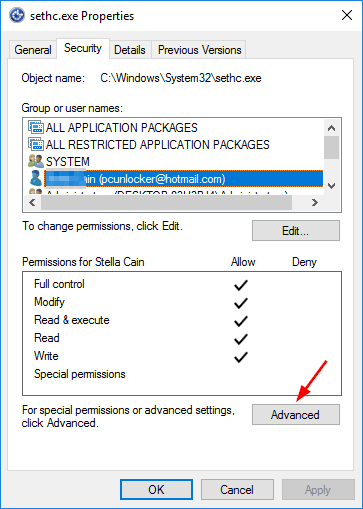
- This will open its Properties window. Now go to Security tab, and then click the Advanced button near bottom right corner.
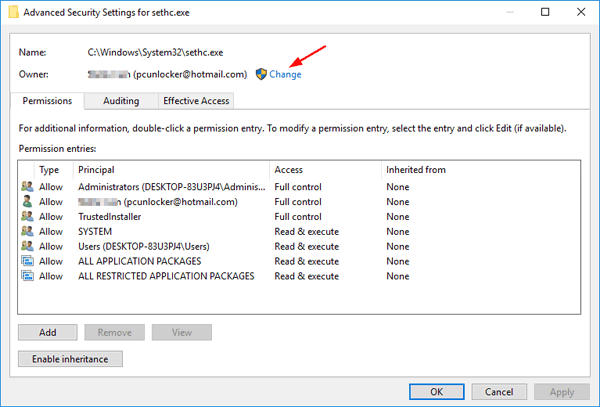
- Click on the Change link next to Owner appearing at the top of the Advanced Security Settings window.
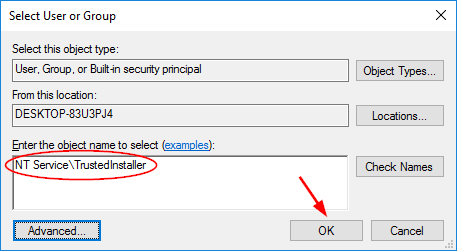
- This will open the Select User or Group window. Here, simply copy NT Service\TrustedInstaller and then paste it in the object name box and then click OK.
- Now you’ll be back at the Advanced Security Settings window. Under the Permission entries list, you can change or restore the file permission back to what it was. By default, all users (except TrustedInstaller) have only Read/Execute permissions over the system files.
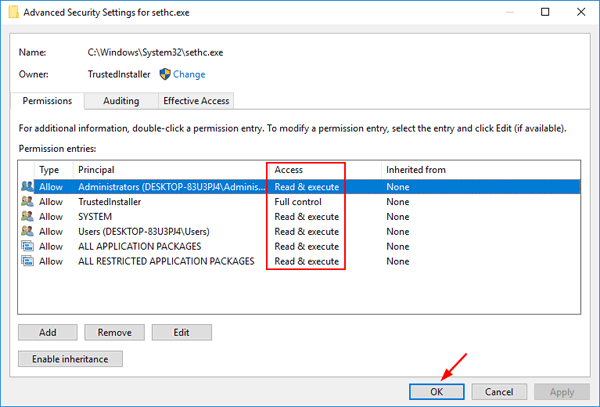
- Click Apply and then OK. Now you have successfully restored TrustedInstaller as default owner of a system file or folder in Windows 10.