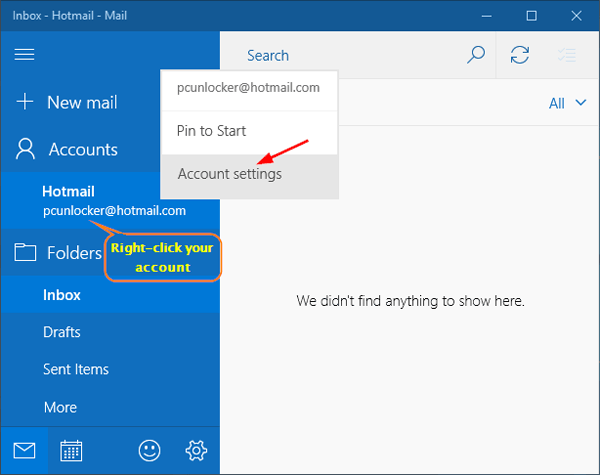
How do I know if I have a Microsoft account in Windows 10? In Windows 10/8, users are encouraged to use a Microsoft account (Hotmail, Live, Outlook.com, etc) to log into the system, but you can continue using a traditional local account. It’s a little confusing and you may not know which type of Windows account you have. In this tutorial we’ll show you 3 simple ways to find if you use a local account or a Microsoft account in Windows 10 / 8.
Method 1: Find If You Use Local or Microsoft Account from PC Settings
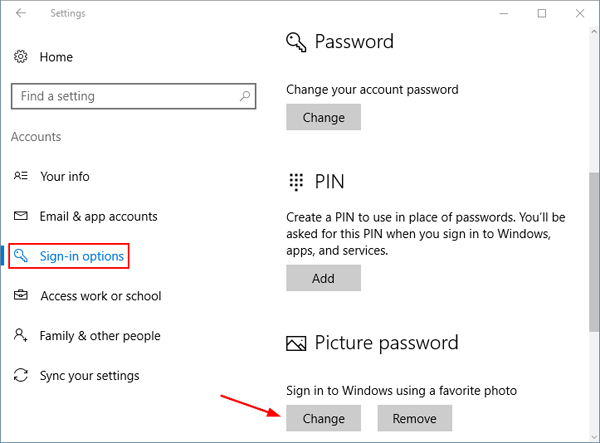
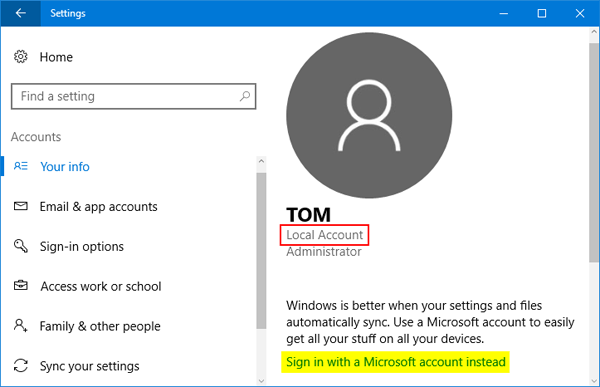
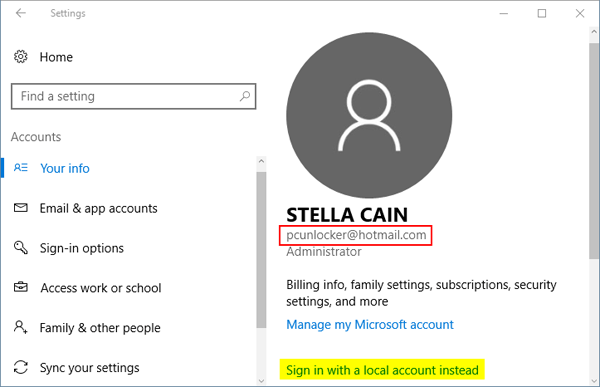
To get started, press Windows logo key + I simultaneously to open the Settings app. Click Accounts and then select the Your info tab in the left pane.
If you are logged in as a local account, you’ll see the text label Local Account under your account name (see the screenshot below). There is also an option underneath which allows you to switch it to a Microsoft account.
If you are logged in as a Microsoft account, you’ll see a Microsoft email address under your account name (see the screenshot below). There is also an option underneath which allows you to switch it to a local account.
Method 2: Find If You Use Local or Microsoft Account from Windows Login Screen
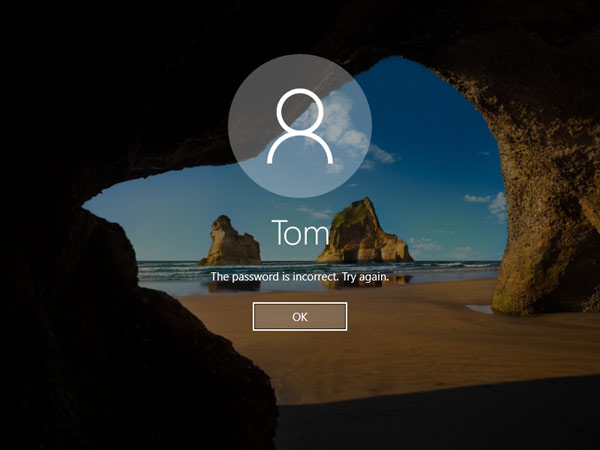
Couldn’t sign into Windows 10 / 8? You can also find if your account is a local account or a Microsoft account. When booting to Windows sign-in screen, type an incorrect password and press Enter.
If your selected user is a local account, you’ll get a failure message that says “The password is incorrect. Try again.”
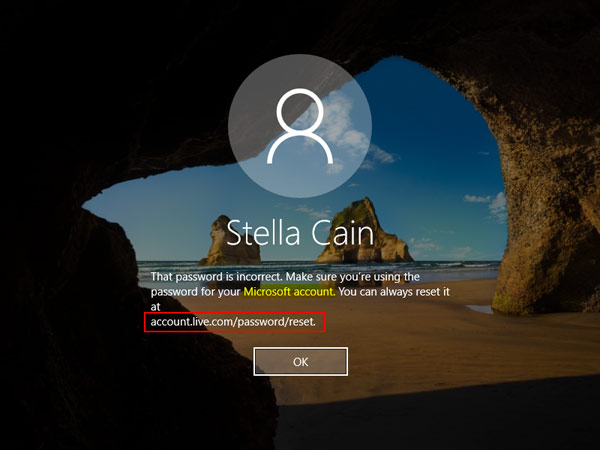
If your selected user is a Microsoft account, you’ll see the following error message that prompts you to reset password online via Microsoft website:
“That password is incorrect. Make sure you’re using the password for your Microsoft account. You can always reset it at account.live.com/password/reset.”
Method 3: Find If You Use Local or Microsoft Account Using PowerShell
Type PowerShell into the Cortana search box (lower left of your screen), and click Windows PowerShell from the search result.
This will bring up the PowerShell console. Once here, type whoami and hit Enter. This will display the user you are currently logged in.
Next, you can use the Get-LocalUser cmdlet to view your account details. Replace jack with your account name.
Get-LocalUser -Name 'jack' | Select-Object *
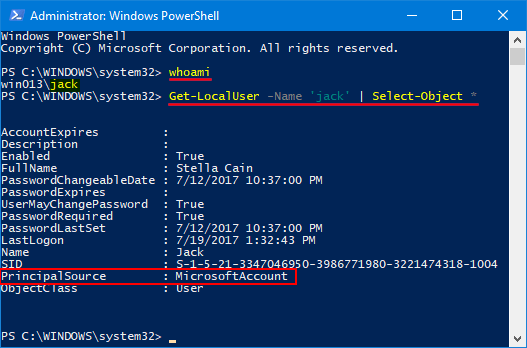
The output of this command will list all the account properties. Look for the line beginning with “PrincipalSource“. There we can see if your currently logged-in user is a Microsoft account or a local user.
That’s all!