Archive for October, 2016

5 Ways to Launch Server Manager in Windows Server 2012

October 8th, 2016 by Admin

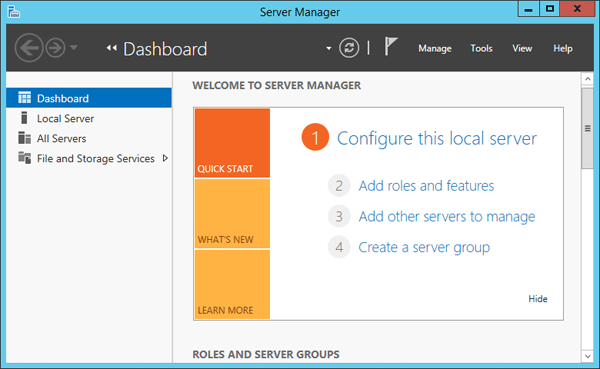
Server Manager is a management console (MMC) in Windows Server 2012 that allows you to add server roles / features, manage and deploy server remotely. In this tutorial we’ll show you 5 ways to launch Server Manager in Windows Server 2012.

server-manager

Method 1: Launch Server Manager from Command Line

Press the Windows key + R to open the Run box, or open the Command Prompt. Type ServerManager and press Enter.

run-server-manager

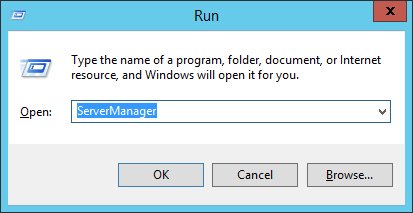
This should be the most common and quickest way to open Server Manager in Windows Server 2012 / 2008.

Method 2: Launch Server Manager from Taskbar

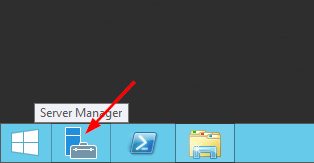
By default, the Server Manager shortcut is pinned to the taskbar. Just click the Server Manager icon and you can run Server Manager immediately.

server-manager-in-taskbar

Method 3: Launch Server Manager from Start Screen

Click the Start button to open the Start Screen.

server-manager-in-start-screen

As you can see in the picture above, the Metro interface gives you access to Server Manager.

Method 4: Launch Server Manager Using PowerShell

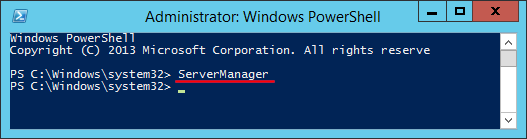
Open PowerShell in Windows Server 2012. Type ServerManager and press Enter.

run-server-manager-via-powershell

Method 5: Create a Desktop Shortcut to Launch Server Manager

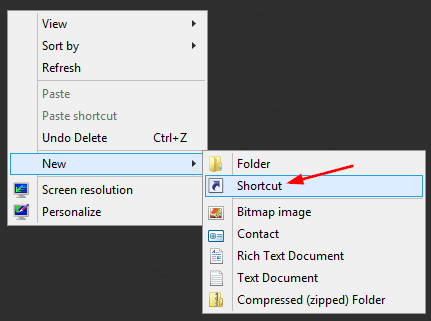
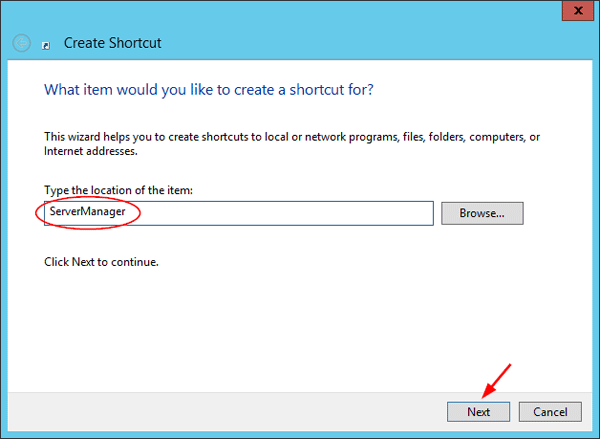
Right-click on any empty space on your desktop. Select New -> Shortcut from the context menu.

new-desktop-shortcut

Type ServerManager in the shortcut location box and click Next.

specify-shortcut-location

Give a name for the shortcut and click Finish.

type-name-for-shortcut

You should now see a new desktop shortcut on the desktop. Double-click it and you can launch Server Manager quickly.

server-manager-shortcut

That’s it!

How to Enable USB Write Protection in Windows 10, 8 and 7

October 1st, 2016 by Admin

Worry about someone copying files off your PC via USB drive? The most common solution is to disable or restrict the usage of USB ports. In this tutorial we’ll show you another way to enable write protection of all USB drives that are connected to your Windows operating system.

How to Enable USB Write Protection in Windows 10, 8 and 7?

  1. Press the Windows key + R to open the Run box. Type regedit and press Enter.

    regedit-via-run

  2. This will open the Registry Editor. Navigate to the following key:
    HKEY_LOCAL_MACHINE\SYSTEM\CurrentControlSet\Control
  3. Right-click on the Control key in the left pane, select New -> Key. Name it as StorageDevicePolicies.

    new-registry-key

  4. Select the StorageDevicePolicies key in the left pane, then right-click on any empty space in the right pane and select New -> DWORD (32-bit) Value. Name it WriteProtect.

    new-dword-value

  5. Double-click on WriteProtect and then change the value data from 0 to 1.

    usb-write-protect

  6. The new setting takes effect immediately. Every user who tries to copy / move data to USB devices or format USB drive will get the error message “The disk is write-protected“. We can only open the file in the USB drive for reading, but it’s not allowed to modify and save the changes back to USB drive.

    disk-is-write-protected

So this is how you can enable write protection to all connected USB drives. If you want to disable write protection at a later time, just open Registry Editor and set the WriteProtect value to 0.