Every time you try to access or edit the sensitive info related to your Microsoft account, you might need to enter the security code Microsoft sent to you for verifying your identity. If you set your PC as a trusted device associated with your Microsoft account, Microsoft won’t ask you to enter a security code any longer. This tutorial shows you 2 ways to add your Windows 10 computer as trusted devices for your Microsoft account, and remove a trusted PC that’s lost or stolen.
Method 1: Set Windows 10 PC as Trusted Device from the Settings App
If you use a Microsoft account for signing into Windows 10, you can make your computer a trusted device from PC Settings. Here’s how:
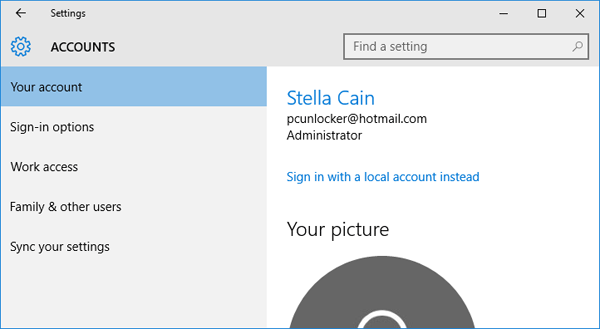
- Press the Windows key + I to open the Settings app. Click on the Accounts icon.
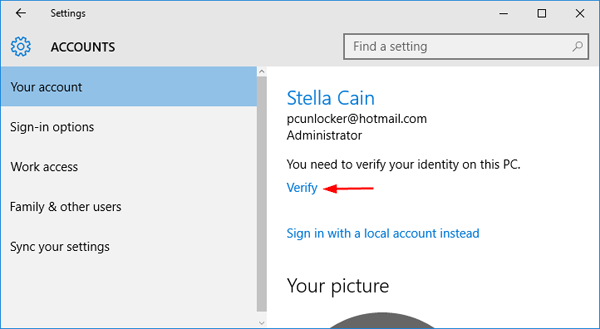
- Click on Your account on the left side, and click the Verify link on the right side panel.
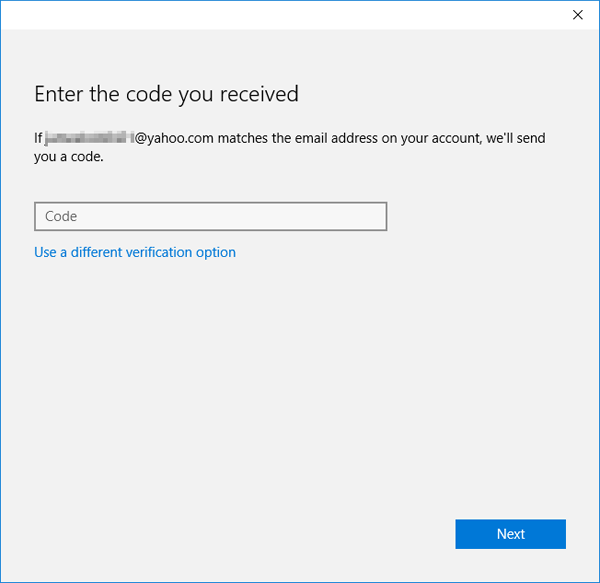
- Enter the alternate email address for your Microsoft account to receive a security code. Click Next.
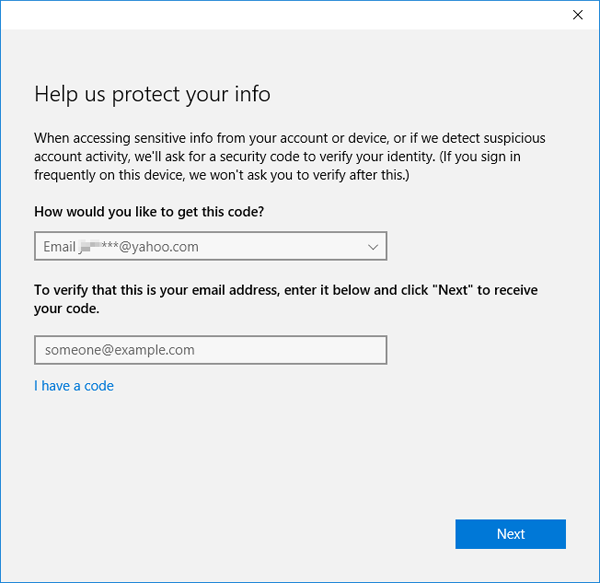
- Type in the security code that Microsoft sends to your alternate email account. Click Next.
- Your current PC has now been added a trusted device associated with your Microsoft account. Go to the Settings app, and then Accounts, you should find the Verify link disappeared.
Method 2: Set Windows 10 PC as Trusted Device from Microsoft’s Online Website
- Open your web browser on the computer you want to trust. Visit the Microsoft online website and sign in to your Microsoft account.
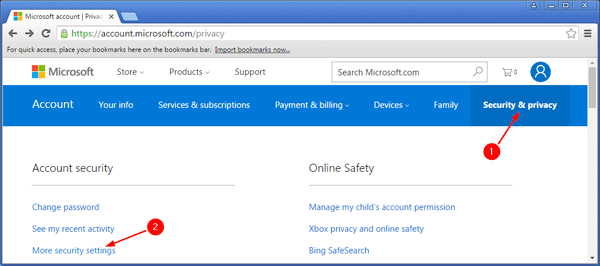
- After successfully entering your email address and password, you’ll be taken to an account summary page. Click on the Security & Privacy tab, and click on the More security settings.
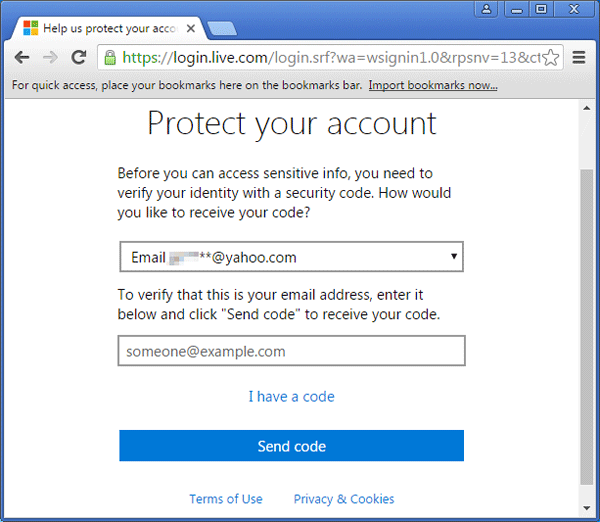
- Enter the alternate email address to get a security code for verification. Click on Send code.
- Enter the security code received, check the box “I sign in frequently on this device. Don’t ask me for a code” and click on Submit. You can now edit your sensitive info on this device whenever you want, without entering another security code.

How to Remove Trusted Devices from Your Microsoft Account
When your trusted device is lost or stolen, or you don’t use the device any longer, follow these steps to remove trusted devices from your Microsoft account:
- Open your web browser on the trusted computer. Visit the Microsoft online website and sign in to your Microsoft account.
- After successfully entering your email address and password, you’ll be taken to an account summary page. Click on the Security & Privacy tab, and click on the More security settings.
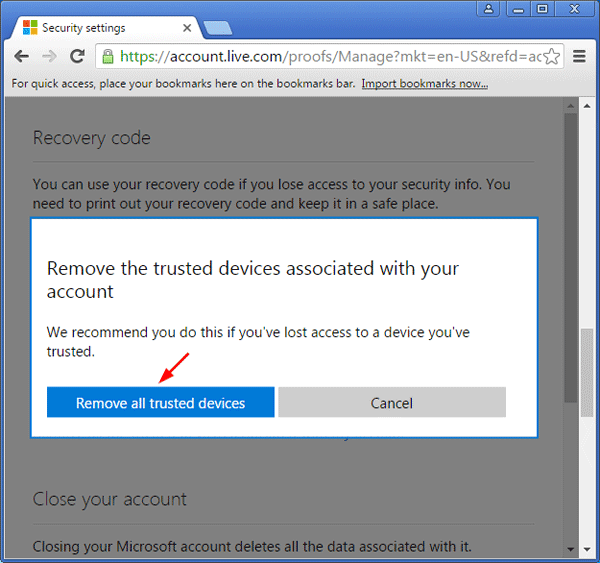
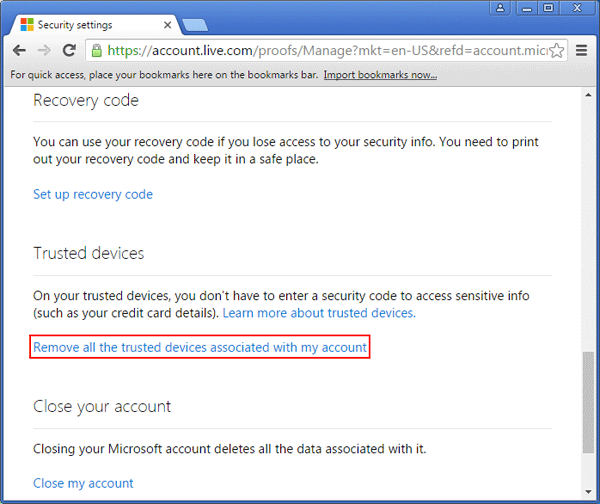
- Scroll down to the Trusted devices section, and click on the Remove all the trusted devices associated with my account option.
- Click on Remove all trusted devices to confirm.