By default, Windows Firewall doesn’t allow inbound / outbound requests for SQL Server. If you try to connect to a SQL Server instance from network, you might get the error saying “The server was not found or was not accessible”. In this tutorial we’ll show you 2 ways to configure Windows Firewall to allow SQL Server access.
Method 1: Allow SQL Server Access Through Control Panel
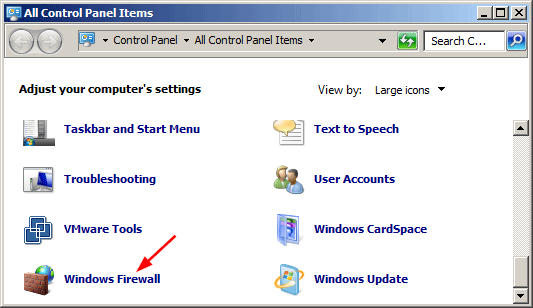
- Open Control Panel in Large icons or Small icons view, click on Windows Firewall.
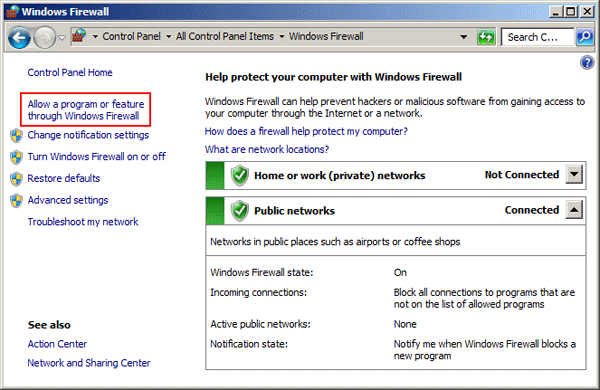
- Click the link “Allow a program or feature through Windows Firewall” on the left of window.
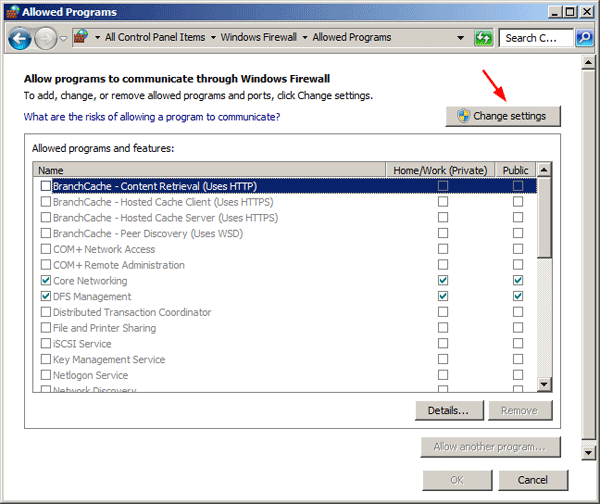
- You will now see a list with all the apps which are allowed to communicate through the Windows Firewall. To change the rules, you need to click the Change Settings button. The list of rules will no longer be gray and you will be able to edit it.
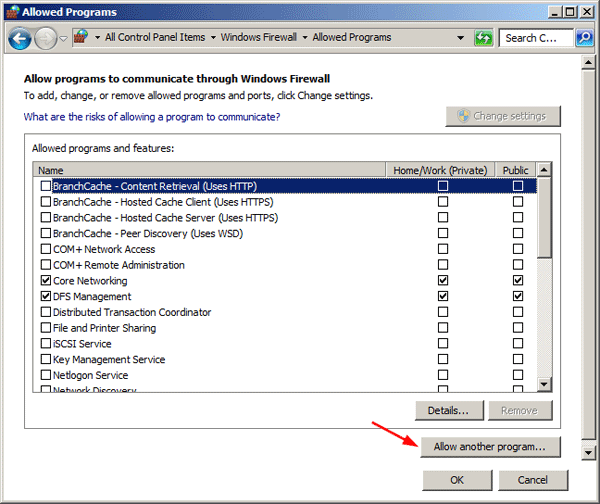
- Click the “Allow another program…” button.
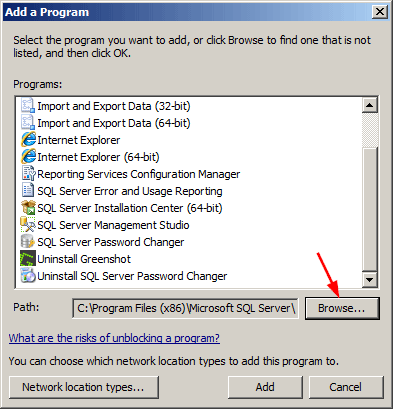
- From the “Add a Program” window, click the Browse button.
- Navigate to the installation path for your SQL Server instance and select sqlservr.exe, and click Open. In my example, the location is
C:\Program Files\Microsoft SQL Server\MSSQL10.SQLEXPRESS\MSSQL\Binn\sqlservr.exe.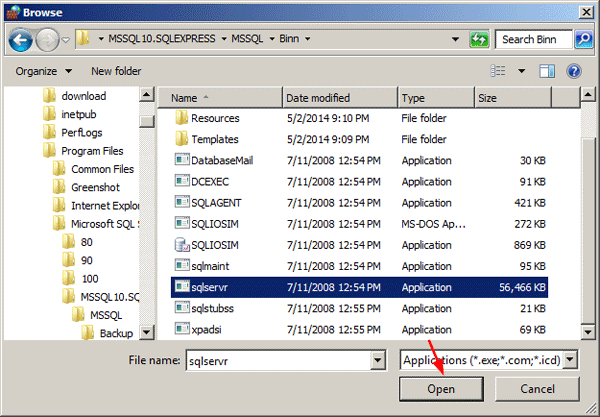
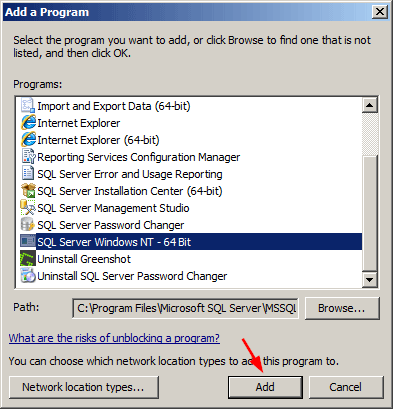
- You’ll back to the “Add a Program” window and see SQL Server is added to the list. Click the Add button.
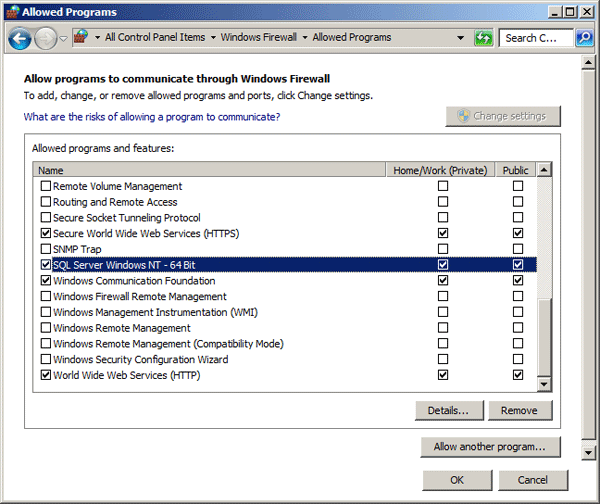
- SQL Server now appears in the list of Allowed programs and features. You can check any of the location types: private or public. When done, press OK.
Method 2: Allow SQL Server Access Through Command Prompt
- Open an elevated Command Prompt.
-
You can run the Netsh advfirewall command to open all ports for SQL Server connections. Assuming the path of your SQL Server service is C:\Program Files\Microsoft SQL Server\MSSQL10.SQLEXPRESS\MSSQL\Binn\sqlservr.exe, copy / and paste the following commands in the Command Prompt, press Enter after each.
netsh advfirewall firewall add rule name="SQL Server TCP" protocol=tcp dir=in action=allow program="C:\Program Files\Microsoft SQL Server\MSSQL10.SQLEXPRESS\MSSQL\Binn\sqlservr.exe" enable=yes profile=any localip=any localport=any remoteip=any remoteport=anynetsh advfirewall firewall add rule name="SQL Server UDP" protocol=udp dir=in action=allow program="C:\Program Files\Microsoft SQL Server\MSSQL10.SQLEXPRESS\MSSQL\Binn\sqlservr.exe" enable=yes profile=any localip=any localport=any remoteip=any remoteport=any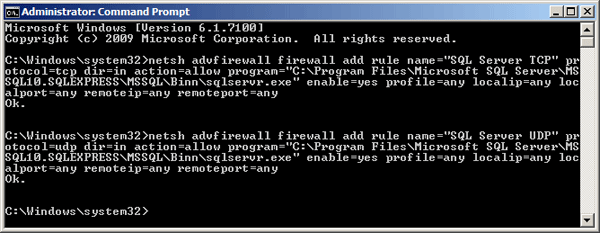
- When it’s done, you’ve successfully opened up all ports to allow SQL Server access through Windows Firewall.