If you’ve enabled BitLocker with TPM, performing a firmware (BIOS or UEFI) update will be interpreted as a boot attack and the computer will require you to enter BitLocker recovery key during boot. To get around this issue, you can suspend BitLocker protection before updating BIOS/UEFI. When the update is complete you can resume BitLocker. That way, you won’t have to enter the recovery key at all. In this tutorial we’ll show you 3 ways to suspend or resume BitLocker protection in Windows 10.
Method 1: Suspend or Resume BitLocker Protection from Control Panel
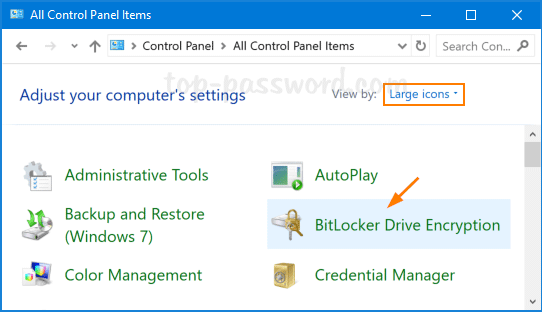
- Open the Control Panel and set the View by option to Large icons, then click on BitLocker Drive Encryption.
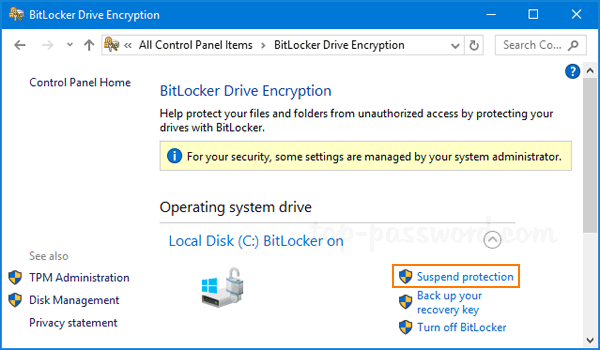
- Click the Suspend protection link next to your desired BitLocker encrypted drive.
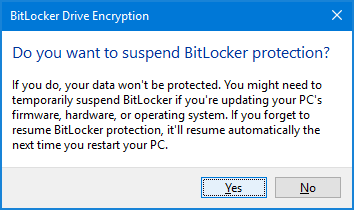
- Click Yes to confirm.
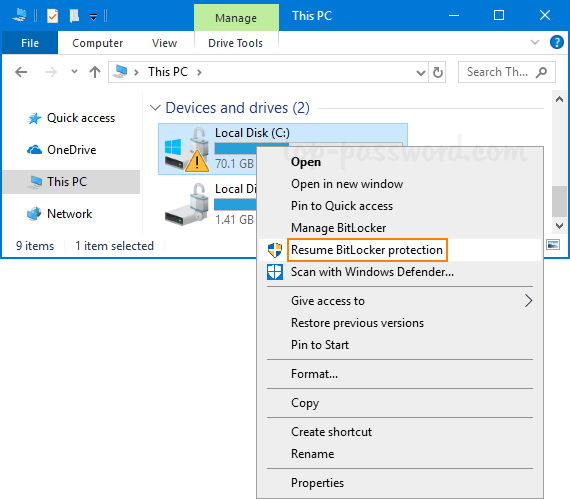
- Now, your drive will now list its status as suspended with a exclamation point inside a yellow triangle over the drive logo. When you need to resume BitLocker protection, right-click on your drive in File Explorer and then select Resume BitLocker protection.
Method 2: Suspend or Resume BitLocker Protection from Command Prompt
- To get started, open the Command Prompt as administrator.
- In order to suspend BitLocker protection, type the following command and press Enter. Replace C: with the drive letter of your BitLocker drive you want to suspend.
manage-bde -protectors -disable C: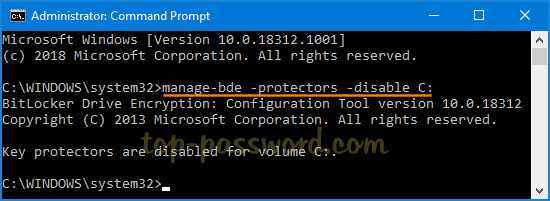
- When you need to resume BitLocker protection, execute the following command and you’re done.
manage-bde -protectors -enable C:
Method 3: Suspend or Resume BitLocker Protection from PowerShell
- Open Windows PowerShell as administrator. Type the command below to suspend BitLocker protection for your desired drive.
Suspend-BitLocker -MountPoint "C:"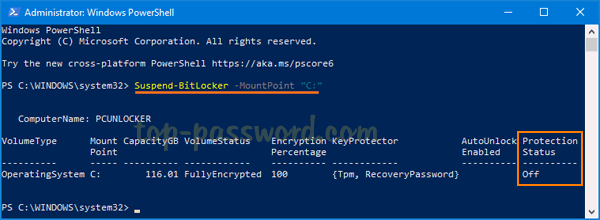
- To resume BitLocker protection for your suspended drive, run the following command:
Resume-BitLocker -MountPoint "C:"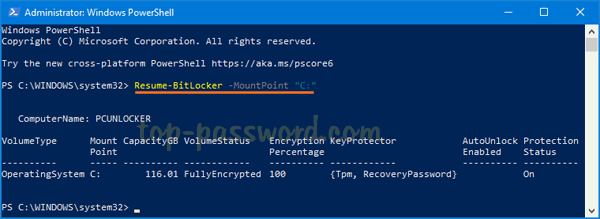
That’s it!