Spotlight is a new feature included in Windows 10 which automatically downloads beautiful images and display them on your lock screen. If you find the Spotlight images are really nice, you may want to save them for later use. In this tutorial we’ll show you the easiest way to save Spotlight images appeared on your Windows 10 lock screen.
How to Save Spotlight Images Appeared on Windows 10 Lock Screen
- Press the Windows key + R to open the Run dialog box. Type the Spotlight images location and hit Enter:
%userprofile%\AppData\Local\Packages\Microsoft.Windows.ContentDeliveryManager_cw5n1h2txyewy\LocalState\Assets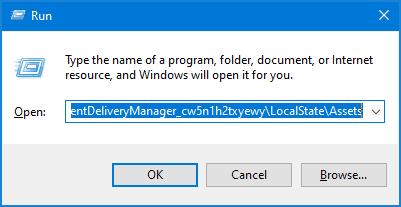
Sometimes, the Spotlight images might be saved in a different location:
%userprofile%\AppData\Local\Packages\4484Ram6ler.SpotlightWallpapers_a1cxeyfetfvyt\LocalState\Wallpaper - It will open a new File Explorer window and you’ll see a bunch of files, all with with meaningless file names and no extensions. Just select all of these files and copy them to a new folder where you can easily find them.
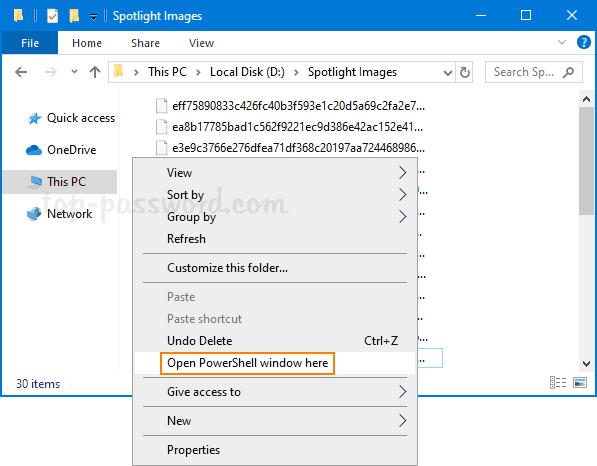
- After that, hold down the SHIFT key and right-click the blank space of the new folder, then select Open PowerShell window here.
- In order to add the .jpg extension to all these files, run the following command in the PowerShell window:
Dir | rename-item -newname { $_.Name +".jpg" }
If you’re at the Command Prompt window, type this command instead:
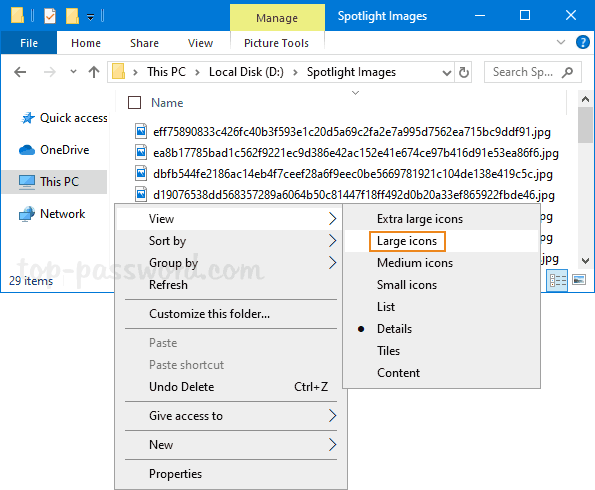
Ren *.* *.jpg - Right-click inside the new folder and select View -> Large Icons. You should be able view all the images used by Windows Spotlight. Delete any images you don’t want.
That’s it!