How can I keep track of all printing activities that take place in different applications? Windows Event Viewer allows you to track all print jobs in one place. By default the print logging isn’t turned on. Here is how you can enable print logging in Windows 10 and Windows Server 2012.
How to Enable Print Logging in Windows 10 and Windows Server 2012
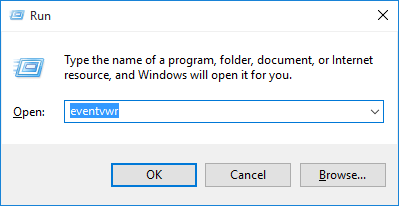
- Press the Windows key + R together to open the Run dialog, type eventvwr.msc and hit Enter to open Event Viewer. In Windows Server 2012, you can access Event Viewer from Server Manager -> Tools.
- When the Event Viewer window opens, navigate to
Applications and Services Logs -> Microsoft -> Windows -> PrintService. Right-click on Operational item and select Properties.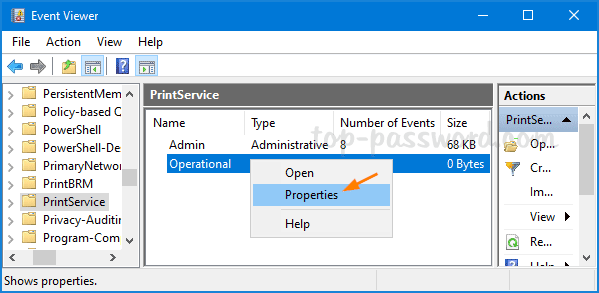
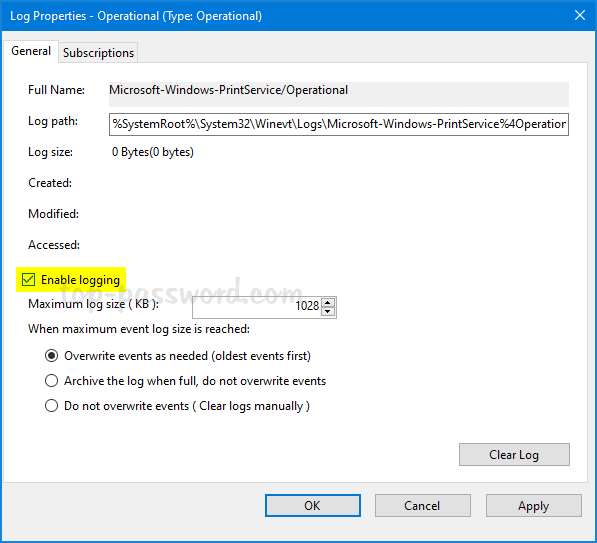
- In Log Properties dialog, check the “Enable logging” option. You can change the maximum event log size or enable Overwrite events as needed to only keep recent events.
- From this point forward, all your print activities will be logged by Event Viewer and you can see the event logs under
Applications and Services Logs -> Microsoft -> Windows -> PrintService -> Operatinal.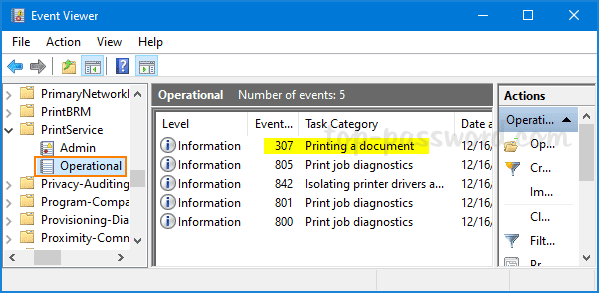
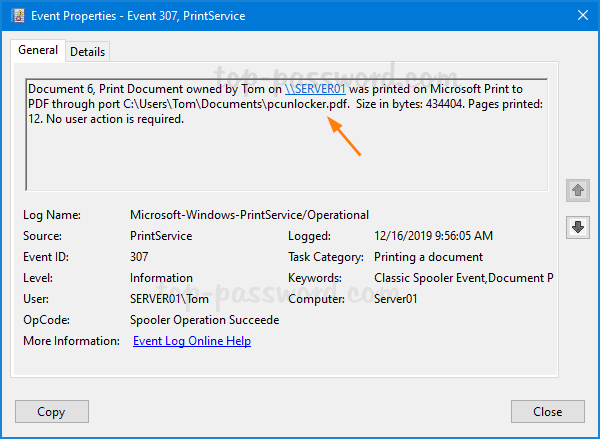
The most interesting event for printer usage tracking is event 307. Double-click on each 307 event and it tells you which document was printed, how many pages or copies were used, as well as the printing time.
Enable Print Logging Using Command Prompt or PowerShell
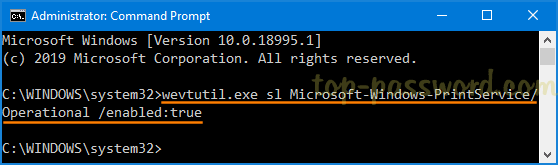
Additionally, you can also enable Windows print logging using the built-in wevutil utility. Just open an elevated Command Prompt or PowerShell, and run the following command:
wevtutil.exe sl Microsoft-Windows-PrintService/Operational /enabled:true
That’s it!