When you buy a computer with Windows 11 preinstalled, it may not come with your desired language. Starting with Windows 11, you can change system language without reinstallation. In this tutorial we’ll walk you through the steps of changing Windows 11 display language with ease.
How to Change Windows 11 Display Language with Ease
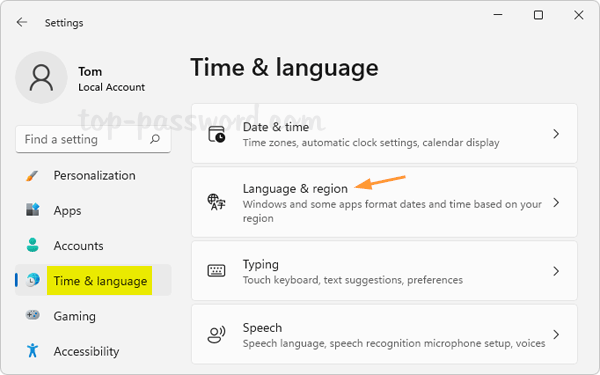
- To begin, open Settings app. In the left sidebar select Time & language, then click Language & region on the right.
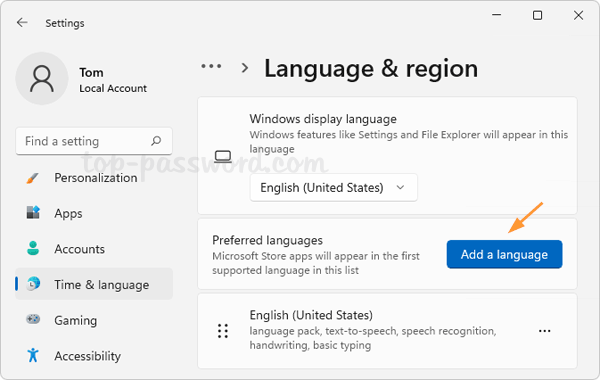
- If your preferred language pack is not installed, click the “Add a Language” button.
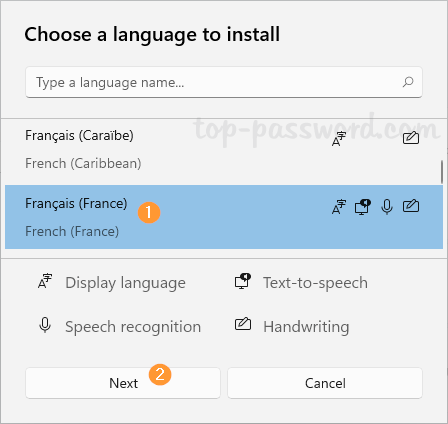
- Scroll down until you locate the preferred language, or search for it using the search box at the top. Click Next.
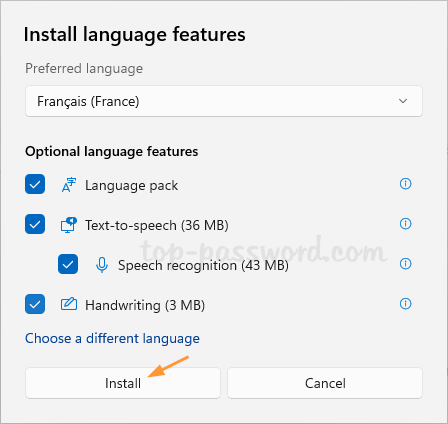
- On the next screen, make sure at least the “Language pack” option is checked. Click Install.
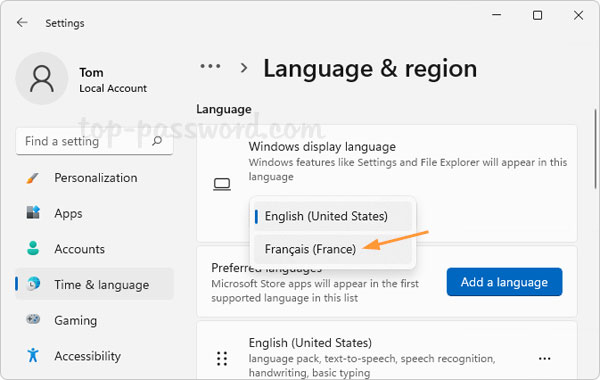
- Windows will start to download and install the language pack and related features. When it is complete, go back to the “Language & region” page, click the drop-down list next to “Windows display language” and select your preferred language.
- You’ll be prompted to click Sign out to apply the new display language. The next time you sign back into your account, you’ll see the language changed system-wide.

That’s it!