Many Windows password tools require creating a bootable CD or USB drive, and then booting it to recover / reset lost admin password. However, what if you encounter an old computer that doesn’t support USB booting, neither have a CD drive? Thankfully, you can reset forgotten Windows password via PXE network boot.
PCUnlocker is a bootable utility that can reset lost Windows password from a bootable CD, USB device or network over PXE. Just set up a PXE server on your LAN to store the PCUnlocker CD image, and you can then boot any other PC on the same LAN to reset a lost password. Here’s how.
Part 1: Set Up A PXE Server
A PXE server can be any accessible Windows PC on your LAN network. Before get started, you need to disable DHCP in your router and use a static IP address for your PXE server. Follow the steps below to set up a PXE server which is required for PXE booting.
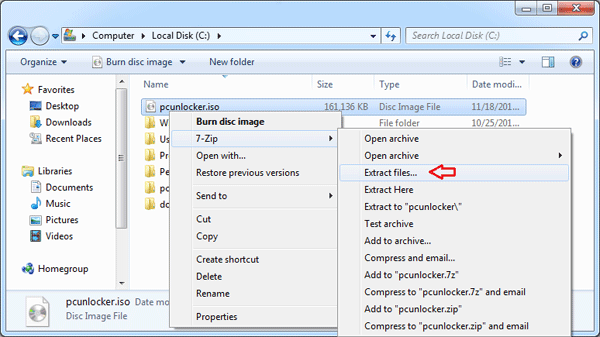
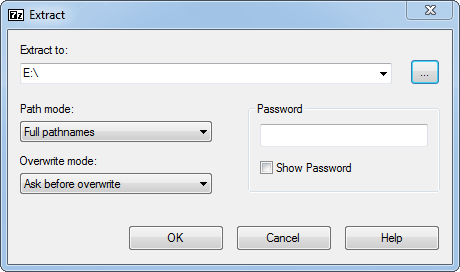
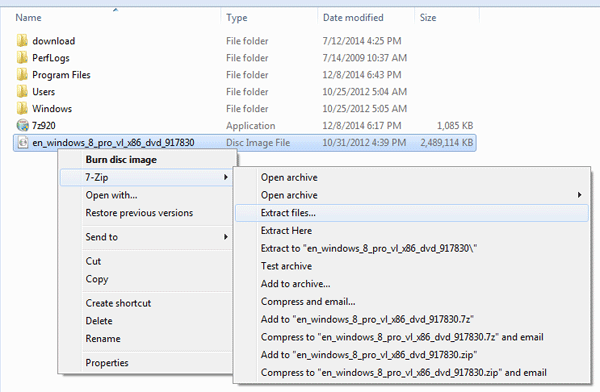
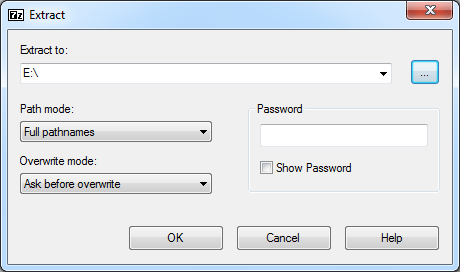
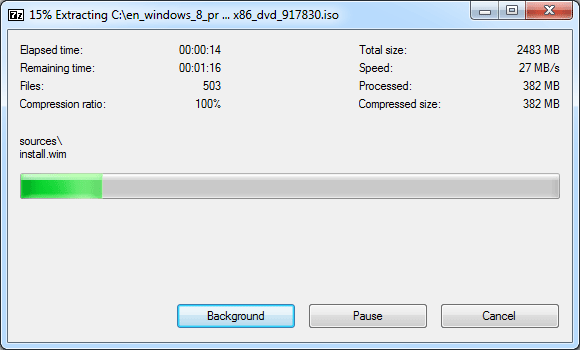
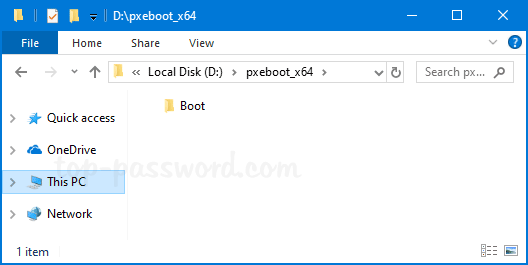
- After you’ve purchased PCUnlocker Enterprise, download the pxe-boot version (pxeboot_x64.zip) via this link included in your order confirmation email. Extract all files from pxeboot_x86.zip to a folder of your choice. Here, I extracted the ZIP file to the folder C:\pxeboot_x64.
- Download and install the freeware Serva from this link (Use the Serva_Non-Supporter_64 version if you are running 64-bit Windows). Run the program and click on the Settings button at the bottom.
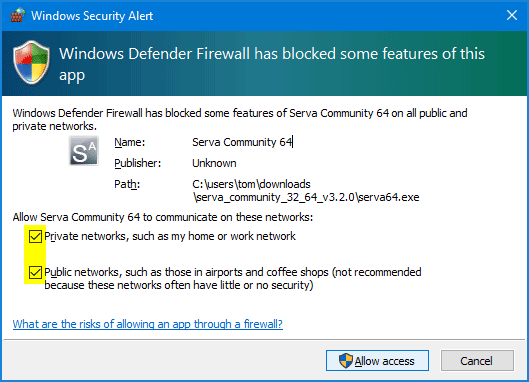
- If the Windows firewall displays a prompt named Windows Security Alert, asking you to allow Serva to access the network, click Allow Access.
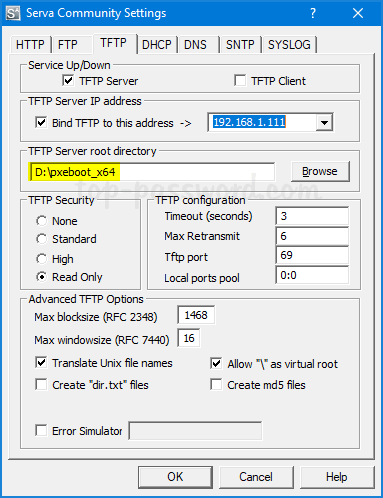
- In the Serva Settings window, click on TFTP tab. Tick TFTP Server and set the root directory to the folder where you extracted the pxeboot_x64.zip file (in my case D:\pxeboot_x64). Check the Allow ‘\’ As virtual root option.
- Click on DHCP tab. Setup the IP pool starting address and Size of pool for your network. Type Boot\pxeboot.n12 in the Boot File box.

- Click OK to save your settings and restart Serva.
Part 2: PXE-Booting Your Locked PC on LAN
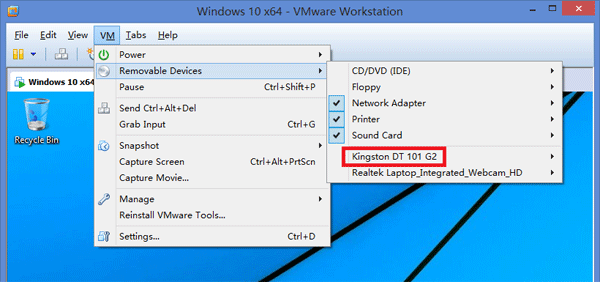
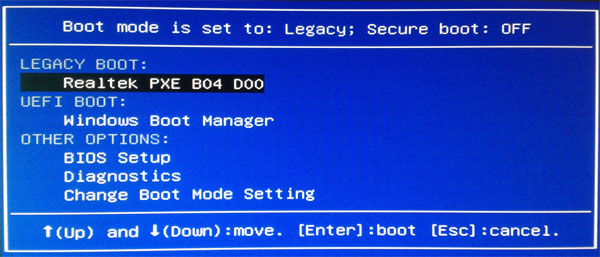
- Power on your locked PC and press a proper key to access the Boot Menu. Select Realtek PXE or your network device and press Enter.
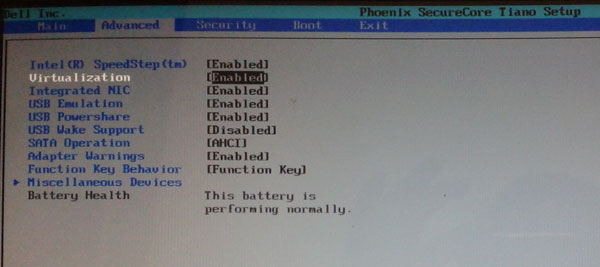
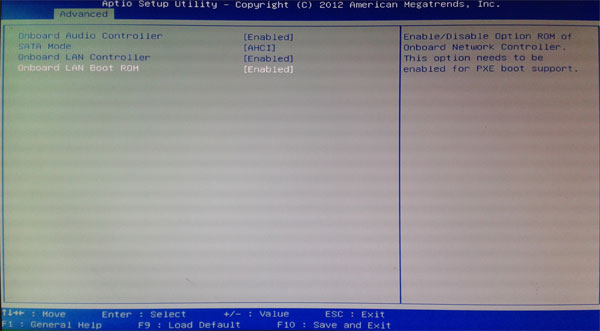
If your PXE NIC device is not listed in the boot order, you need to enable an option labeled “PXE”, “PXE ROM”, “Network ROM” or “Realtek PXE OPROM” in the BIOS.
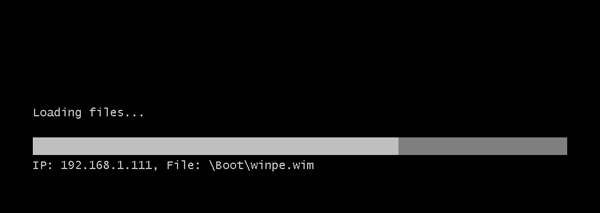
- Once you’ve chosen to boot from PXE Network, your computer will broadcast a DHCP request over the network. After receiving a IP address from the PXE server, it begins to download the PCUnlocker CD image that is stored on the PXE server.
Part 3: Reset Forgotten Windows Password
- After loading the PCUnlocker CD image into RAM, Windows 8 PE will start and boot directly to the PCUnlocker program itself. The program automatically searches Windows SAM file on the local hard drive and lists all your user accounts.

- Select a user account whose password you forgot, and click on Reset Password button. It will unlock / reset your Windows login password in no time.
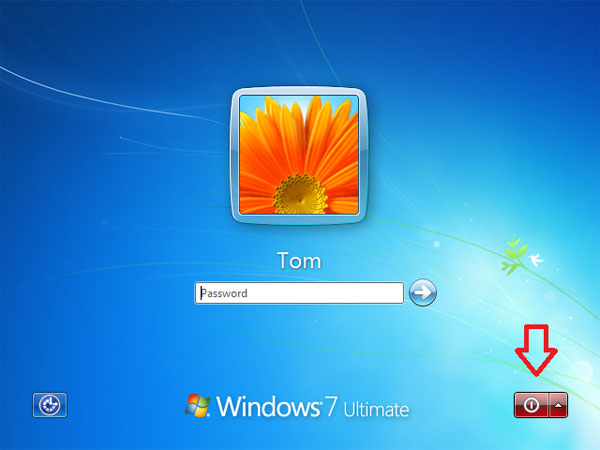
- Reboot your computer and boot it from local hard drive. You can then login without a password!