YouTube has become a favored choice for many iPhone users to enjoy videos online. Have you downloaded lots of YouTube videos and want to watch them on your iPhone while on the move? However, the videos you’ve downloaded from YouTube are not in a supported format for your iPhone. This guide will show you how to convert YouTube video into iPhone supported format using Video Converter Assist, so you take your favorite clips with you wherever your iPhone goes.
How to Convert YouTube Video to Play on iPhone?
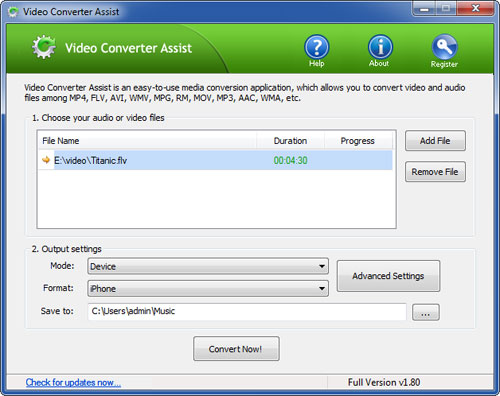
Launch the Video Converter Assist program. Click the Add File button to add your YouTube video files into the program. This program supports batch conversion and allows you to convert multiple video files at one time.
Choose the Device mode and then select iPhone option. If you want to play the videos on your iPad, then choose iPad option.
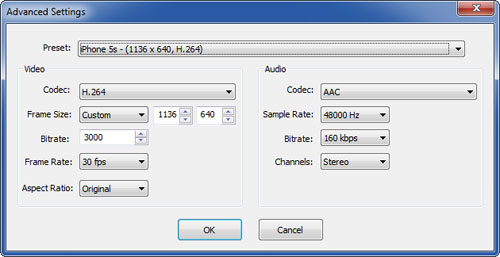
By default the program will use the recommended video settings for the conversion. But if you want to customize the video resolution, frame rate or bitrate, click on Advanced Settings button.
Click the Convert Now! button to begin your conversion. After the video conversion is complete, you can go to the output folder to get the encoded videos which come in the H.264 MP4 format that Apple devices require. Now you can import the converted videos into iTunes to play on your iPhone or just store in iTunes library.