Lost or forgot your Windows 8/7 or XP local administrator password? Suppose a situation where you find yourself locked out without an administrator password but you need to use the computer urgently, No problem. There is a quick way to reset lost Windows 8/7/XP local administrator password easily!
PCUnlocker is the utterly awesome Windows password recovery software that allows you to reset Windows local administrator password from a bootable CD or USB drive. It’s instant and simple!
How to Reset Windows 8/7/XP Local Administrator Password?
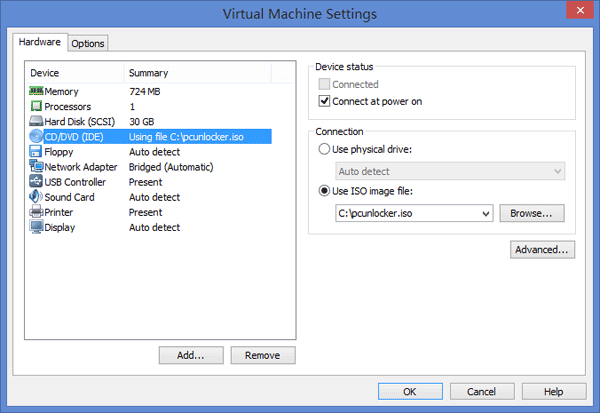
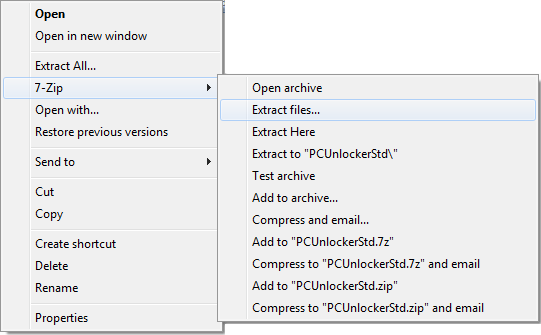
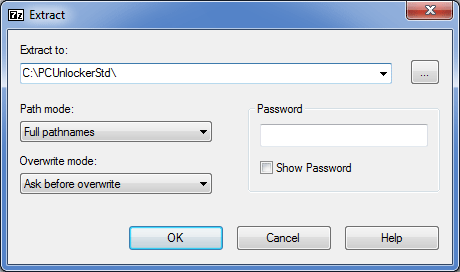
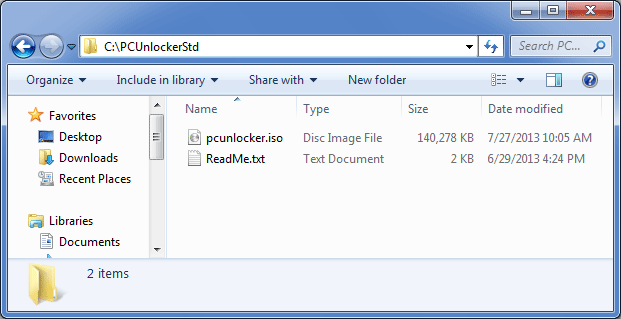
- Download the PCUnlocker software, which comes as an ISO image. Unzip the download file, you’ll find the pcunlocker.iso file.
- Burn the ISO image file to a blank CD or USB stick using any ISO burning freeware such as ISO2Disc or BurnCDCC.
- Insert the CD or USB stick into the target computer that you want to reset lost Windows local administrator password for.
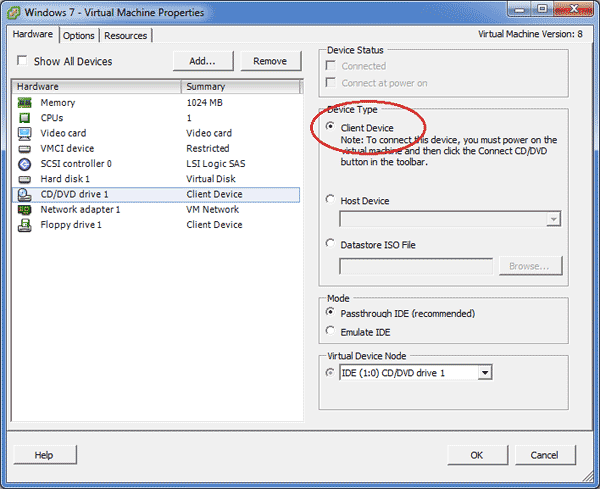
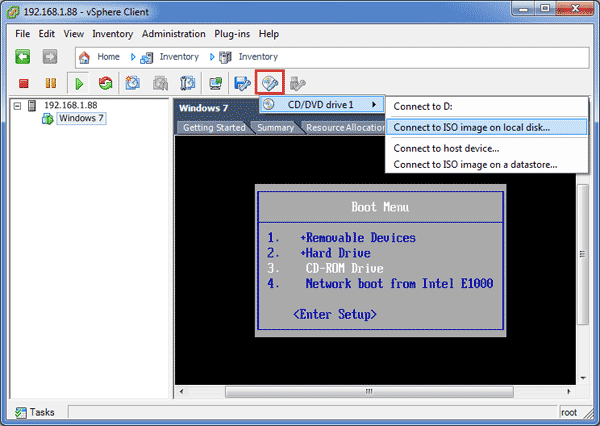
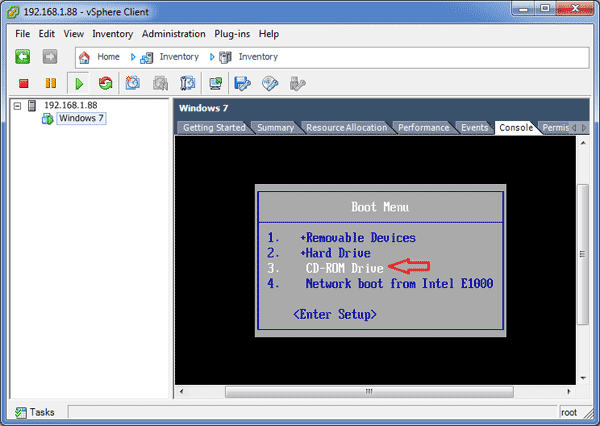
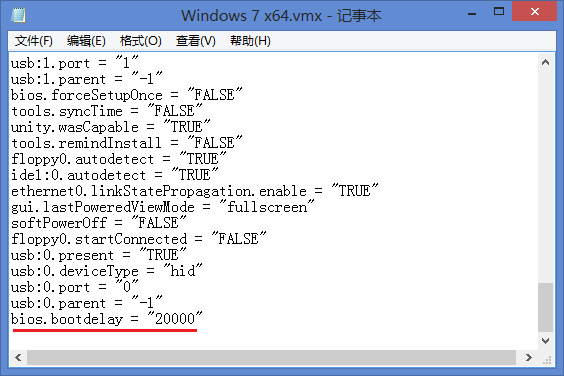
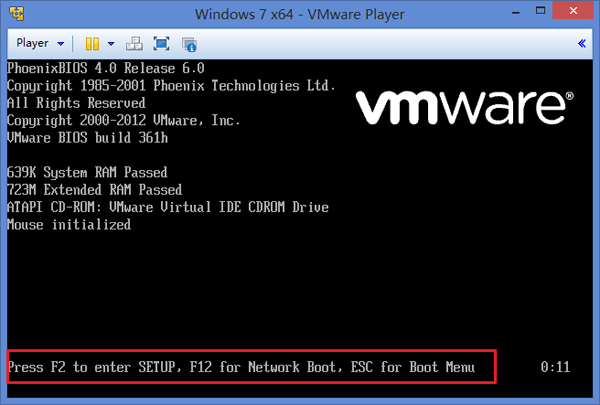
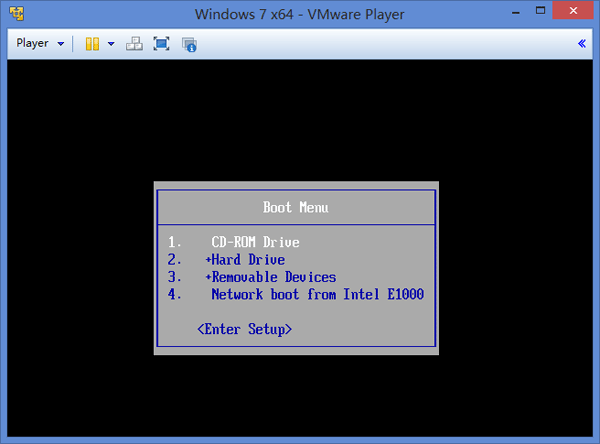
- Set the computer to boot from the CD/USB. To do this you need to set CD or removal device as the first boot device in computer BIOS.
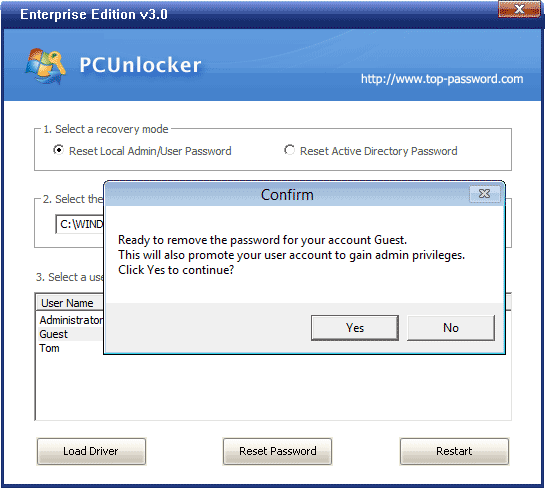
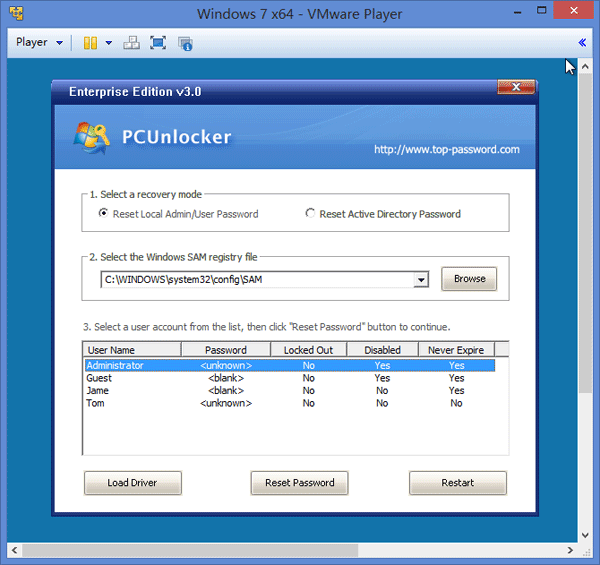
- After booting from the CD/USB, it will launch the PCUnlocker program which shows you a list of local accounts existing on your Windows system.

- Select the local administrator account and then click on the Reset Password button, it will reset Windows local administrator password immediately.
Restart the computer and remove the CD/USB drive, you can then log back into Windows local administrator account without a password! If you ever need to reset forgotten Windows local administrator password, this is the right place for you to learn how it can be done.