Have you ever installed a program that you only needed for offline use, but it kept on trying to connect to the Internet? Or need to stop a program from gathering your personal information and sending them out to the Internet? With Windows Firewall you can easily block any program of your choice from connecting to the Internet.
How to Block A Program from Accessing The Internet?
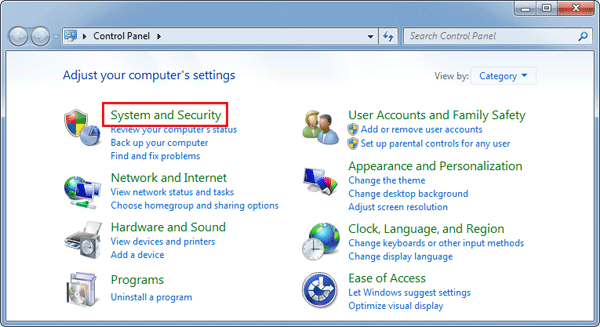
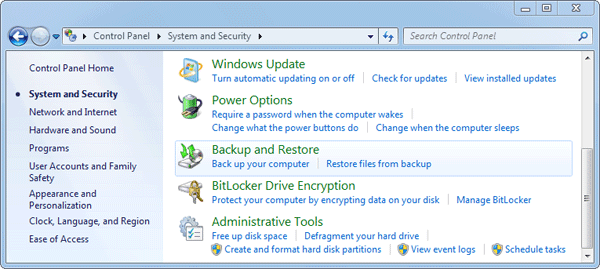
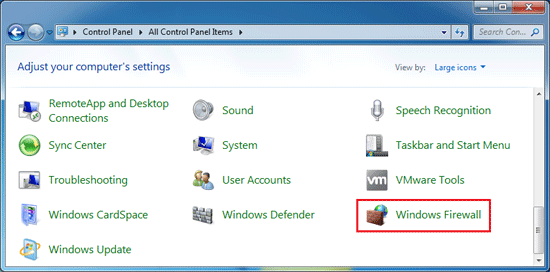
- To get started we need to open up Windows Firewall. One quick way to do this is from the Control Panel. Just click the Windows Firewall icon.
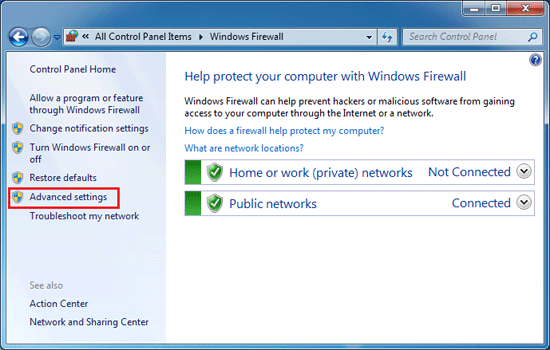
- On Windows Firewall window, click on the Advanced settings link.
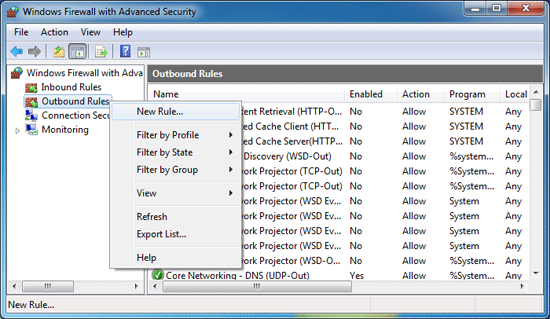
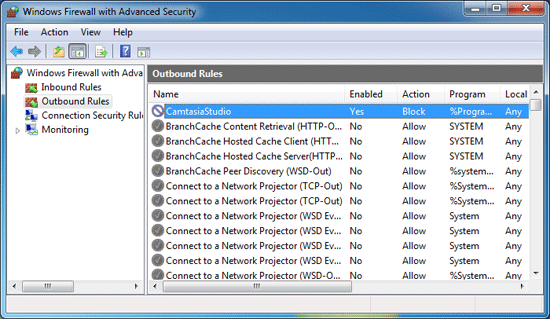
- Here you can see all your Firewall rules: Inbound or Outbound. When it comes down to it I think Outbound rules are usually enough for most applications. When Outbound connections are blocked, this means that the application can’t send any of your data to the Internet.
- Right-click on Outbound Rules from the tree at the left, and then select “New Rule…”
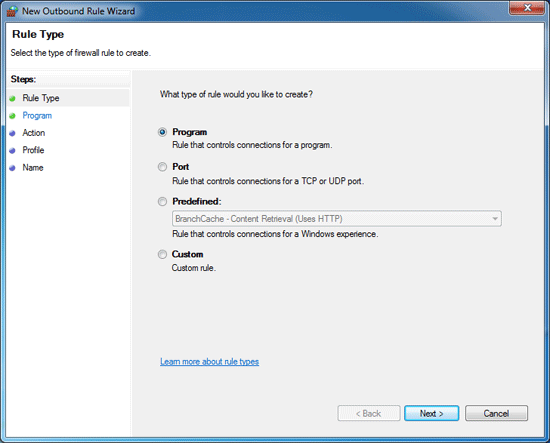
- Select the Program as the rule type and click Next.
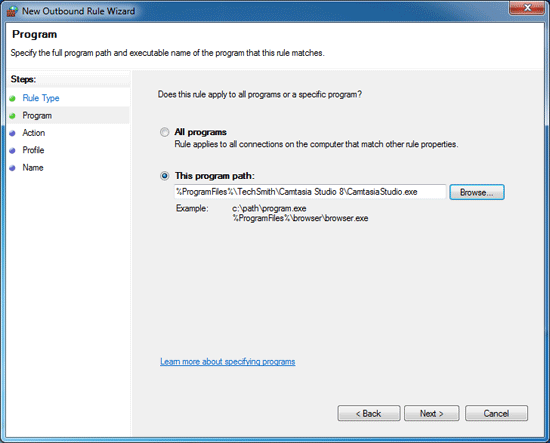
- Select the “This program path:” option and then click on Browse to locate the program which you want to stop from accessing the Internet.
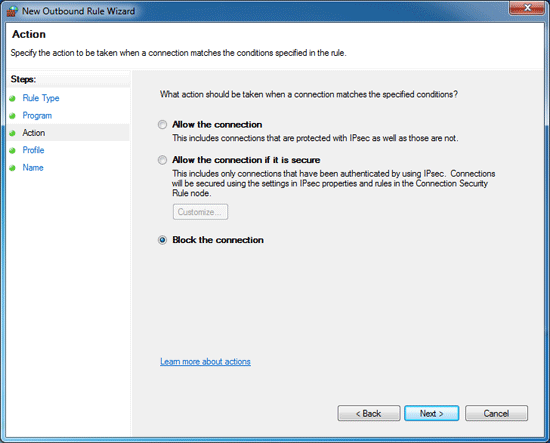
- Select the “Block the connection” option and click Next.
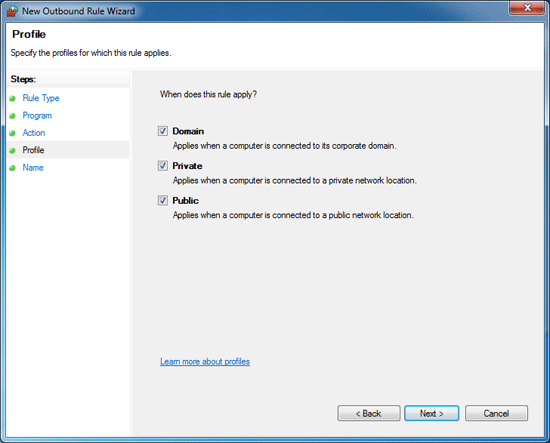
- When comes to the Profile tab, select all of the available boxes: Domain, Private, and Public.
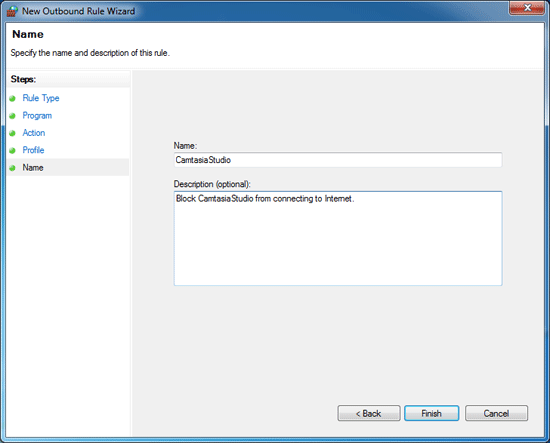
- Give your new rule a name whatever you like. Click on Finish.
- In the Name column, your newly blocked program will be listed. In the Action column, you’ll see that your newly created rule is set to Block.
Repeat the same steps to block as many programs as you want from accessing the Internet.