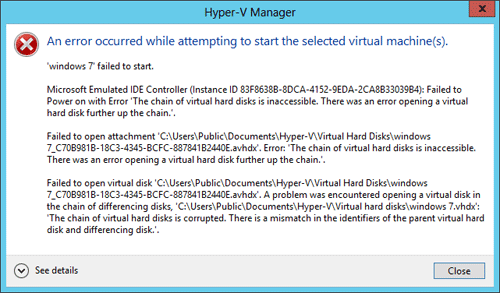
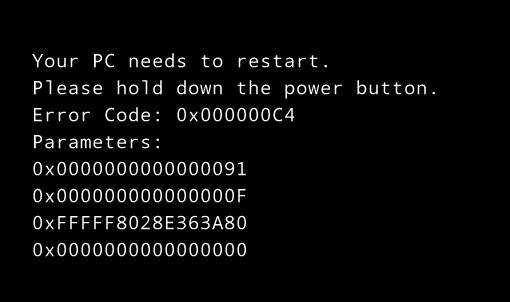
When you try to install Windows 8.1 64-bit in Oracle VM VirtualBox / VMware Workstation, or boot a virtual machine from Windows 8.1 64-bit PE image, you might receive the following error message:
Your PC needs to restart
Please hold down the power button.
Error code: 0x000000C4
Parameters:
0x0000000000000091
0x000000000000000F
0xFFFFF8028E363A80
0x0000000000000000
The problem exists only with the Windows 8.1 64-bit. The 32-bit version works fine. This problem is similar to the blue screen error 0x0000005D that we previously covered in this article: How to Fix Error 0x0000005D When Booting from Windows 8 Installation Disc.
If you got the 0x000000C4 error while booting an existing virtual machine from Windows 8.1 64-bit PE image, the temporary solution is changing your guest OS to 64-bit. This article has explained how to change the OS version in VirtualBox and VMware Workstation: VirtualBox and VMware Error 0x0000005D Fix: Your PC Needs To Restart.
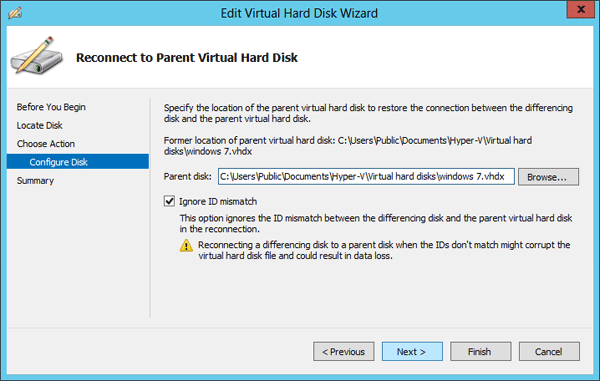
If you got the 0x000000C4 error when you try to install Windows 8.1 64-bit in VirtualBox, please perform the following steps to resolve:
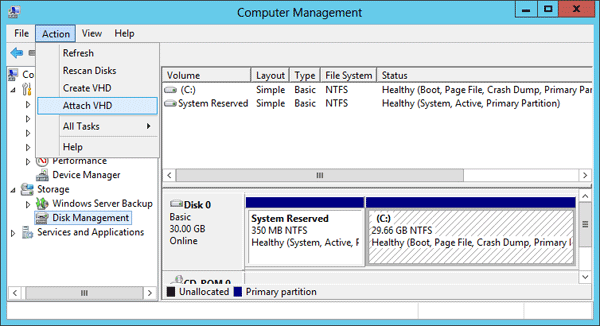
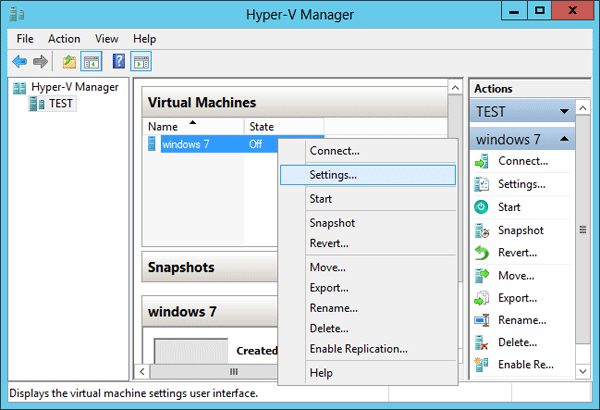
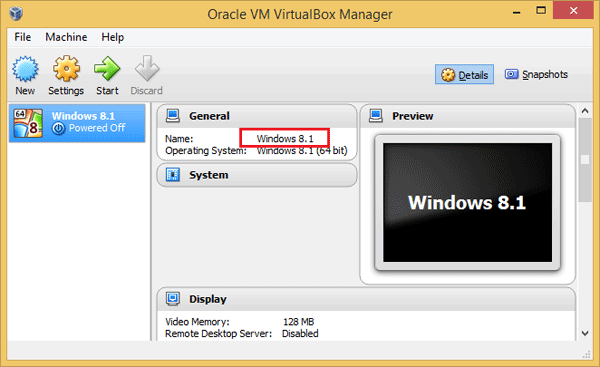
- First of all, you need to find the name of your problematic virtual machine in the VirtualBox Manager interface:
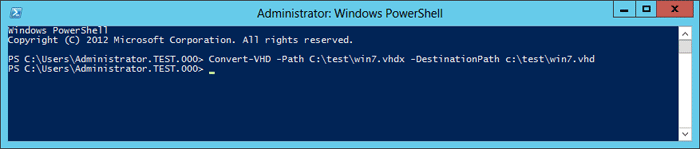
Or open an elevated Command Prompt, type the following command to list your virtual machine’s name:
"c:\Program Files\Oracle\VirtualBox\VBoxManage.exe" list vms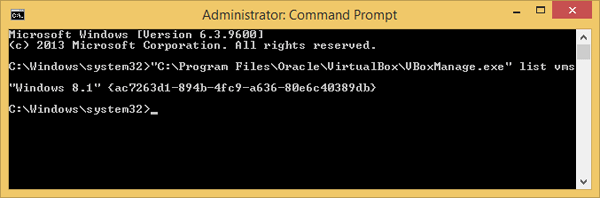
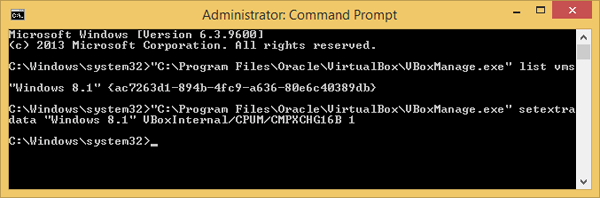
- Next paste following command followed by Enter:
"c:\Program Files\Oracle\VirtualBox\VBoxManage.exe" setextradata "virtual_machine_name" VBoxInternal/CPUM/CMPXCHG16B 1Replace virtual_machine_name with the name of the virtual machine name which you find in the step above.
- That’s it! Close the Command Prompt, and you can now install Windows 8.1 64-bit in VirtualBox without the blue screen error 0x000000C4.
Another workaround is upgrading VirtualBox to the latest version 4.3.18 which claims to have this issue fixed already. If you got the 0x000000C4 error with Windows Server 2012 R2, the solution is the same as for Windows 8.1.