Tired of having to type in a password every time you want to log into Windows? Forgot Windows password and didn’t know how to get back on your computer? In this tutorial we’re going to show you how to bypass Windows 7/Vista/XP login screen and gain access to your computer without entering a password.
How to Bypass Windows 7/Vista/XP Login Screen?
If you’re the only person with access to your computer, you can have Windows boot straight to the Desktop without prompting you for a login password. It’s easy to bypass Windows login screen and the instructions below will show you how to do it.
Step #1: Press Windows + R to open the Run command, type netplwiz or control userpasswords2 and press Enter.

Step #2: Under the Users tab, uncheck the Users must enter a user name and password to use this computer option, click Ok.

Step #3: Now enter the existing password in Automatically Log On dialog window, click OK, restart your Computer.

You won’t be prompted to enter your password next time you turn on or restart your computer.
Forgot Windows Password? How to Bypass Windows Login Screen?
The method above requires you to know the existing Windows password on your computer. How to bypass Windows login screen if you forgot your password? In this situation, you need to remove your forgotten Windows password in order to bypass Windows login screen. Follow these step-by-step instructions:
Step #1: Download the Reset Windows Password utility and save it on an alternate PC which you have full access to. Unzip the download file and you’ll get the ResetWindowsPwd.iso file. Burn the ISO image to an empty CD (or USB flash drive) using ISO2Disc program.
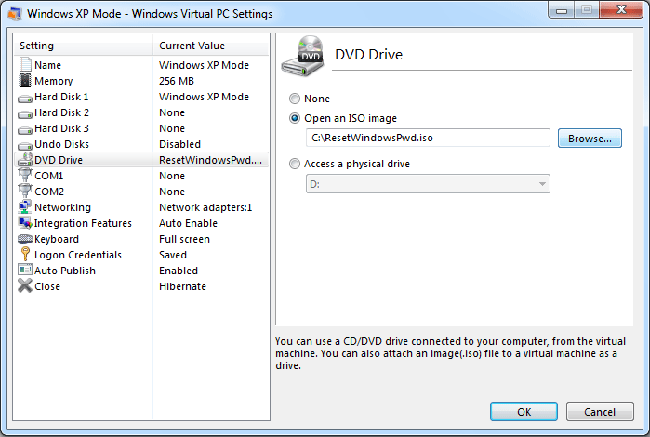
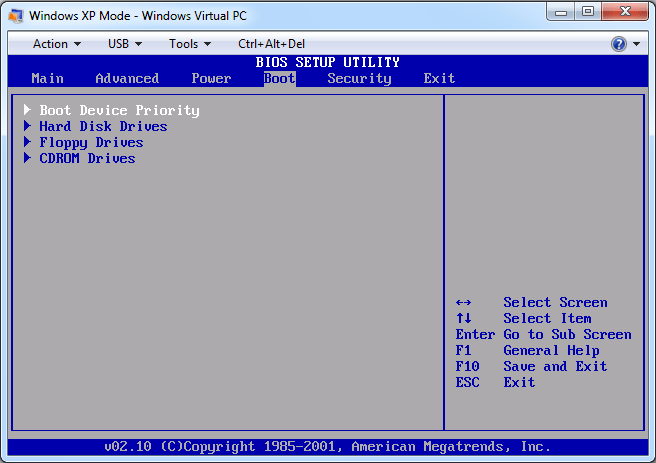
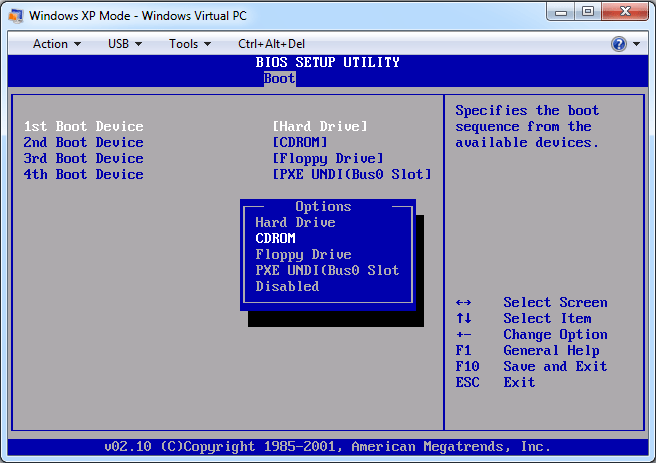
Step #2: Simply insert the CD into your locked computer and restart it. You may have to call up the boot menu by pressing F12 or something, but it may automatically boot from the CD drive you inserted.
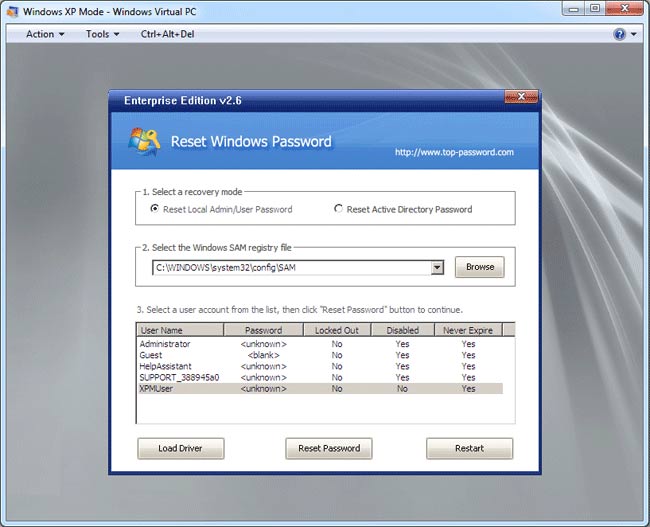
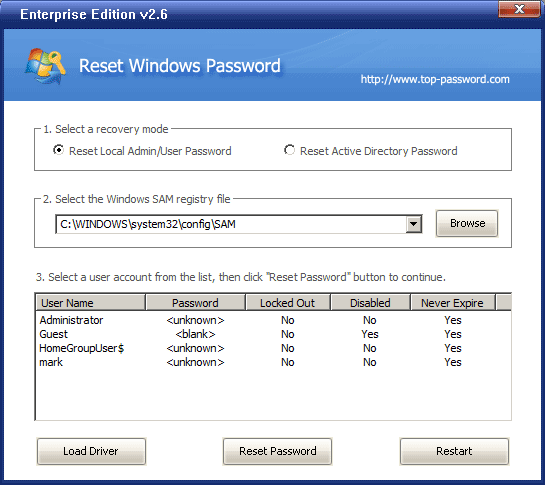
Step #3: Once the computer boots up from the CD, it will open up the Reset Windows Password program. Select a user account and then click on “Reset Password” button. It will reset/remove your forgotten Windows login password instantly.
Step #4: Remove the CD and restart the computer. Normally the computer will then boot directly into the Desktop without requiring you to enter a password. However, the Windows login screen might still appear even if you are using a blank password. If you’re that case, just press OK to log on your computer. After getting into Windows, you can use the method above to enable automatic logon feature.