Is there a shortcut to minimize all currently open windows at once? Of course, you can minimize each windows individually until all are minimized but this method is quite inefficient. This tutorial will show you 3 quick way to minimize all open windows / applications running in Windows 10 / 8 / 7.
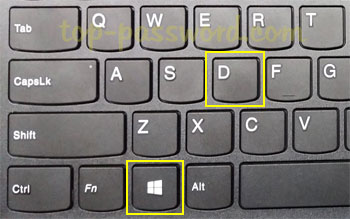
Method 1: Using Win + D Keyboard Shortcut
Simply press the Windows key and the D key simultaneously on your keyboard. This will minimize all the currently open windows at once. To restore minimized windows, press the Windows + D keyboard shortcut again.
If you want to minimize all open windows except the one that’s currently active on your desktop, click on title bar of the window that you want to keep in the foreground, hold down your left mouse button and shake it (move left and to right very fast).
Method 2: Using the “Show Desktop” Button
The Show Desktop button is a small rectangular sectioned area on the far right side of Windows taskbar. Clicking the Show Desktop button will show you the desktop immediately, with all currently open windows minimized. When you click that button again, it will restore all the windows back onto the screen.

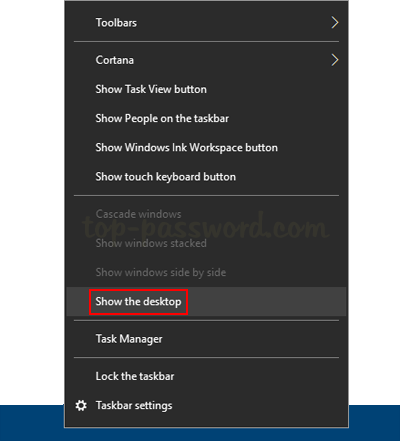
Method 3: Using Windows Taskbar
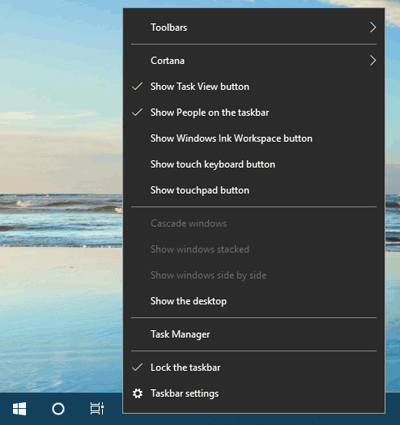
Just right-click an empty area in the taskbar and select the “Show the desktop” option from the context menu, it will minimize all open windows and and show the desktop.
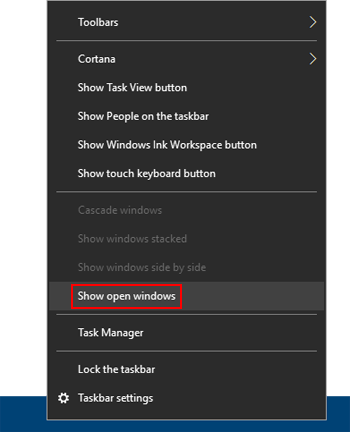
If you want to restore all minimized Windows to their original location, right-click on the taskbar again and this time you have to click the “Show open windows” option.
That’s it!