How do I keep my children safe online while I’m away? Kids Mode is a nice feature available in Microsoft Edge, which allows you to prevent your kids from stumbling across harmful or inappropriate websites. In this tutorial we’ll show you how to enable Kids Mode in Microsoft Edge on Windows 11/10, so children can only access approved websites.
Part 1: Set up a Whitelist in Kids Mode
Parents can create a whitelist of websites that the children are allowed to visit. Follow these steps:
- Open Microsoft Edge and type the following in the address bar and press Enter. Next, click the “Manage allowed sites in Kids Mode” option.
edge://settings/family
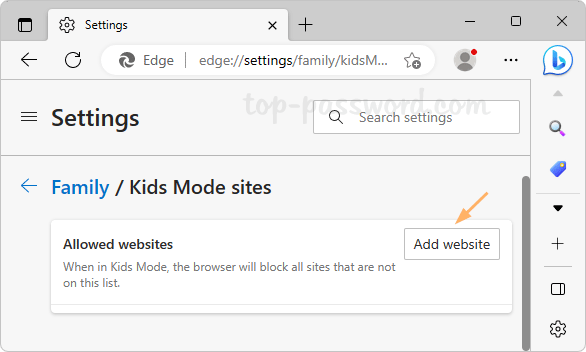
- Click the “Add website” button.
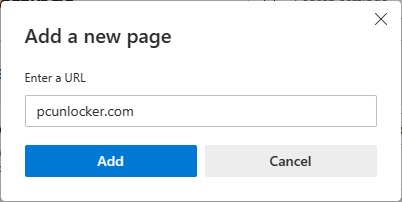
- Enter the URL of a website you allow children to access, and click Add.
Repeat this to add more websites to the list. Note that Kids Mode blocks all websites that are not on this list.
Part 2: Enable Kids Mode in Microsoft Edge
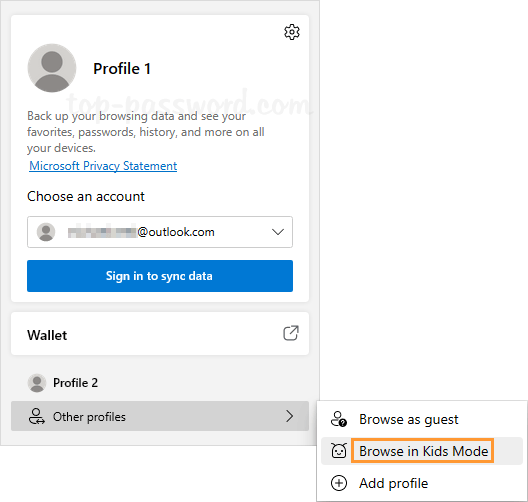
- After opening up Microsoft Edge, click the Profile icon in the top right corner.
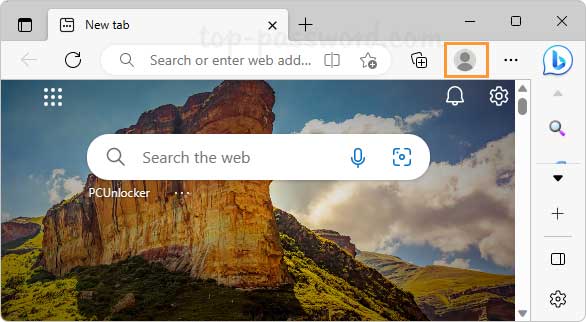
- Choose “Browse in Kids Mode” from the drop-down list.
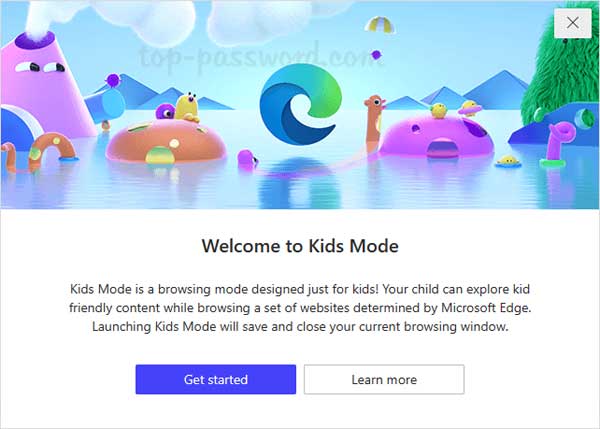
- The Welcome pop-up window will appear. Click “Get Started“.
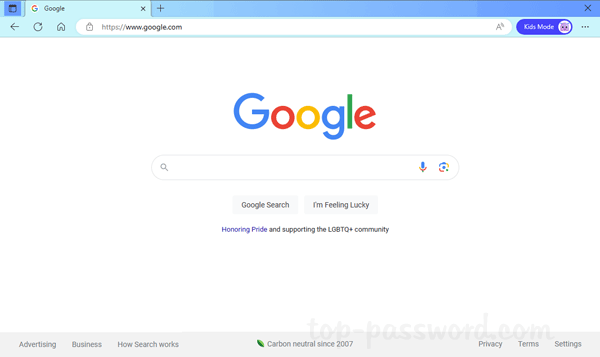
- Kids Mode opens in full-screen and now you can let your child to enjoy the kid-friendly browsing experience.
- When the child tries to access a website which is not in the whitelist, the action will be blocked but with the option to ask for permission.
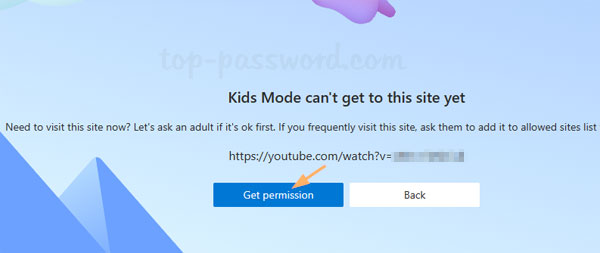
- If you allow your child to temporarily access a blocked website, click the “Get permission” button and enter your Windows administrator password.
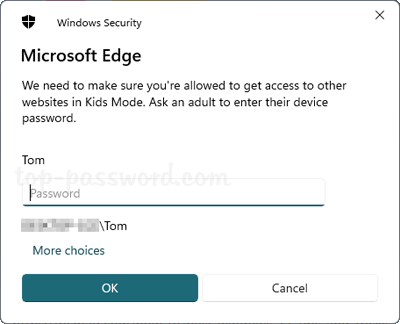
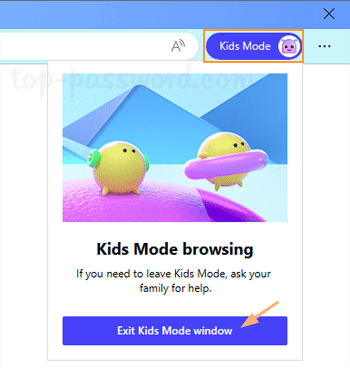
- To leave Kids Mode, click the Kids Mode banner at the top-right and then click the “Exit Kids Mode window” button. Next, enter your Windows admin password to confirm.
Conclusion
Kids Mode in Microsoft Edge can keep your kids away from harmful websites. The major drawback is that children can press the Windows logo key or hit the Alt+Tab keyboard shortcut to bypass the Kids Mode, and use other web browsers to surf the internet.