I have forgotten the administrator password of the Windows 2003 which runs on Microsoft Virtual PC. I really don’t want to reinstall the virtual machine again. How can I recover or reset the password?
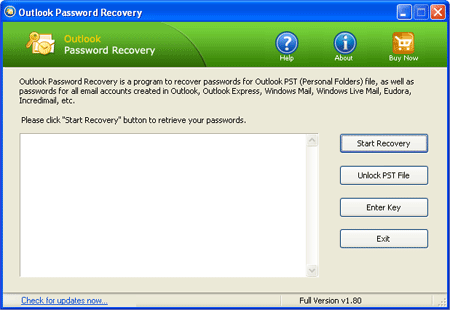
Losing Windows administrator password is a frustrating experience, as you have likely lost access to all the applications and files on your PC. Resetting a lost Windows password on a virtual machine is the same process as resetting one from a physical machine. But in order to reset lost password of a Microsoft Virtual PC instance, you only need to get a bootable ISO image which contains Windows password recovery tool.
How to Reset Lost Windows Password of A Microsoft Virtual PC Instance?
Download the zipped ISO image of PCUnlocer on your host OS. After you’ve downloaded it, unzipped it and you’ll get a bootable ISO image: pcunlocker.iso.
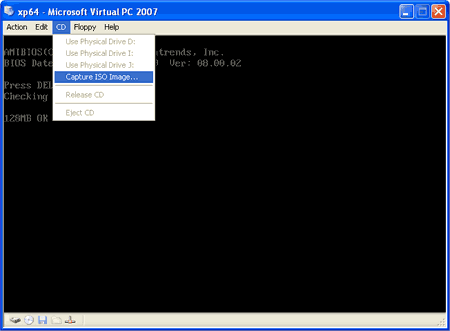
Power your virtual machine in Microsoft Virtual PC. Click on CD menu and select Capture ISO Image as shown below.
Browse the pcunlocker.iso file and click Open, the virtual machine will boot from the ISO image. If not, go to Action menu and click reset to restart Virtual Machine. This time it will boot with ISO file.
After successfully booting from the ISO image, the computer will load the WinPE operating system. After a while it will launch the PCUnlocker program, which automatically locates Windows user accounts existing in your virtual machine.

Choose a user account whose password is unknown, and then click on Reset Password button. It will unlock / reset your lost Windows password immediately. After that, reboot the VM and you can then log back into the system inside your Microsoft Virtual PC.
Conclusion
Just boot your VM from PCUnlocker ISO image, you can reset lost Windows password for any Microsoft Virtual PC, no matter what version of Windows your guest OS is! PCUnlocker also works with virtual machine running in VMware Workstation, VirtualBox, Parallels, etc.