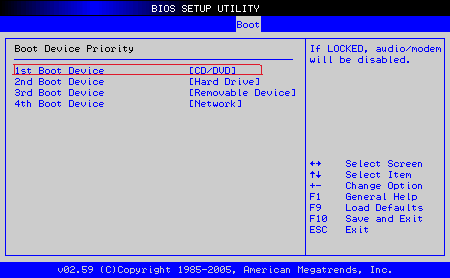
Have you ever been locked out of your computer by a forgotten BIOS password? Without the password, you can’t access BIOS to change boot order. This also means you can’t change the boot order to boot into a CD or USB drive. Luckily you can reset all BIOS settings (including the BIOS admin/user password) by just removing the CMOS battery from the motherboard for a few moments and then putting it back in. However, this is not the case for some computers and you may also need to change the jumper settings. This trick works on Acer, Dell, HP/Compaq, Toshiba, Asus, Gateway, Samsung, Lenovo, Sony and Apple computers.
Warning: There is a risk of hardware damage and of personal injury. Follow this procedure exactly to avoid personal injury. Not all motherboards have removable CMOS batteries. If the battery won’t come loose, don’t force it.
How to Remove BIOS Password Using The Jumper Settings?
- Shut down the computer and then unplug the power cable.
- Disconnect all external devices and wait about 15 seconds.
- Press and hold the Power button while your computer is unplugged to dissipate static electricity from the motherboard.
- Before touching anything inside your computer, ground yourself with a wrist-grounding strap or by touching an unpainted metal surface, such as the metal at the back of your computer. While you work, periodically touch an unpainted metal surface to dissipate static electricity.
- Open up your computer case and remove the CMOS battery.
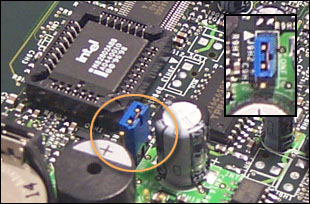
- Locate the password jumper on the motherboard, look for the letters PWD, PSWD, PSWDCLR, CLEAR CMOS, CLEAR, CLR, JCMOS1 or PASSWORD. The jumper is typically located on the edge of the motherboard or physically near the CMOS battery.
-
To remove the BIOS password, you will need to change the jumper settings.
- If there are 3 pins under the jumper, moving the jumper over one pin will change it. For example if the jumper is covering pins 1 and 2, move it so that it is covering pins 2 & 3. If the jumper is covering pins 2 and 3, reinstall the jumper over pins 1 and 2.
- If there are only 2 pins under the jumper, simply remove the jumper from the pins.
- Put the CMOS battery back in and close the case.
- Reconnect the power cable and turn on your laptop. The BIOS password should be cleared. After the Windows logon screen appears, turn off your laptop again.
- Disconnect the power cable. Press and hold the power button for 10 seconds to release static electricity from the system. Replace the jumper to its original position. Close the case and the computer is ready to be used again.
This method works well for desktop computers, however this is not practical for laptop users unless the warranty expired long time ago. BIOS password can add an extra layer of security for desktop and laptop computers but it is different from a Windows admin password. If you forgot Windows admin password, you need to take use of PCUnlocker Live CD to remove it.
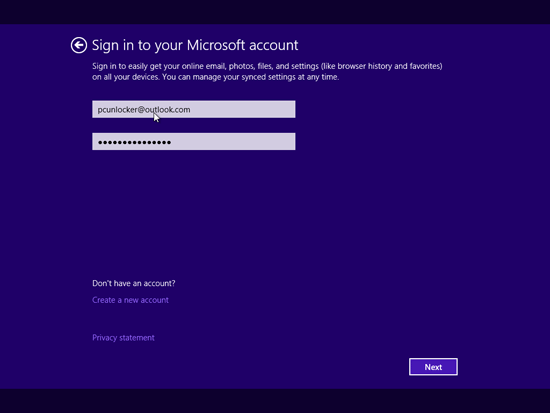
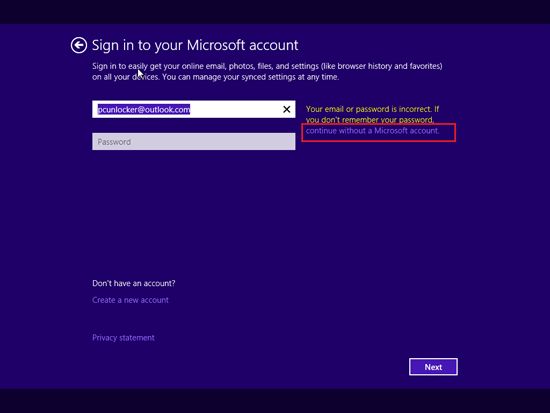
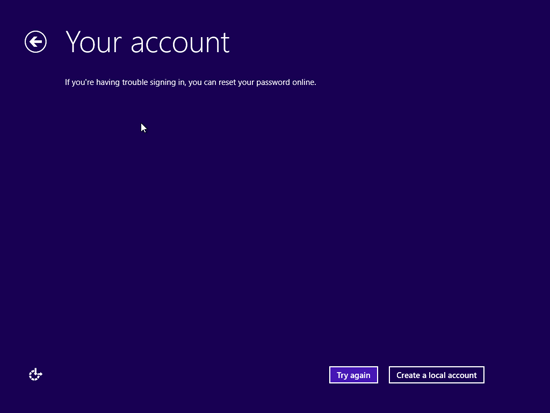
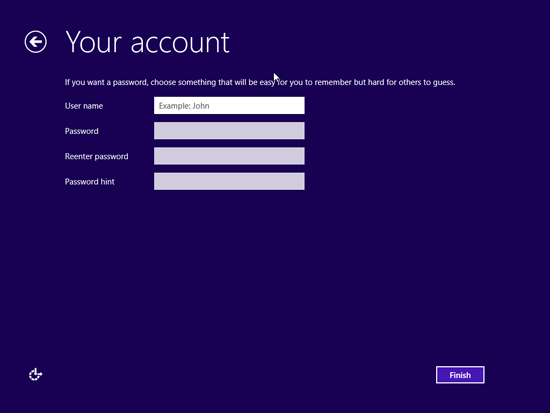
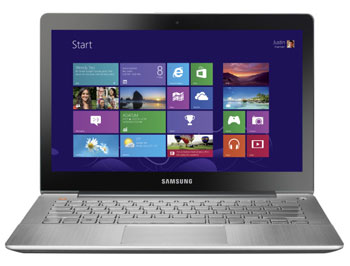 Forgot Windows 8 password for your Samsung ATIV tablet? Just set up the administrator account on a newly purchased laptop but you couldn’t remember the password now? Well, there is an easy way to remove Windows 8 password without knowing the original one. Just boot PCUnlocker Live CD on the Windows 8 PC that needed the password reset on. After you have booted into PCUnlocker, you can