If you have kids you may don’t want them to run certain applications like Skype or BitTorrent on your computer. Today we take a look at a setting in Local Group Policy that allows you to prevent specified programs from ever running in Windows. This is also useful if you don’t want other people to open applications on your work computer.
How to Prevent A Program from Ever Running in Windows?
- The first thing you must do is open the Local Group Policy Editor. You won’t find a menu entry for this tool. Instead you start the tool by pressing Windows + R to bring up the Run box and then entering the command gpedit.msc.

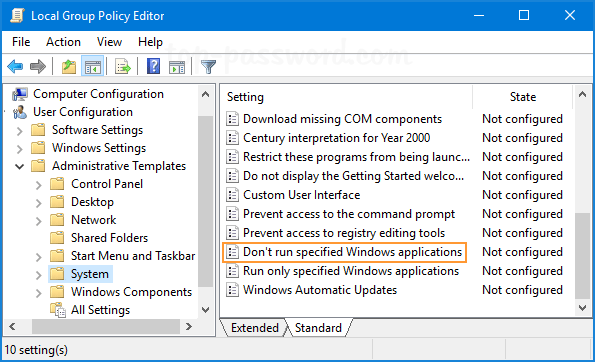
- Navigate to User Configuration -> Administrative Templates -> System in the left panel, and double click on Don’t run specified Windows applications.
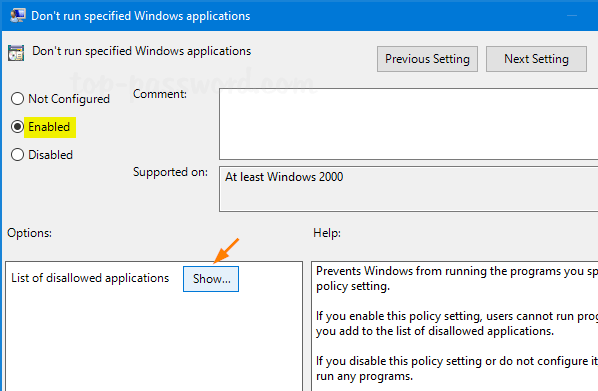
- In the pop up window, first set it to Enabled, then under the Options section click on the Show button next to List of disallowed applications.
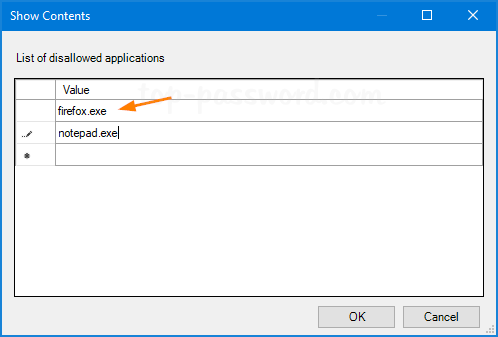
- A Show Contents dialog comes up where you can type in the apps you want to block users from running. In the Value column, type the application executable name (don’t use the full path), e.g. firefox.exe, notepad.exe.
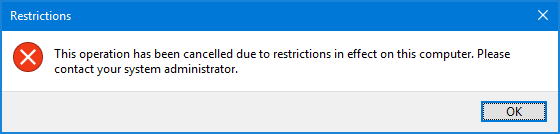
- The change takes effect immediate right after you click OK or Apply. From this point on, if a user tries to access an application that is not on the specified list they will get the following warning message.
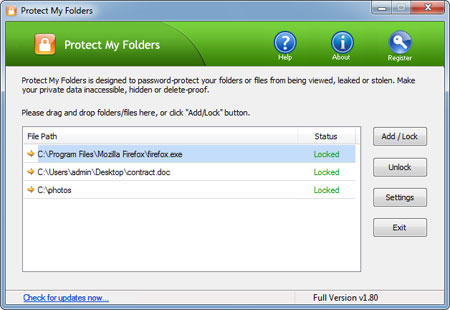
This is a nice feature for preventing unwanted programs from running in Windows. However, Local Group Policy Editor is not available in Home versions of Windows 7/8/10. This trick only prevents users from accessing applications that are started by Windows Explorer process, but you can still run the disallowed programs in the Command Prompt. If you need a reliable and more secure solution, I would recommend you to use the professional privacy protection program – Protect My Folders.