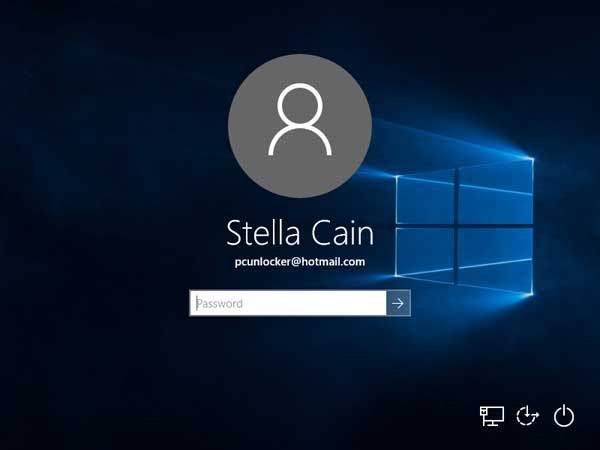
“Hey, I keep running into this error message whenever I try to log into my PC: ‘Your device is offline. Please sign in with the last password used on this device‘. It’s a total nightmare, I’ve tried all the fixes I could find and none of them have worked so far. Please help!”
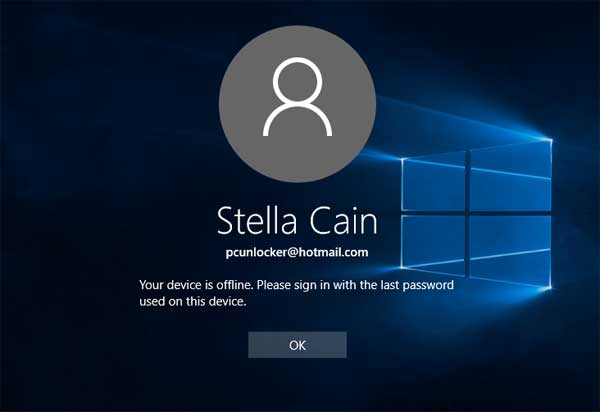
When using a Microsoft account to log into your Windows 10 PC, you might get locked out of system and the sign-in screen doesn’t accept your Microsoft password, no matter online or offline. Check out this troubleshooting tutorial and you should be able to recover access to your Windows 10 computer.
Option 1: Check Network Connection Status
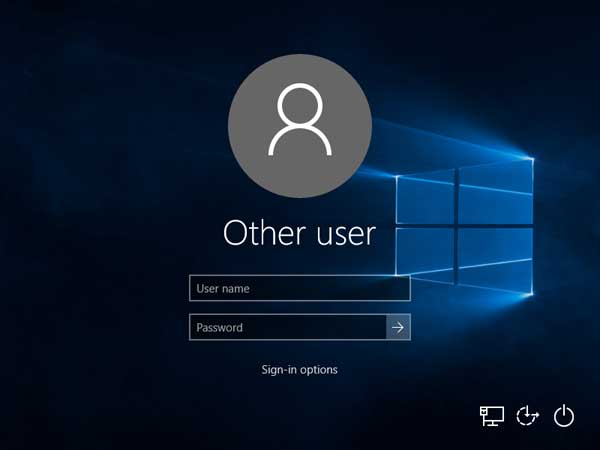
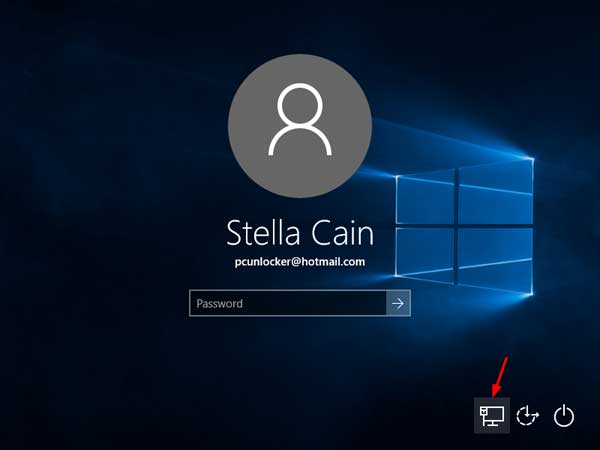
In most of cases, there might be a problem with your network connection and because of that you can’t connect to your Microsoft account. At Windows 10 login screen, click on the Network icon in the lower-right-hand corner.
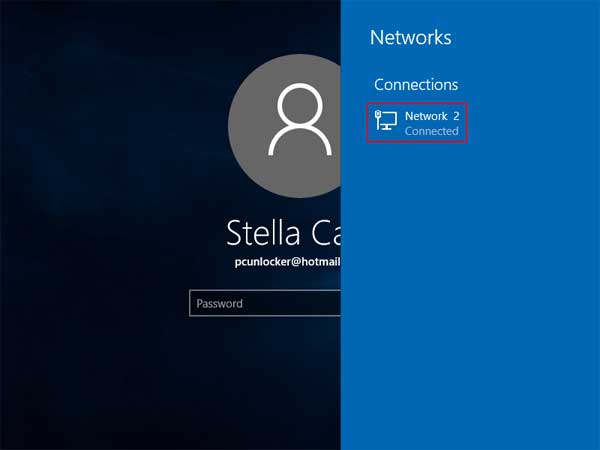
You’ll see a list of available networks. Choose the network you need and click the Connect button. Once an Internet connection is established, you should be able to sign into your Microsoft account successfully.
Option 2: Check Out Typed Password
The problem can also be caused when the input language of the keyboard is changed or the Caps Lock key is on. After typing your Microsoft account password at login screen, click the eye icon (also known as Password Reveal button) that appears at the end of password box and it will show your password.

If you have problem of typing the password correctly, you can click the Ease of Access icon from the login screen, use the on-screen keyboard to type your password.
Option 3: Convert Microsoft Account to Local Account Offline
Still couldn’t log into Windows 10 and it keeps saying your PC is offline? The last resort is converting your problematic Microsoft account to a local account. This is really useful if your Microsoft account has got hacked, or you think it has been blocked or suspended by Microsoft.
PCUnlocker is a bootable CD that can help you reset / bypass Windows user password, as well as converting your Microsoft account to a local one offline. Just boot your Windows 10 PC from the CD, the program automatically finds the SAM (Security Account Manager) file for your Windows installation and lists all your local users.
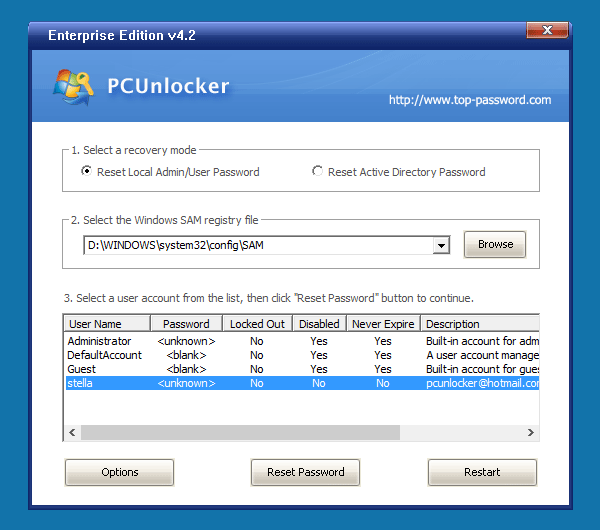
From the user list, check the Description column for your Microsoft email address. As shown in the screenshot below, my Microsoft account pcunlocker@hotmail.com is connected to the local account stella. Select the connected local account and click on “Reset Password” button.
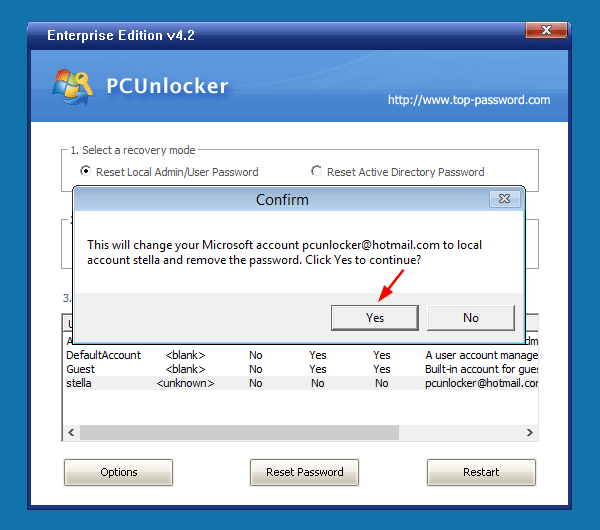
Click Yes to confirm you want to change the Microsoft account to a local account. Reboot your computer and remove the CD, then you can log into Windows 10 with the connected local account. Once logged in, you can optionally switch to a Microsoft account again and this time everything should work normally.
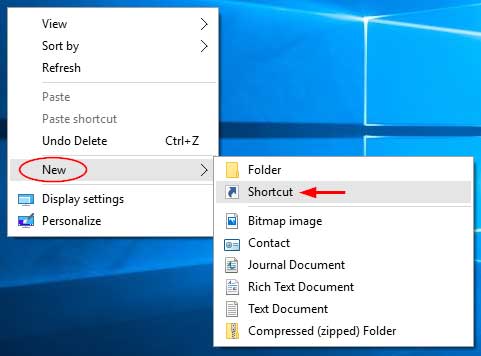
Option 4: Delete the StoredIdentities Registry Key
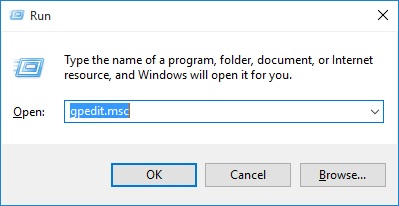
If you insist on using Microsoft account and still couldn’t fix your PC is offline error, give a try with this registry trick from the Internet:
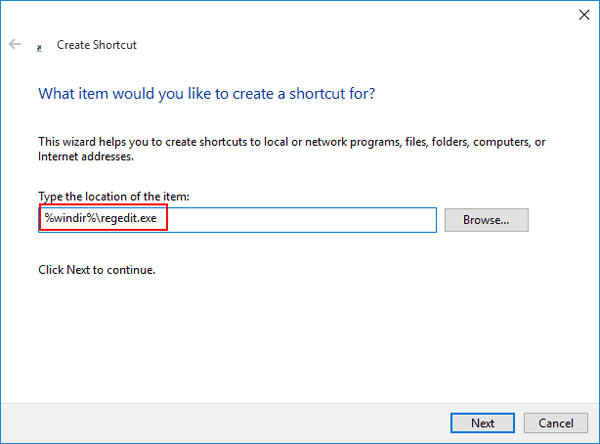
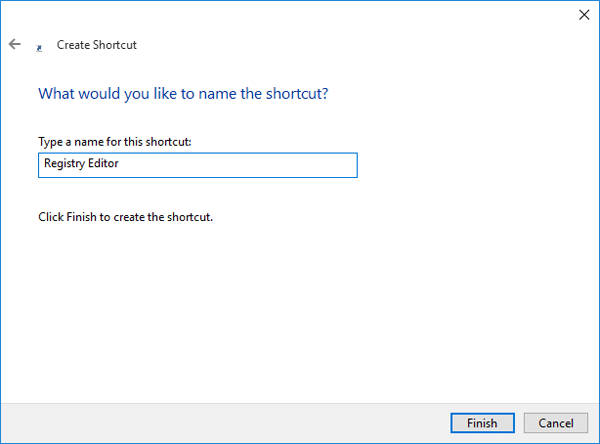
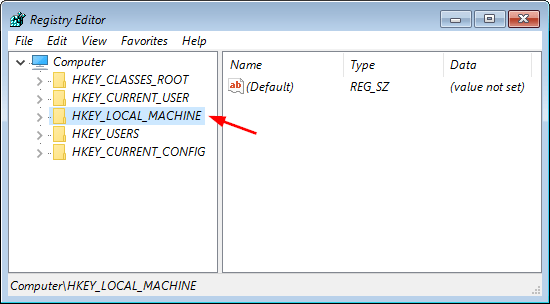
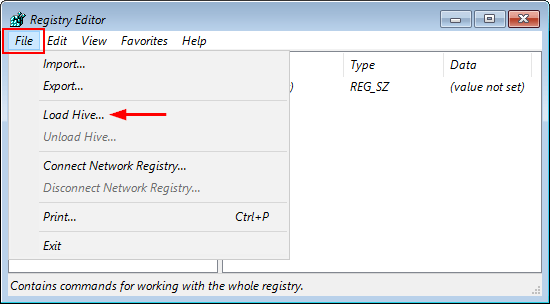
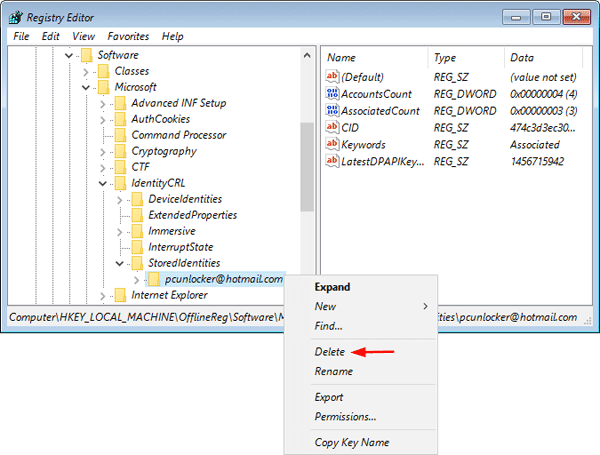
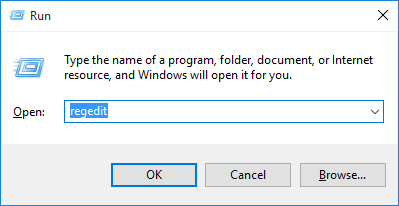
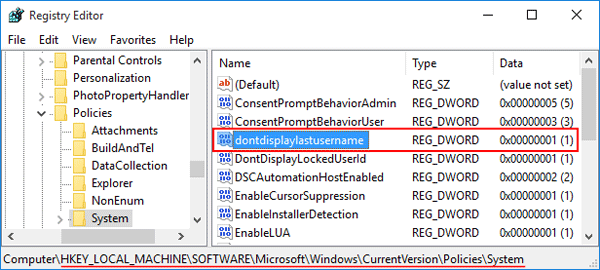
- Open the Registry Editor and navigate to the following key:
HKEY_USERS\.DEFAULT\Software\Microsoft\IdentityCRL\StoredIdentities
- Expand the StoredIdentities key in the left pane and delete the subkey that is named with your Microsoft account ID. When it’s done, close the Registry Editor.
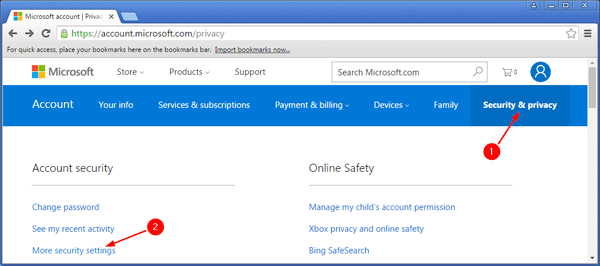
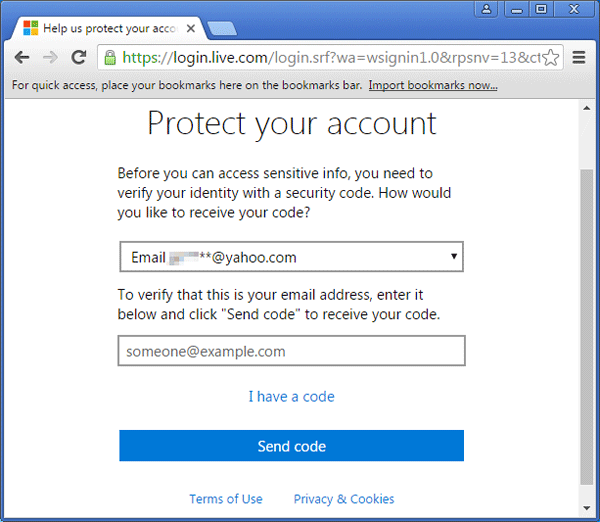
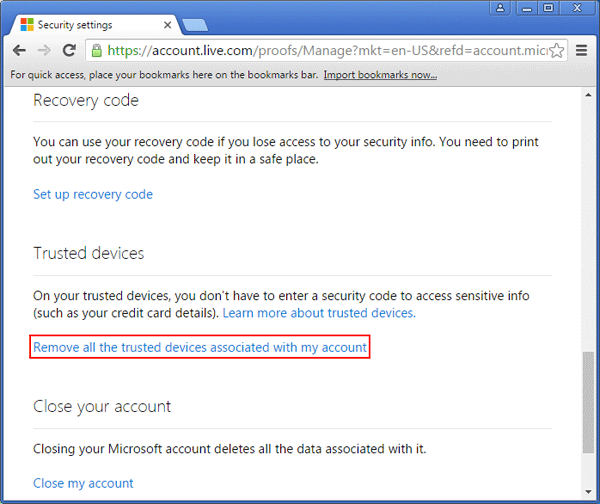
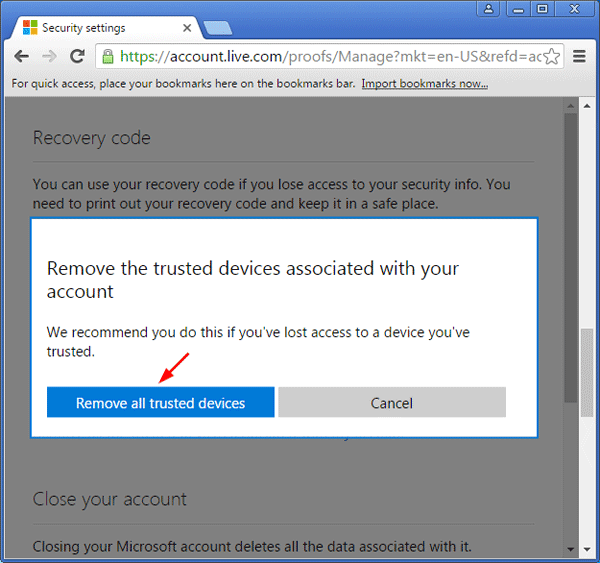
- Now access the Microsoft account page and login. Under connected device tab, click the Remove device link to remove your device which is running into this issue. Now try to log into Windows 10 and see if the problem is fixed.