Provide the best software to recover passwords for
Windows, SQL Server, PDF, Word, Excel, Outlook, FTP, Email, etc.


How to Remove Security Questions for Windows 10 Local Account
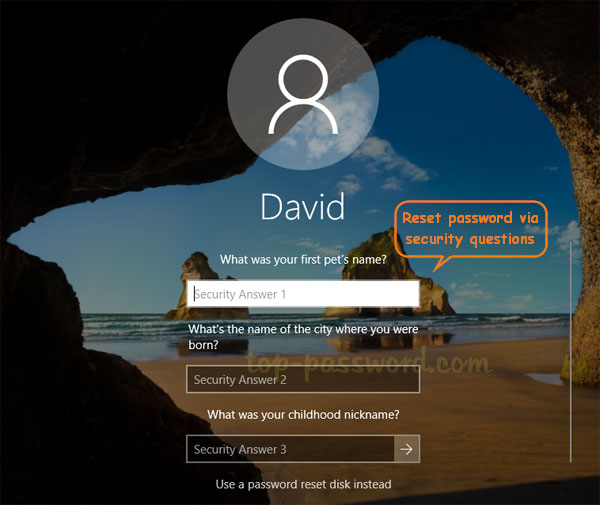
During Windows 10 setup, it's mandatory to add security questions for local user account. When you forgot your Windows password, the login screen lets you reset it by entering the right answers. However, the answers to security questions don't expire after you change your Windows password, and it might also open a backdoor an attacker could use to bypass your password. In this tutorial we'll walk you through the steps to delete / remove security questions for local accounts in Windows 10.
How to Remove Security Questions for Windows 10 Local Account
Before getting started, you need to find the unique SID for the local account that you want to remove security questions from. Open an elevated Command Prompt and run this command:
wmic useraccount get name,sid
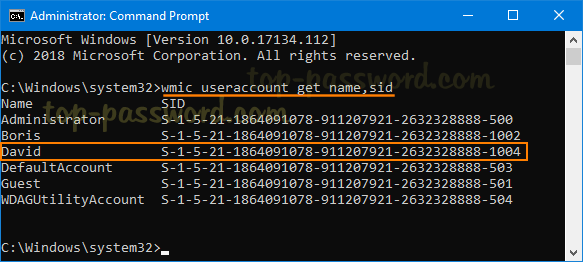
In my example, I'm going to remove security questions for the "David" account whose SID ends with 1004.
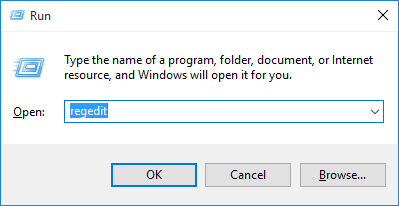
Press the Windows key + R keyboard shortcut to open the Run command. Type regedit and press Enter to open Registry Editor.
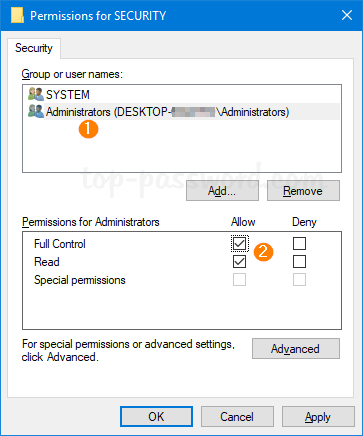
In the left pane, double-click HKEY_LOCAL_MACHINE to expand it. Right-click on the Security key and select Permissions.
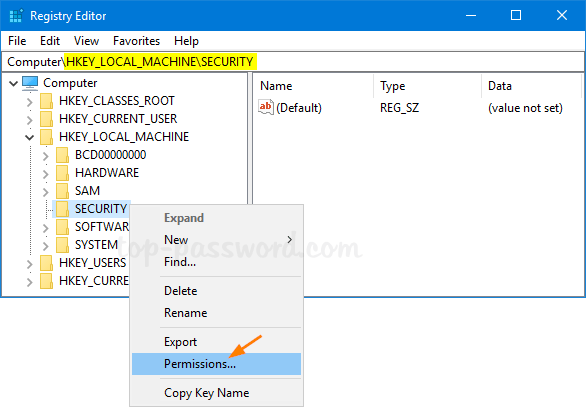
Select the Administrators group, and then check the "Full Control" box under Allow in the Permissions box. Click OK and then press F5 to refresh the registry.
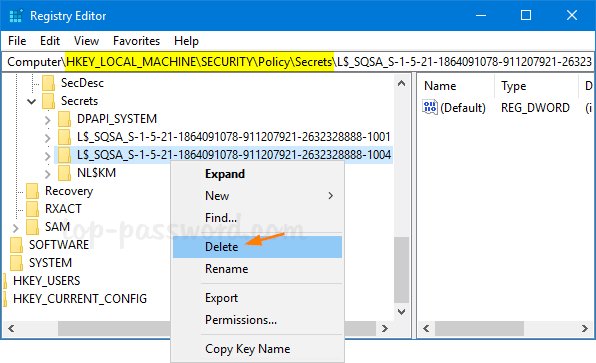
Now, navigate to the key: HKEY_LOCAL_MACHINE\SECURITY\Policy\Secrets. Look for the subkey whose name starts with "L$_SQSA_" and follows by the SID of your desired account. Right-click it and select Delete from the popup menu.
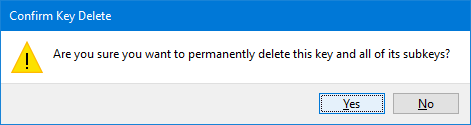
Click Yes to confirm.
Now you've successfully removed the security questions for the local account. The next time you click the "Reset password" option from Windows 10 login screen, the security questions won't show up any longer and you have to reset the password with password reset disk.

That's it!
Related Articles