One accidental deletion of a single system file can render your computer unusable. By default, Windows hides certain system files from view in Windows Explorer. This protects important files from being accidentally deleted, modified or altered.
But there are times when it’s necessary to view the hidden files and folders when coming to troubleshoot Windows problems. Here’s how to show hidden files in Windows 11, 10, 8, 7 and Vista.
How to Show Hidden Files in Windows 11, 10, 8, 7 and Vista?
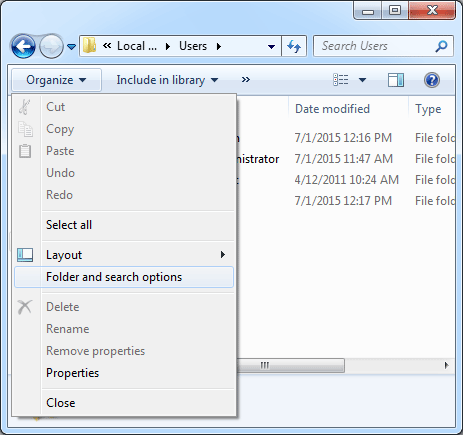
- Open up a Windows Explorer window, choose Organize -> Folder and search options.
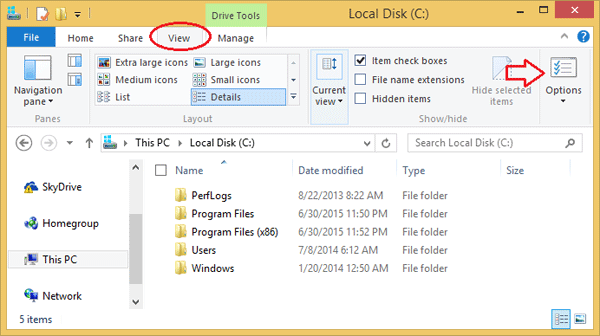
In Windows 10 or 8, click on the View tab at the top of Windows Explorer, and then click Options.
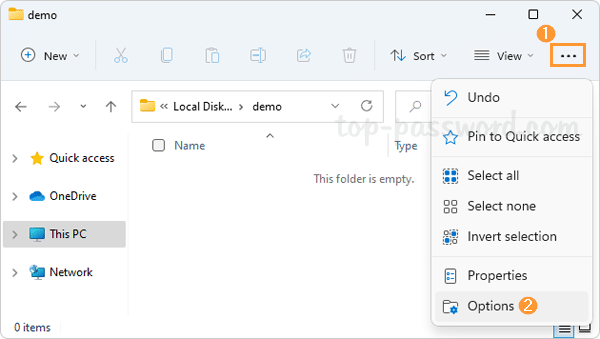
In Windows 11, open File Explorer and click on the See more button (three dots) on the right side of the toolbar, and then select Options.
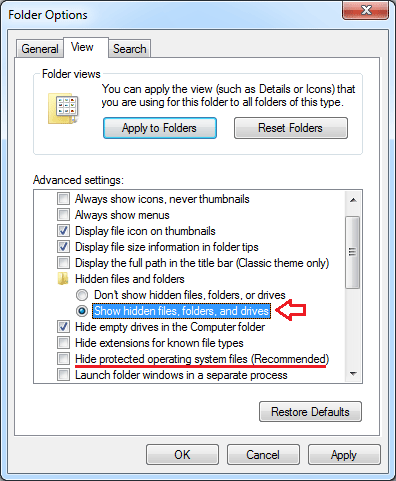
- From the opened Folder Options box, go to View tab.
- Under the Advanced settings section, click to select “Show hidden files, folders, and drives” radio button. If you are trying to get into the Windows directories, you might want to also remove the checkbox from “Hide protected operating system files (Recommended)” as well.
- When you are done, just click Apply and OK, and your changes will take effect immediately.