Provide the best software to recover passwords for
Windows, SQL Server, PDF, Word, Excel, Outlook, FTP, Email, etc.


Protect Workbook Structure with Password in Excel 2016 / 2013
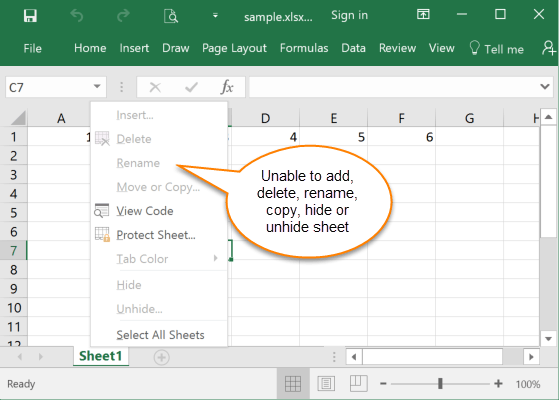
Excel offers you the option to protect each sheet with a password, but that doesn't prevent users from deleting the sheet itself. In this tutorial we'll show you how to protect workbook structure with password in Excel 2016 / 2013, if you don't allow others to insert, delete, rename, move, copy, hide or unhide worksheets.
How to Protect Workbook Structure with Password in Excel 2016 / 2013
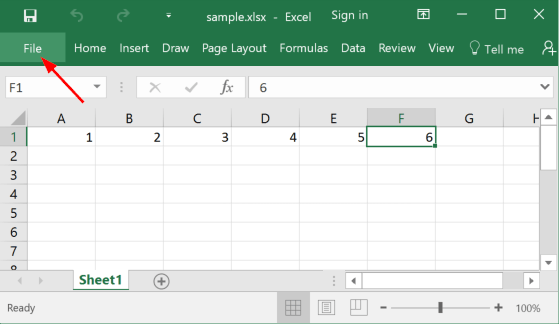
Open your Excel file (.XLSX, .XLS) in Office Excel 2016 / 2013. Click the File menu in the upper-left corner of the Excel window, and then select Info.
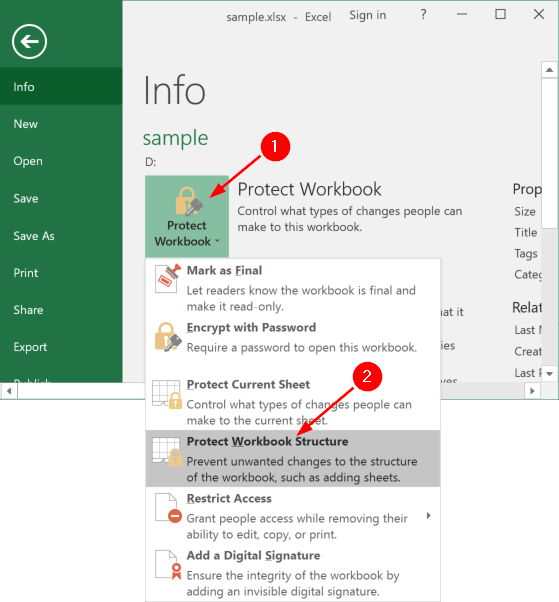
Click the Protect Workbook button and then select the Protect Workbook Structure option from the drop-down list.
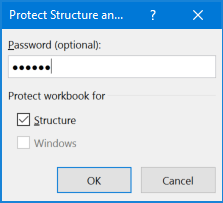
A Protect Structure and Window dialog box pops up, type your password and click OK.
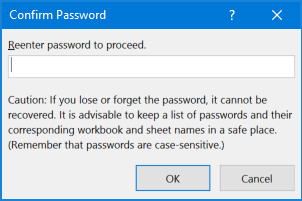
The Confirm Password dialog box will pop-up prompting you to retype the password so that an accidental misprint won't lock your workbook structure. Retype the password and click OK.
- Save your change and re-open the protected Excel file. Now you cannot insert, delete, rename, move, copy, hide or unhide worksheets any longer.
Ready to try or buy?
Related Articles