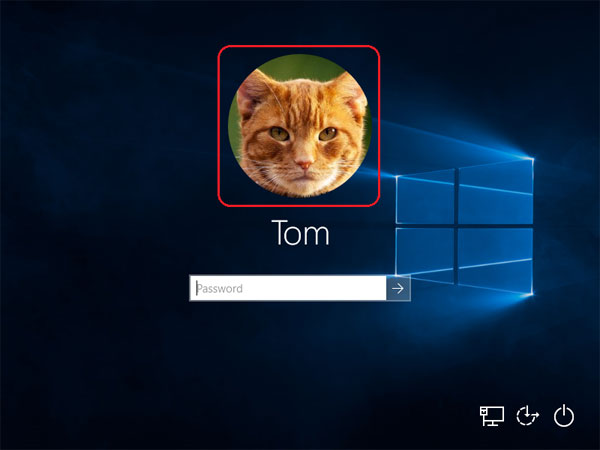
At Windows login screen you can see a list of user accounts with a small picture next to each one. Actually, the same account picture is also shown at the top of the Start menu (or Start screen), and you can click it to log off and switch user accounts.
In this article we’ll show you how to change the user account picture in Windows 10/8, restore the default user picture (avatar) or delete your old or current account picture.
- Part 1: Change Account Picture for Windows 10/8 Account
- Part 2: Reset/Restore Account Picture to Default
- Part 3: Delete Your Old Account Picture
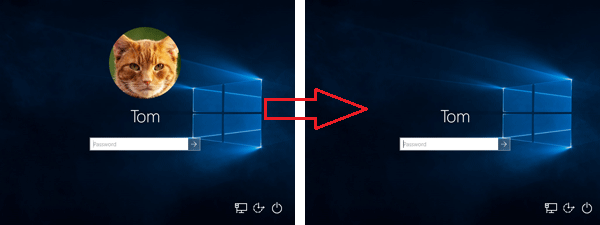
- Part 4: Hide or Remove Current Account Picture
Part 1: Change Account Picture for Windows 10/8 Account
Unlike previous versions of Windows, Windows 10 and Windows 8 don’t include an option to change the account picture from the User Accounts applet in Control Panel. Now, you have to change it from PC Settings. Here’s how:
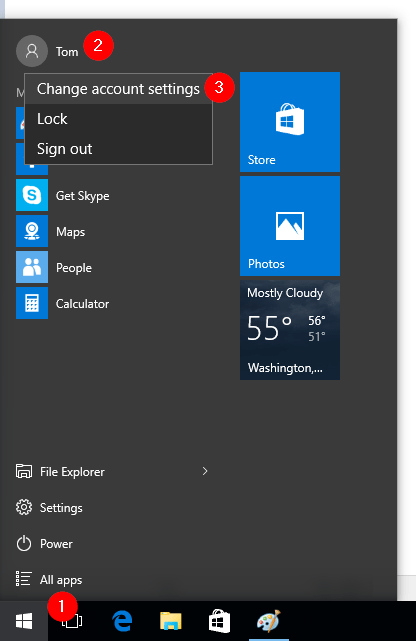
- Click the Start button or press the Windows logo key on your keyboard. This will open the Start Menu (or Start Screen).
- Right-click on the account picture at the top-left corner of the Start menu, and then select “Change account settings“. If a Start screen is shown, right-click on the account picture at the top-right corner of the Start screen and select the “Change account picture” option.
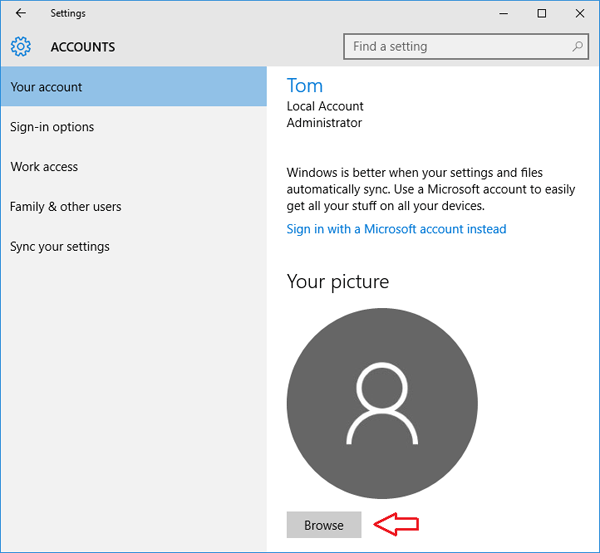
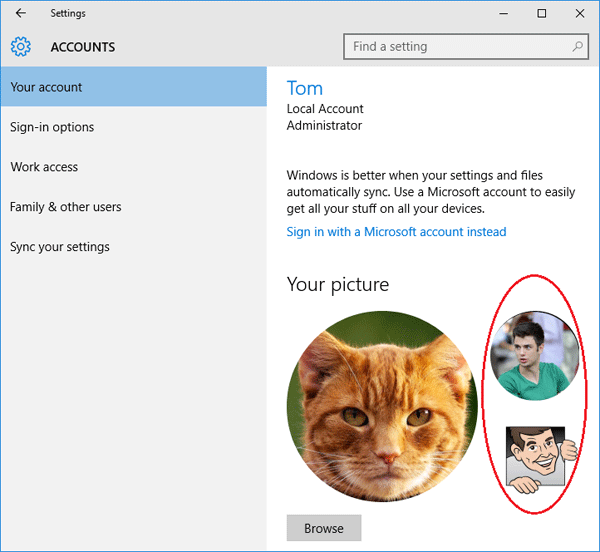
- Windows presents the PC Settings screen shown below. From there you can see your current account picture. Click on Browse button and select your favorite picture to set as new account picture.
Part 2: Reset/Restore Account Picture to Default
After changing the account picture, you might later find that there is no option to restore the profile picture to default. In Windows 10/8/7, the default account picture images are stored in the hidden system folder: C:\ProgramData\Microsoft\User Account Pictures. Here’s how to reset account picture to default in Windows 10/8:
- Click the Start button or press the Windows logo key on your keyboard. This will open the Start Menu (or Start Screen).
- Right-click on the account picture at the top-left corner of the Start menu, and then select “Change account settings“. If a Start screen is shown, right-click on the account picture at the top-right corner of the Start screen and select the “Change account picture” option.
- Click on Browse button under your current user avatar. When the Open dialog appears, type the following path in the address bar and hit Enter.
C:\ProgramData\Microsoft\User Account Pictures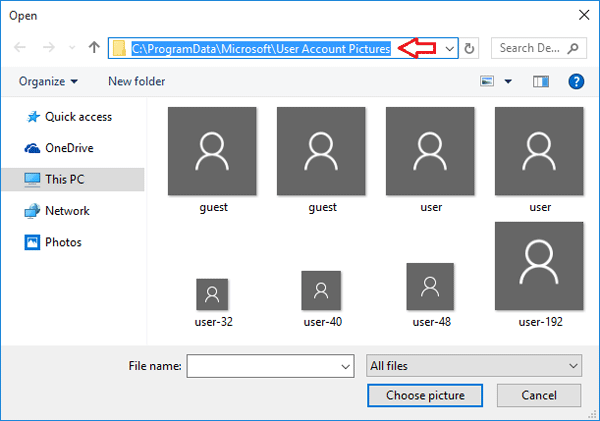
- There, you will be able to pick the default user image.
Part 3: Delete Your Old Account Picture
If you changed your Windows user account picture several times, the previous account pictures will also be shown on the right side of your current account picture.
If you don’t plan to use them again, there is no reason to keep them there. But Windows 10/8 provide no way to remove old user pictures. Here is very simple way to delete the old user account pictures:
- Open the File Explorer.
- Type the following path at the address bar, replacing username with the name of your Windows account.
C:\Users\username\AppData\Roaming\Microsoft\Windows\AccountPictures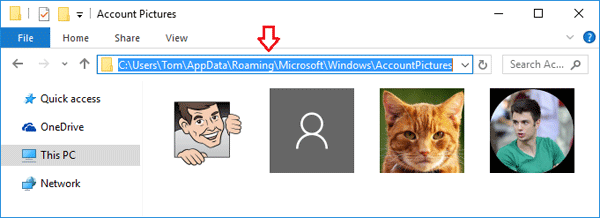
- Here you will get all those images what was ever used as your profile picture. Delete all the old images that you do not want to keep. That’s it! Your user picture cache is clean now.
Part 4: Hide or Remove Current Account Picture
Is there a way to hide or remove the user picture at the login screen? How to disable the user account picture from the Start menu? Follow these steps and you can hide/remove current account picture completely in Windows 10/8:
- Open the File Explorer.
- Copy and paste the following path in the address bar of File Explorer. Press Enter and you can see all built-in default account pictures. Delete all images.
C:\ProgramData\Microsoft\User Account Pictures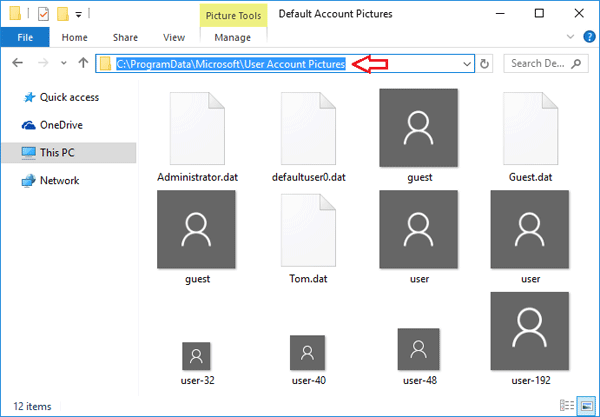
- Now you have to clean the cached account images. Copy and paste the following path in the address bar of File Explorer. Press Enter and you’ll see a folder with the name of your account’s SID.
C:\Users\Public\AccountPictures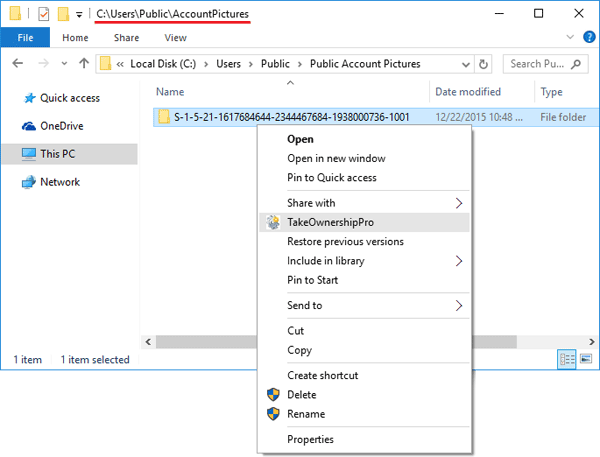
Just rename the folder or delete it. If you want to delete that folder, you need to firstly take ownership of the folder using the freeware TakeOwnershipPro.
- Log off or restart your computer. You’ll see the account picture disappeared from Windows login screen.