I installed Windows 10 on my system about a week ago, and when I tried using the Guest login, I find that the screen keeps flashing endlessly. I can’t open any program at that point of time. Please help!
The screen starts flashing / flickering constantly if you log in to Windows 10 with the guest account? You’re not alone and we also have the same issue with our guest account. I can confirm this is a problem specific to the built-in guest account because our other accounts work fine. Till now there is no solution available on the net, so stop wasting time on this issue!
Just create a new guest account in Windows 10 and you can get around the annoying flashing / blinking desktop issue. In this article we’ll show you two ways to create a new guest account that will work fine on your system.
Method 1: Create A New Guest Account from Command Prompt
- Press the Windows logo key + X to open the WinX menu in the lower-left corner of the screen. Click Command Prompt(Admin).
- Use the net user command to create a new user, press Enter after each one:
net user visitor /add

net user visitor 123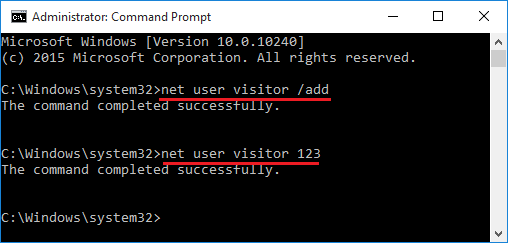
The commands above will create a new user named visitor, and set password to 123.
- Next run the net localgroup command to turn your newly-created account into a guest account:
net localgroup Users visitor /delete

net localgroup Guests visitor /add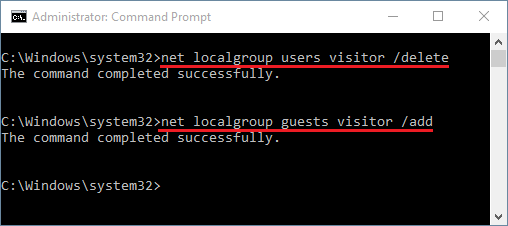
These commands will remove your account from the Users group, so it belongs to only the Guests Group.
- Now you’ve successfully created a new guest account. Restart your computer and you can log in to the new account without screen flashing issue.
Method 2: Create A New Guest Account from Computer Management
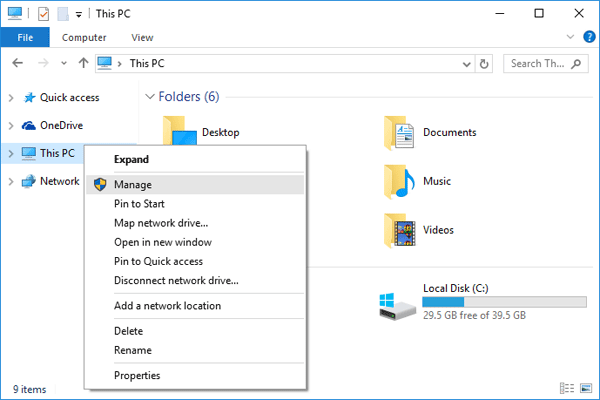
- Open File Explorer in Windows 10. Right-click on This PC from the left navigation pane and select Manage.
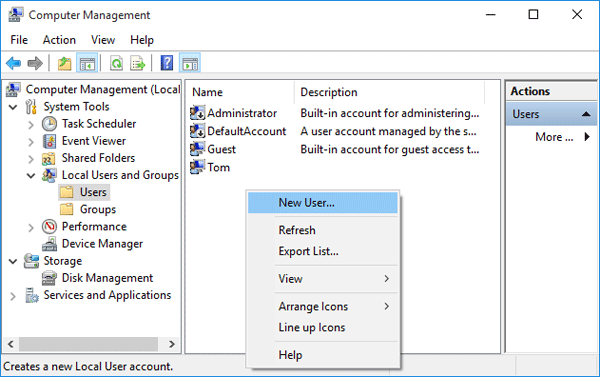
- Expand the Local Users and Group category in the left. Click on the Users folder and you will see a list of all the accounts on your computer in the right pane. Right-click on the empty space and select New User….
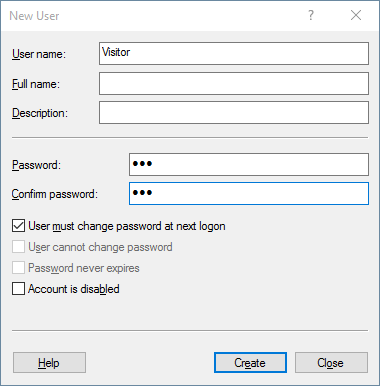
- Once the New User box opens up, enter your user name and password. Click Create and then Close.
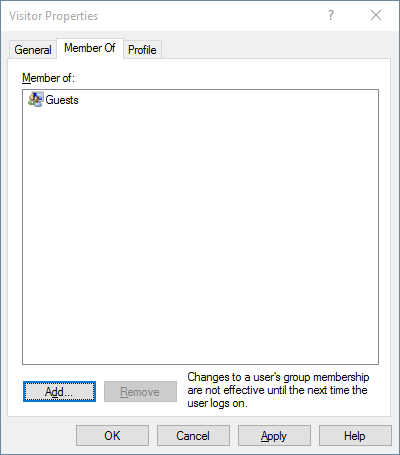
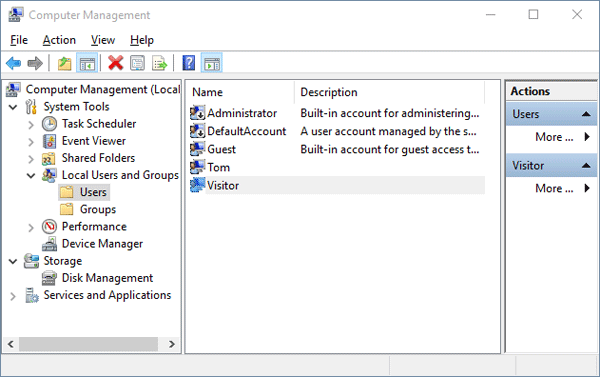
- Back to the Computer Management snap-in, double-click the newly created user account (Visitor in this demonstration).
- Once the Properties box opens up, click the Member Of tab from the top. select Users from the list, and click Remove in order to remove the account from Users group.
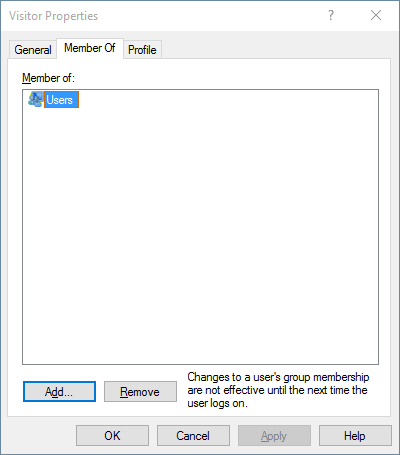
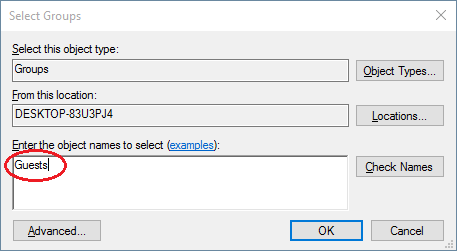
- In order to add your user to the Guests group, click Add. On the Select Groups box, in the “Enter the object name to select” field, type Guests and click OK.
- Finally click Apply and OK. You can then log off and log in to your new guest account.