When the AutoPlay feature is enabled, the system automatically runs media files without requiring user intervention as soon as a USB external device is attached to your PC. Because malware can exploit the AutoPlay feature to spread viruses from infected USB drive, you can disable this feature because of security concerns. In this tutorial we’ll show you 2 simple methods to turn off AutoRun / AutoPlay for USB drive in Windows 11.
Method 1: Turn off AutoRun / AutoPlay for USB Using Settings App
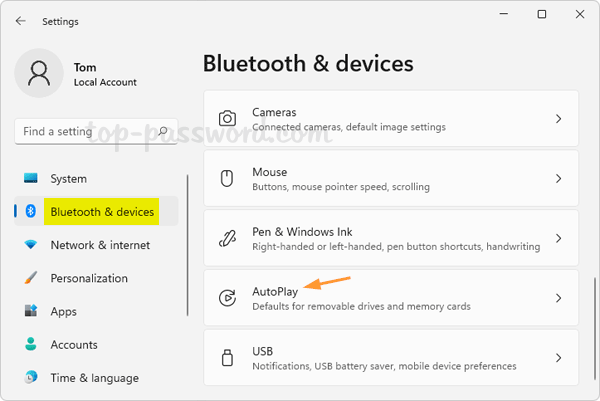
- Press the WIN + I keyboard shortcut to open the Settings app. Click “Bluetooth & devices” on the left side, then click “AutoPlay” on the right pane.
- Under Choose AutoPlay defaults, click the drop-down list to select “Take no action” for removable drive. This will disable AutoPlay for USB drive.
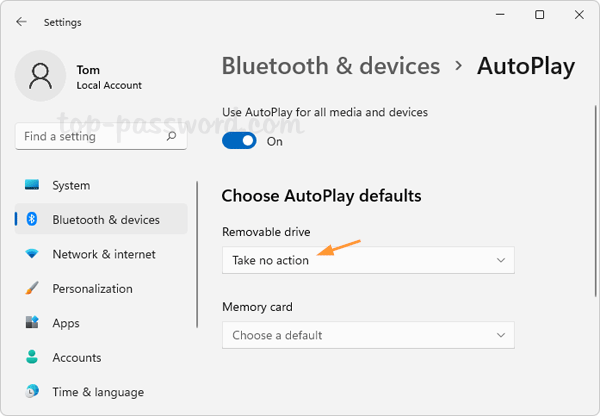
If you want to turn off AutoPlay for all types of media or device, just slide the “Use AutoPlay for all media and devices” toggle off.
Method 2: Turn off AutoRun / AutoPlay for USB Using Control Panel
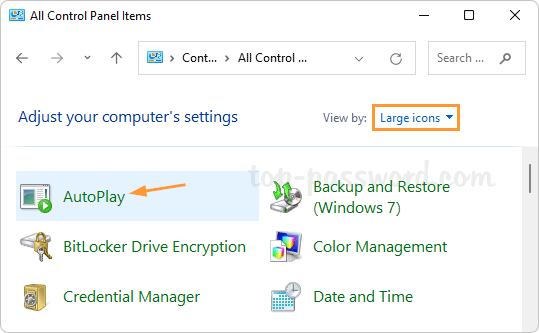
- Open the Control Panel in Large icons view, click AutoPlay.
- If you just want to turn off AutoPlay for USB drive only, uncheck the “Choose what to do with each type of media” option, and click the “Removable drive” drop down list to select “Take no action“.
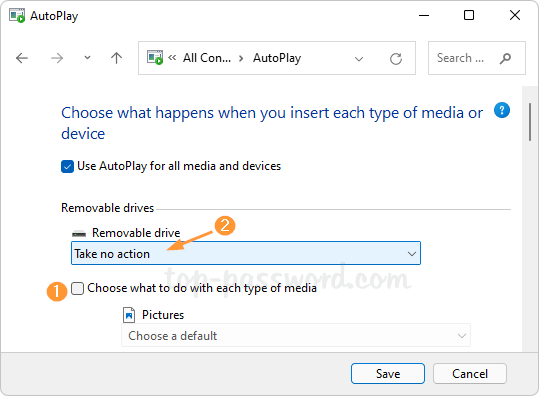
or untick the “Use AutoPlay for all media and devices” box to disable AutoPlay for all media and drives.
That’s it!