What is the best way to protect sensitive data from being stolen? Can’t enable BitLocker without TPM? VeraCrypt is a good alternative to BitLocker, which lets you create a virtual disk image for securing your sensitive files with password. In this tutorial we’ll walk you through the steps of encrypting files on your hard disk or USB drive in Windows 10 using VeraCrypt.
Part 1: Download VeraCrypt
VeraCrypt is a free open source software for real-time disk encryption, which is available for Windows, Mac OSX and Linux. Just download VeraCrypt (about 34.5Mb) from its official website. The installation is as easy as clicking Next a bunch of times.
Part 2: Create a Protected Virtual Disk Image
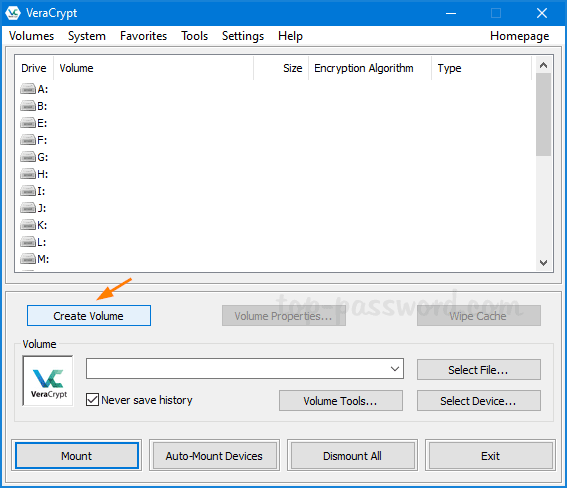
- When you open up VeraCrypt, you’ll see a listing of unused drive letters. To start, we need to create a protected virtual disk image (aka “encrypted file container”). Click on the Create Volume button.
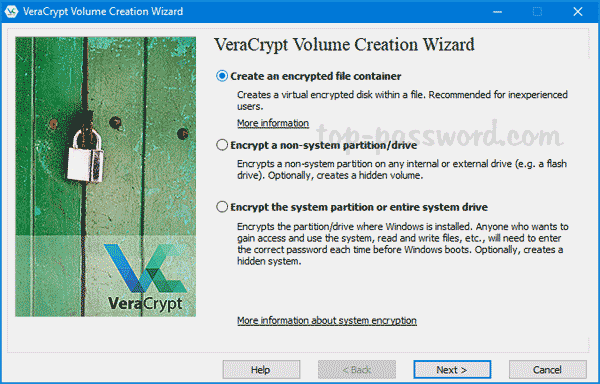
- Choose “Create an encrypted file container” and click on Next.
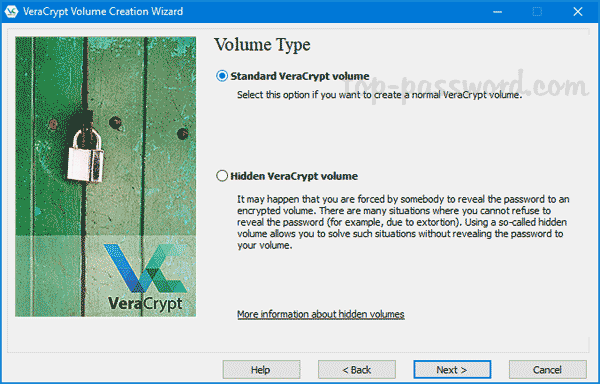
- VeraCrypt supports two different types of encrypted volumes. Here we select “Standard VeraCrypt volume“.
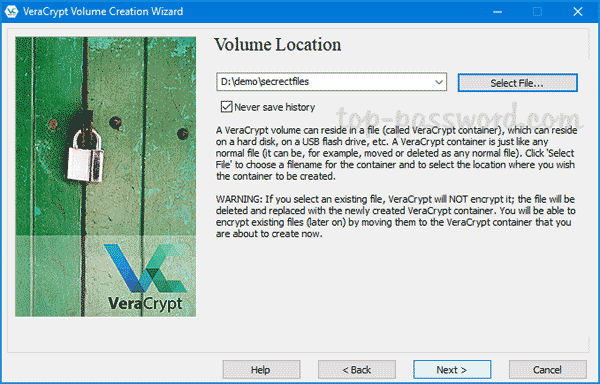
- Next, use the “Select File” button to pick a name and location for the virtual disk image you wish to create. This image can be stored on a local drive or an external USB drive.
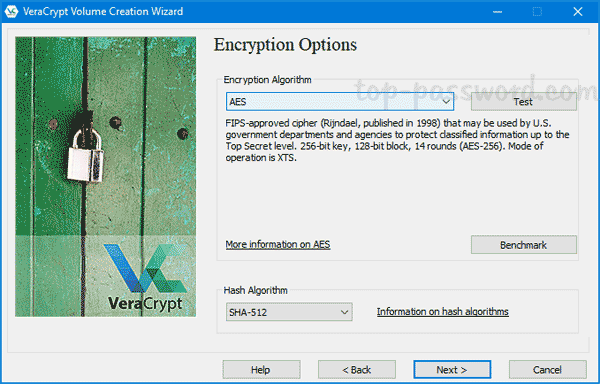
- Choose your encryption options. The default settings of AES and SHA-512 are good enough for most purposes.
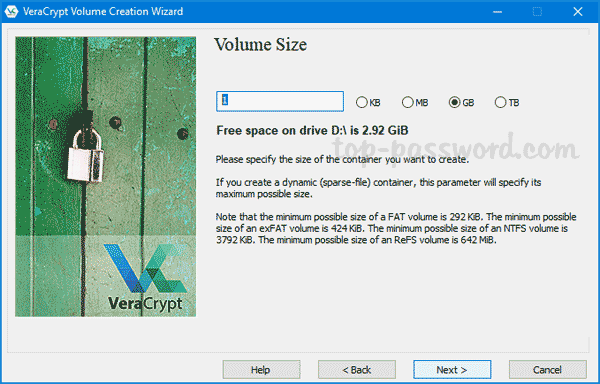
- Enter your volume size. It must be large enough to hold your sensitive files.
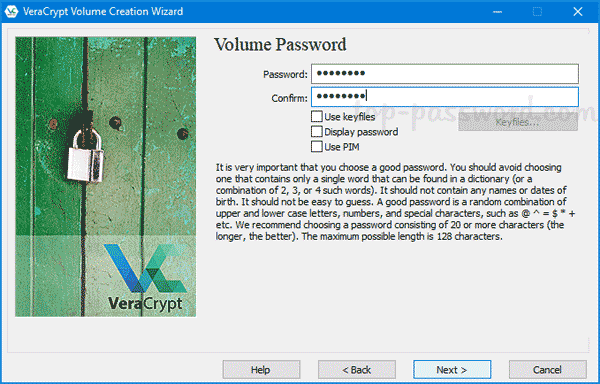
- Enter a volume password which will be later used for mounting this virtual disk image.
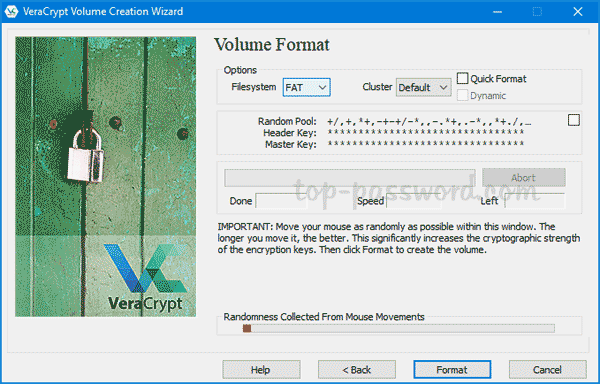
- Select what file system you want to use. It is recommended to choose NTFS so you will be able to use files bigger than 4GB. In order to generate strong encryption keys, simply move your mouse randomly until the blue bar reaches the end. Click on Format.
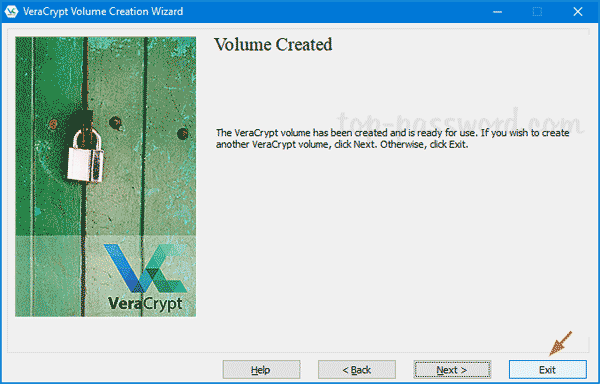
- Once the volume has been successfully created, click on Exit.
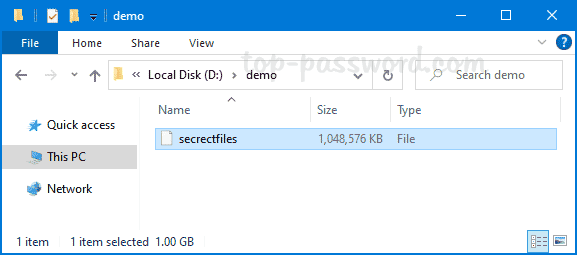
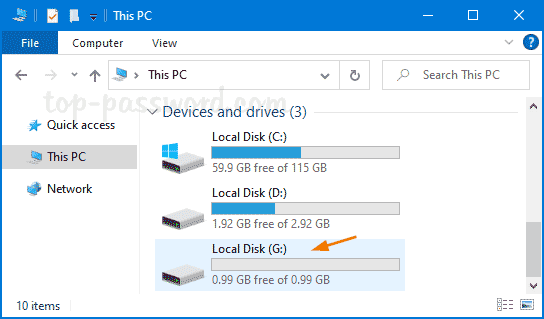
- Your volume is actually a disk image file which you can view from File Explorer.
Part 3: Mount the Virtual Disk Image
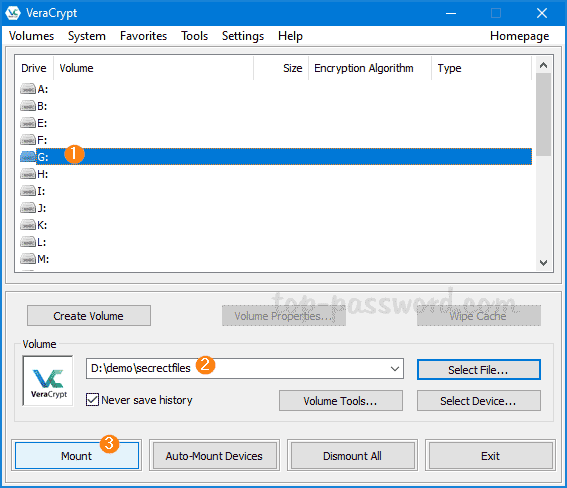
- Open up VeraCrypt again, select an unused drive letter and click on “Select File” to locate your protected virtual disk image, and click on Mount.
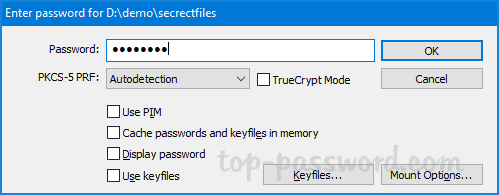
- Enter your password and click OK.
- Your protected virtual disk image will be mounted as a new drive. Open File Explorer and you can move your sensitive files onto that drive.
Part 4: Dismount the Volume
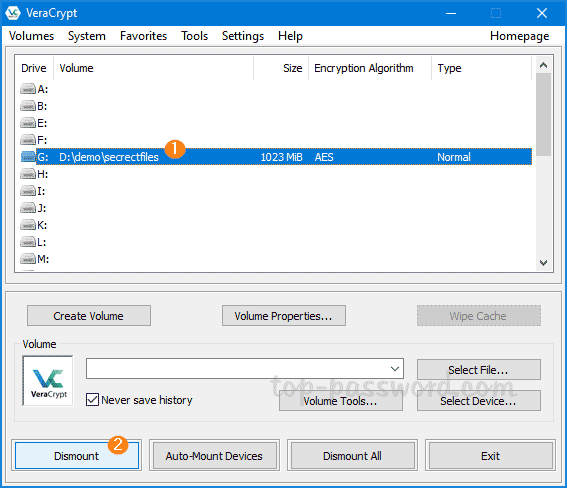
Don’t forget to dismount the VeraCrypt volume when you no longer need to work with it. From within the VeraCrypt interface, select the drive letter of your mounted volume and click on Dismount.
Your VeraCrypt volume will be automatically dismounted after you restart or shut down your computer, so your sensitive files will remain protected.
That’s it!