System Restore has been around since Windows 7. It’s very useful feature of Windows that helps you to restore your computer to previous working condition. If your computer gets messed up, corrupted or becomes unbootable, you can revert the operating system back to the recent restore point created. In this tutorial we’ll show you how to enable system restore and create a system restore point in Windows 10, 8 and 7.
How to Create System Restore Point in Windows 10 / 8 / 7?
- Right-click on This PC (or My Computer) icon on your desktop and then select Properties from the context menu. For Windows 10, you might need to configure Windows 10 to display This PC icon on the desktop.

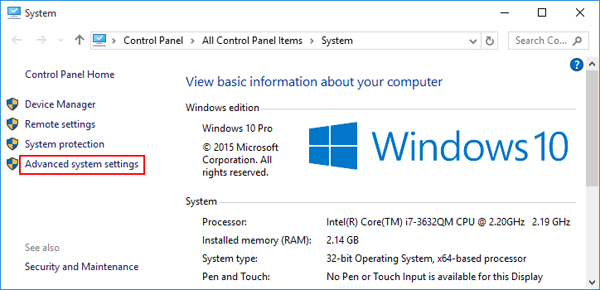
- Click the Advanced system settings link on the left side of the screen.
- Click System Protection tab. Make sure Protection is turned on for your system drive (most of the time it’s C:\ drive).
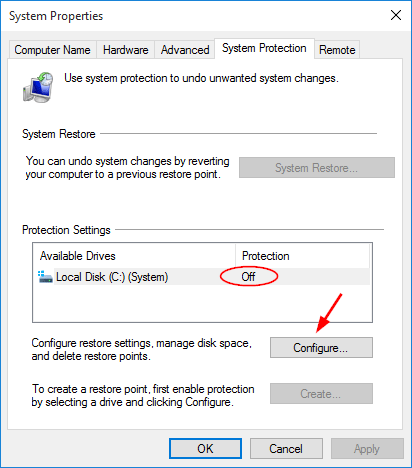
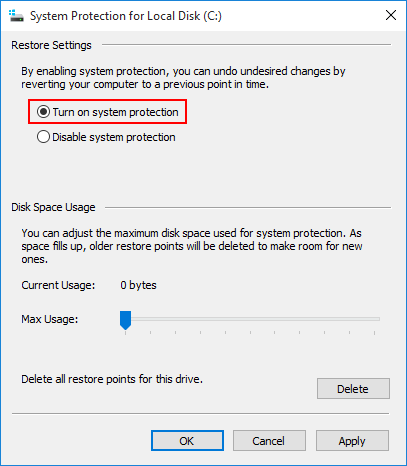
If protection is turned off, select the system drive and click Configure, next select Turn on system protection option in the resulting dialog.
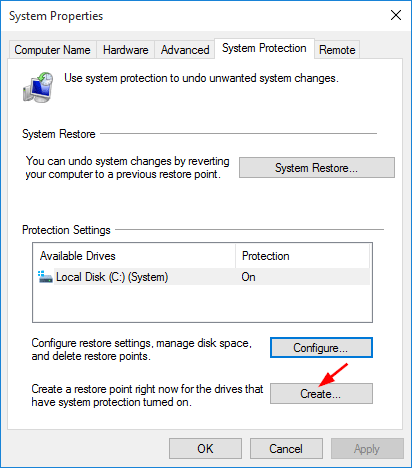
- To create a restore point manually, click on the Create button.
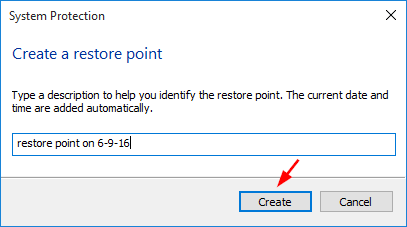
- Enter a name or description for your new restore point, and then click Create button again.
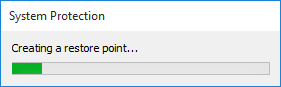
- Restore point creation are fast, it shouldn’t take longer than a few minutes.
Once the restore point is created, you will see the “Restore point was created successfully” message.
The above process is very simple to create a restore point in Windows 10, 8 and 7. Afterwards, you can use System Restore to restore Windows to your created restore point when your computer becomes damaged in future.